Bidford-on-Avon, Warwickshire. Mon to Fri.01789 224228

Route three of five · air out before it sets

Vacuum cast moulds and parts.

This uses the same careful casting discipline as a boxed mould, but under vacuum so the air leaves before the silicone cures. If your part includes fine relief, lettering or a show face that needs to come out clean without making good afterwards, this is the route to choose. It costs more per mould, and it cannot fix a design that was flawed from the start.

DegassedMould and cast
FinestDetail of the soft routes
Show facesNo making good
2019Established

Two operations

Degassing the mould and the cast.

People use the phrase for both, but they are different pieces of work, each with its own purpose.

  1. Degassing the silicone

    Before it is poured, the mixed silicone goes under vacuum. This draws out the air folded in during mixing as it expands and breaks. Skip this step and bubbles can settle against the master, exactly where they will show in the finished mould.

  2. Pouring with the air managed

    Pour in a thin, steady stream from one corner. This lets the silicone roll across the detail and push air ahead of it, rather than trapping air in a pocket. The right technique matters just as much as the equipment.

  3. Degassing the cast

    This is the second operation, and often the one customers actually want. The resin, plaster or wax you cast into the finished mould receives the same treatment, so your parts come out without pinholes in the face.

  4. Checking the first-off

    We check the first part out, known as the first-off, against what was expected. That means confirming the detail is present, the show face has no voids and there is no unwanted witness line. If anything is not right, we change the mould rather than filling the parts.

Cast silicone moulds

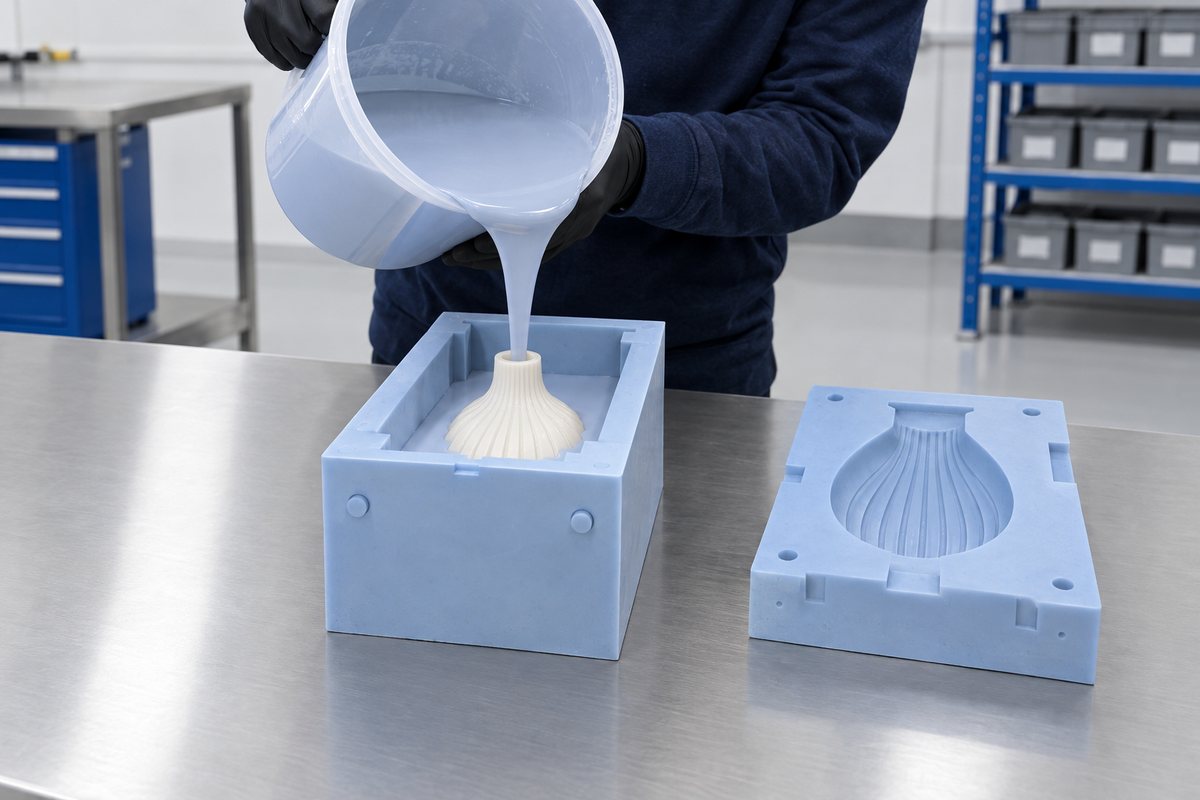
Illustrative example: Silicone poured carefully into a mould box around a master
Pouring silicone to avoid trapping air in detail

The honest limit

Vacuum is not a cure for bad design.

A vacuum removes air dissolved in or mixed throughout the silicone. It cannot remove air trapped by the geometry in a pocket with no route out.

A deep blind recess, a sharp internal corner at the top of a form, or any feature that creates a closed void when the mould is poured can hold air, whatever the pressure in the chamber. The fix is to decide the orientation and split line before anything is mixed. Sometimes, the part itself may need to change. This is a design for manufacture conversation, not a process setting.

Vacuum does not improve a poor master. If your master has print lines, a scratch or a soft edge, degassing will reproduce every one of them perfectly. Vacuum casting makes a good master pattern more valuable, not less, because there is nothing left to hide behind.

There are a few practical limits worth knowing. A vacuum cast mould costs more than a straight cast mould because it involves more processing. The size of your work is limited by the chamber it needs to fit in, and the process does not extend mould life. A vacuum cast mould wears out like any other silicone mould. If you need repeatable fine detail over years rather than seasons, a hard tool in compression will hold that detail more consistently than any soft mould.
Where it earns its money

Show faces, clear casts and painted parts.

Three cases where the extra process is essential

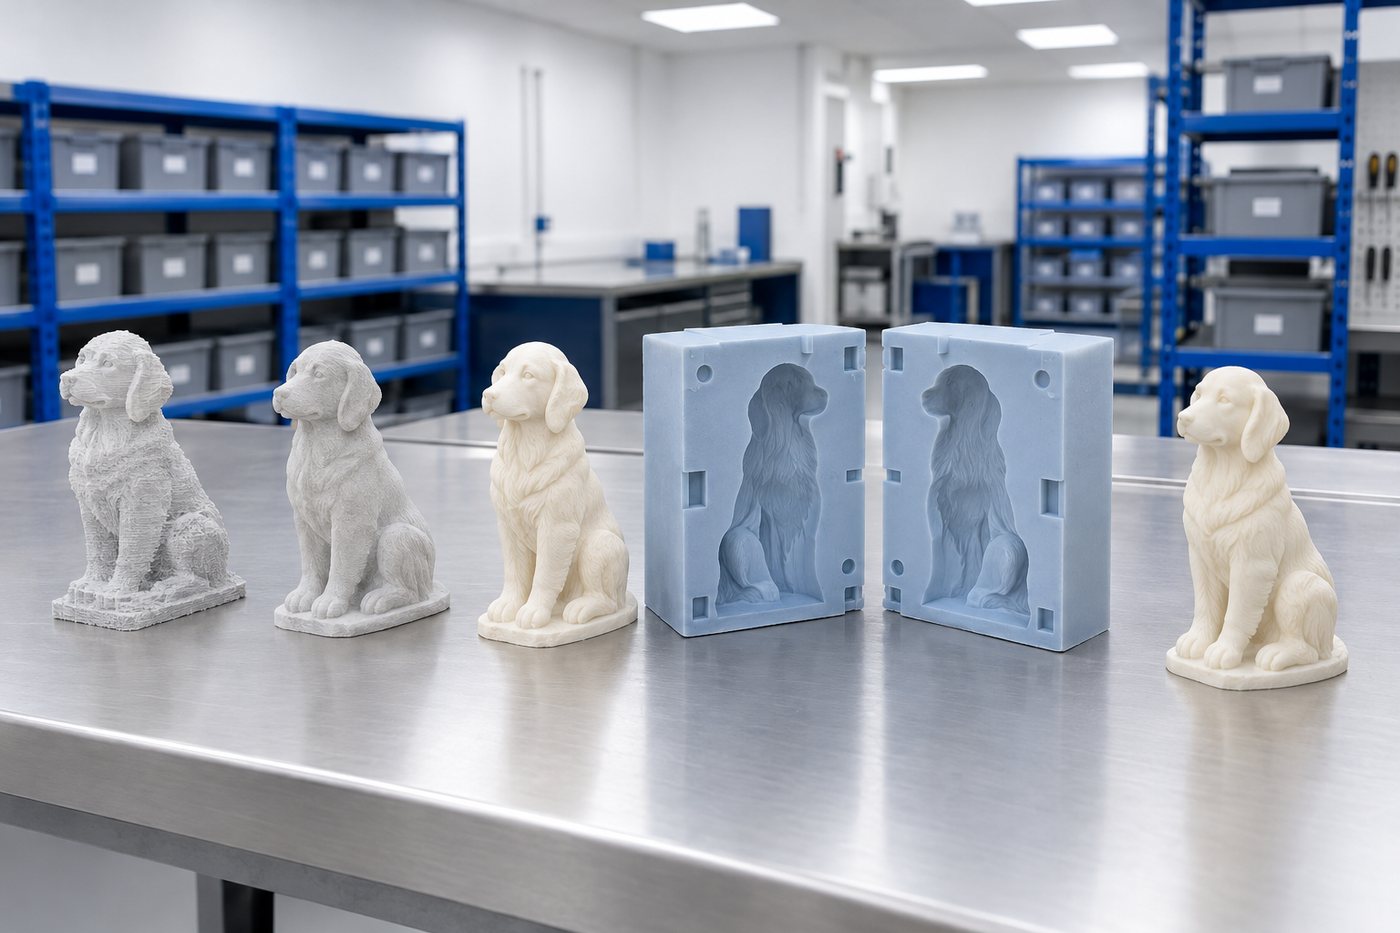
Illustrative example: Master patterns progressing from rough print to refined final finish
Fine relief

Detail and lettering

Moulded logos, fine text, textured faces and ornate relief all benefit from careful degassing. If a single bubble sits against the master, it can become a visible void on every part. Degassing is cheaper than filling and sanding a run of castings by hand.

Master patterns
Resin being poured and mixed in a busy maker workshop
Clear casts

Transparent and translucent work

With a clear cast, every bubble can be seen from every angle, and there is nothing you can do about it afterwards. That is why clear resin work is degassed as standard: otherwise, the reject rate is high.

Compare the routes
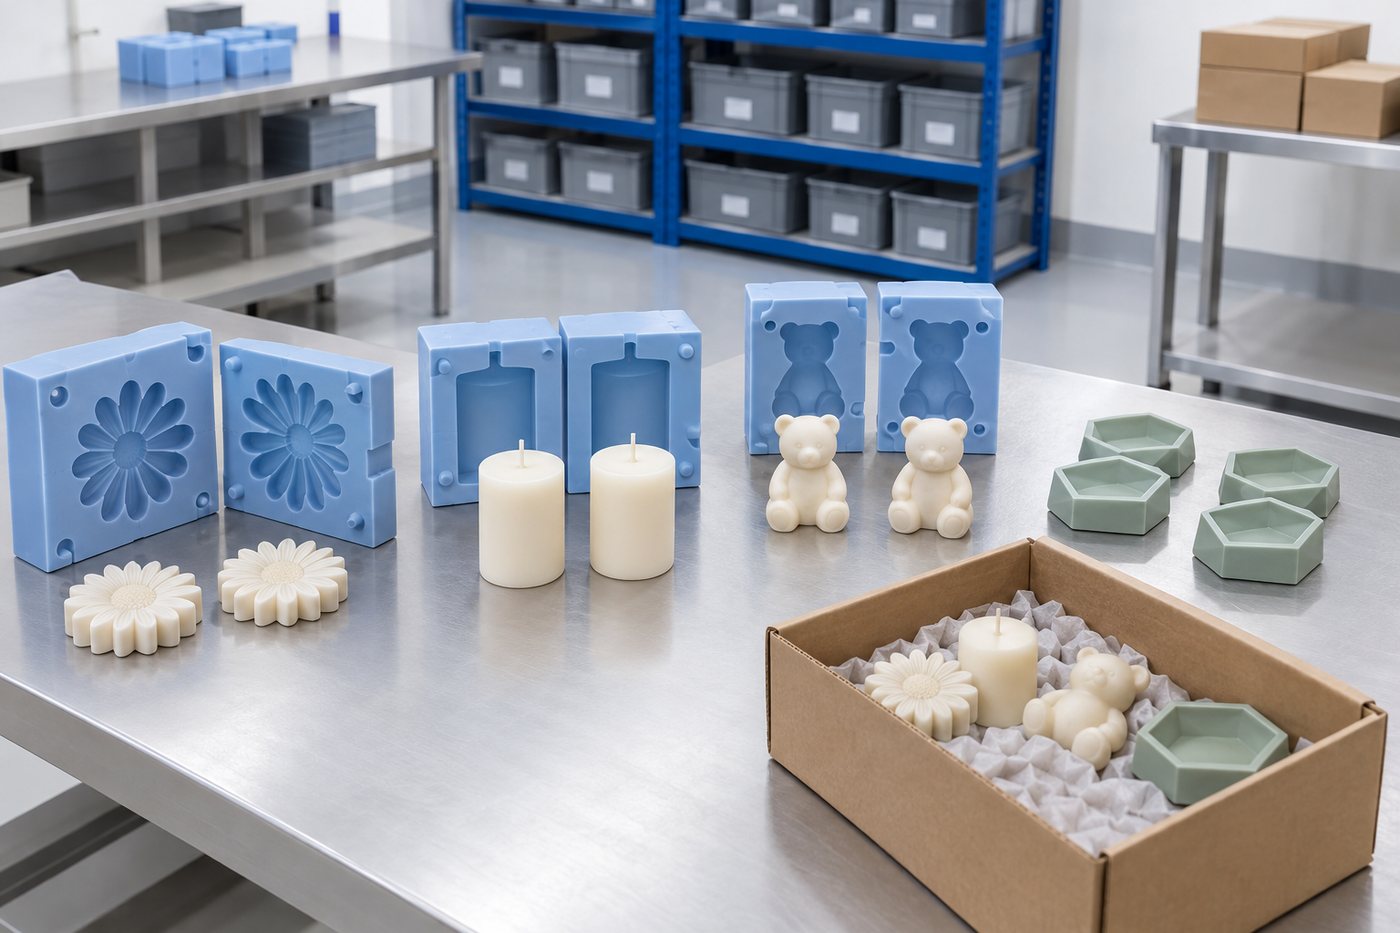
Illustrative example: Finished cast parts being sorted and packed on a bench
Painted parts

Anything that gets a finish

Paint and lacquer find pinholes rather than hide them. Under a gloss coat, a filled pinhole appears as a flat spot. So, if your part is being finished, its surface needs to be right out of the mould.

Low-volume production

To quote it

If that's the case, please say so on your enquiry.

If any of the three cases above applies to your part, please tell us when you enquire rather than after the first samples.

01

Which face is the show face

Mark it out. We arrange the orientation, split line and pouring direction around the face people will see. We prefer to know what matters to you rather than guess.

02

Is the cast clear?

When a part is clear or translucent, the acceptance standard changes completely: defects that stay hidden in an opaque part become obvious in a transparent one.

03

What happens after casting

Whether your mould is painted, lacquered, polished or left as it comes, any downstream finishing operation will raise the standard it needs to meet.

04

The feature that matters most

Start with the smallest detail that needs to survive. If it's finer than the eye can comfortably resolve, this route is the right choice rather than a straight pour.

Send us the part, with the show face marked

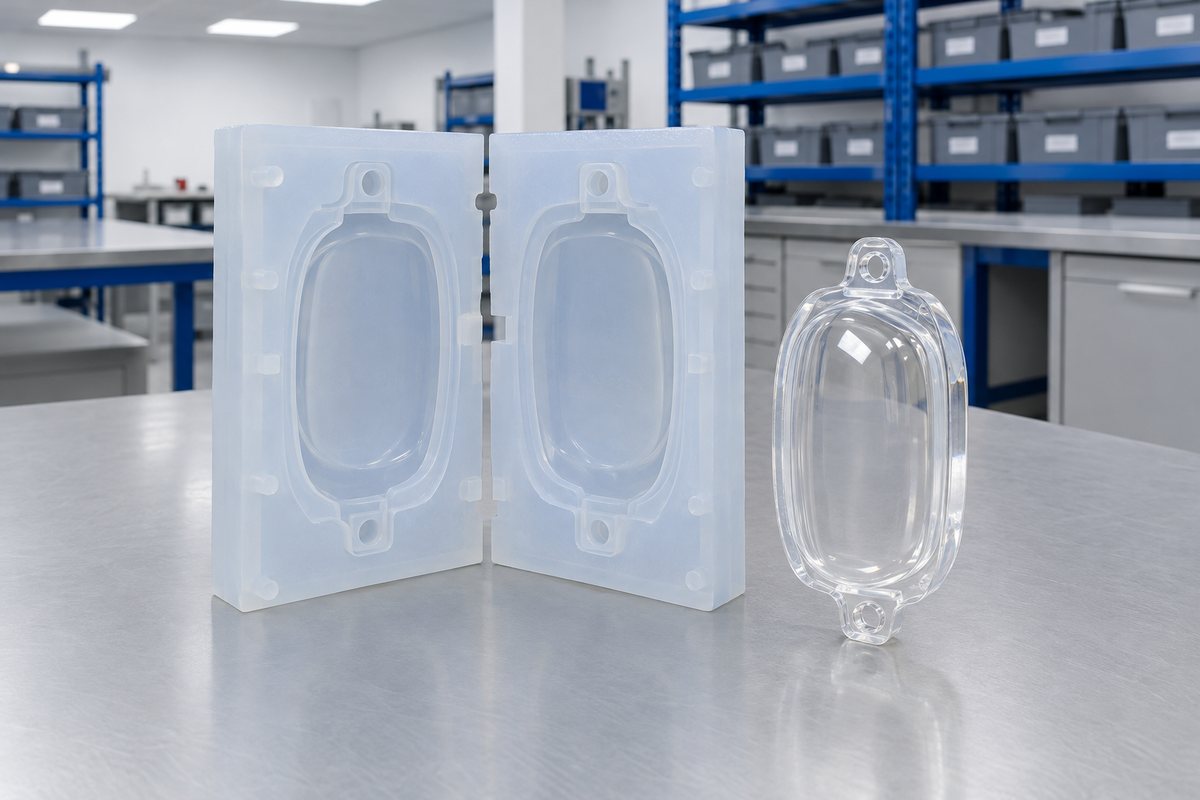
Illustrative example: Clear cast sample and split mould arranged around the visible face
Planning orientation around the face that will be seen

At a glance

The idea in a picture.

From idea to finished mould

  1. 01Photo or sampleShow us what you want to cast
  2. 02Drawing agreedWe agree the shape and split
  3. 03Master madeMachined, printed or sculpted
  4. 04Proof pourA first mould to test
  5. 05Full mouldMade once you are happy
  6. 06Kept on fileFor easy reorders

Swipe to see the whole diagram

Every mould follows the same simple route, so you always know what happens next.

Ready to start?

Tell us what you need to make, and we'll explain how to mould it.

Send us a drawing, photograph or sample, and we'll come back to you with a mould strategy, a material recommendation and a price.

Real people, a real workshop

You deal with the people who make it.

No call centre and no middlemen. When you contact TCI Mouldings, you speak to the team who design, build and check your mould.

  • A real Warwickshire workshopUnit 15, Waterloo Park, Bidford-on-Avon, Alcester B50 4JG.
  • Real people on the phoneCall the team on 01789 224228, Monday to Friday.
  • The same team on every jobDesign, production and aftercare come from the people you see here.
  • Part of TCI GroupFive specialist brands, one engineering team. Visit TCI Group.
Silicone wax melt moulds made by TCI Mouldings.
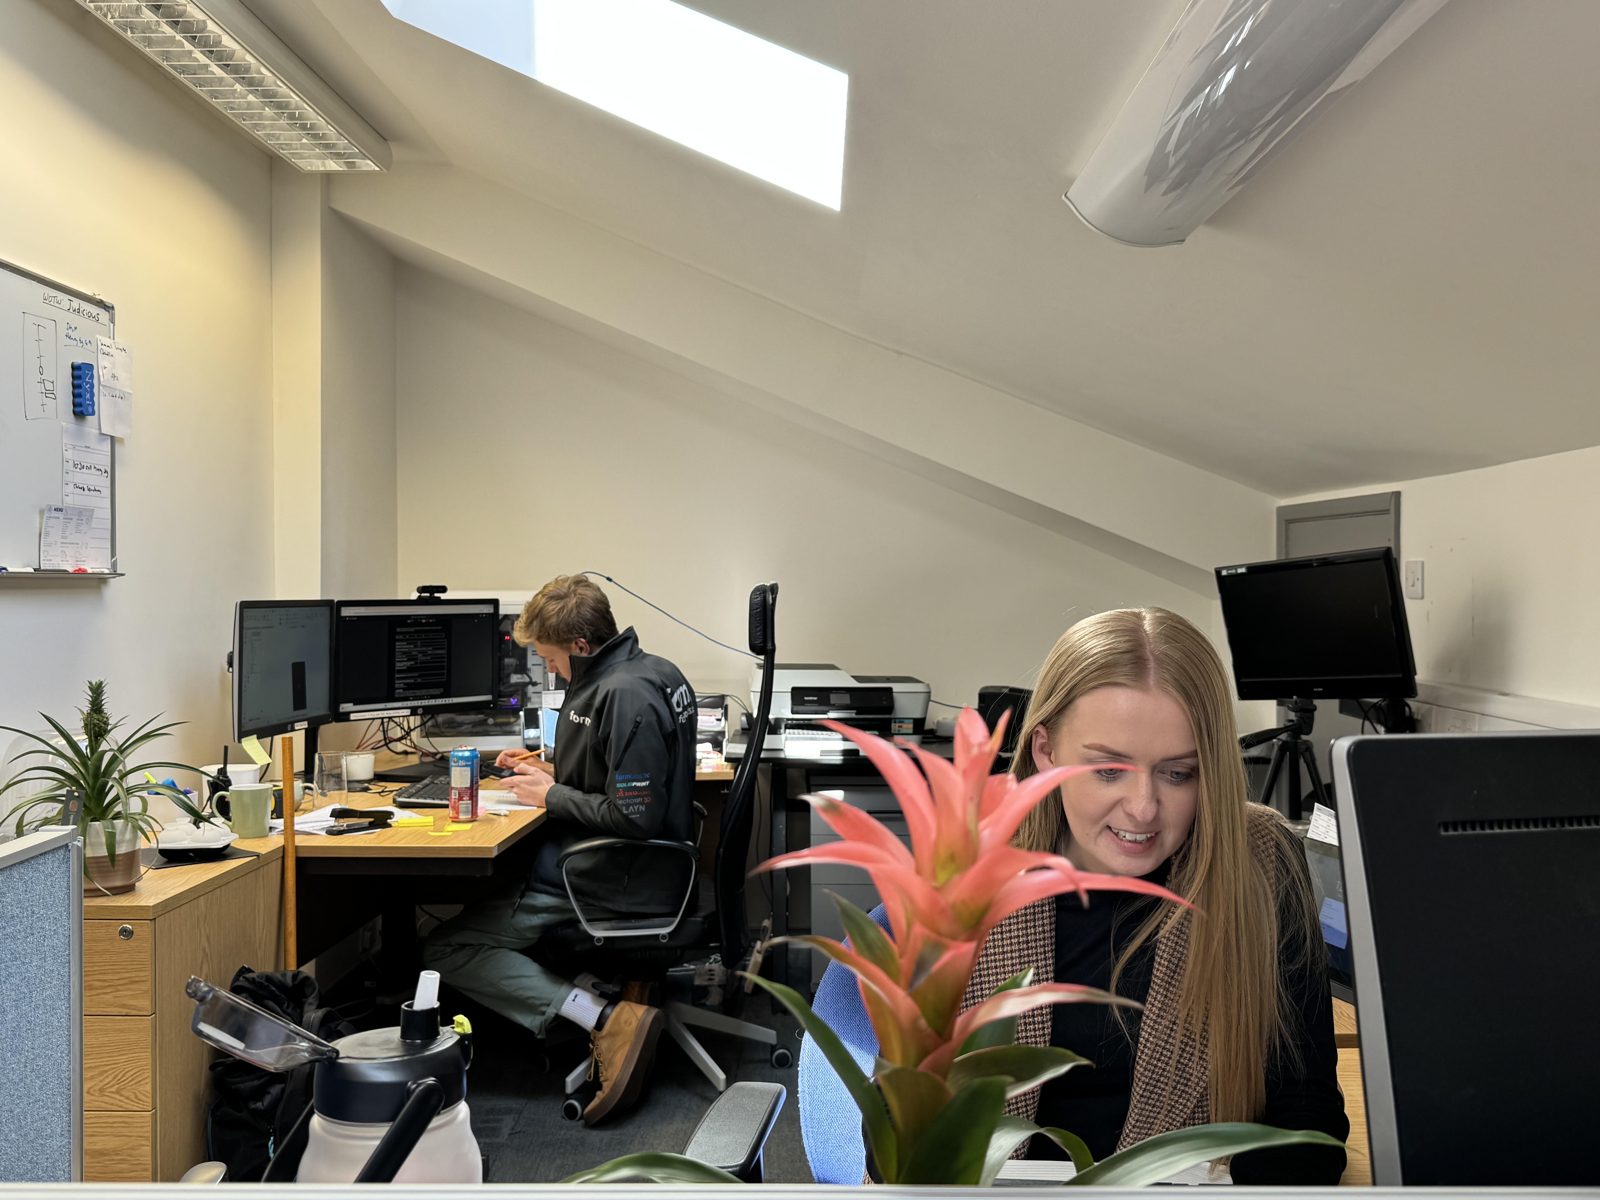
The TCI design and project office.
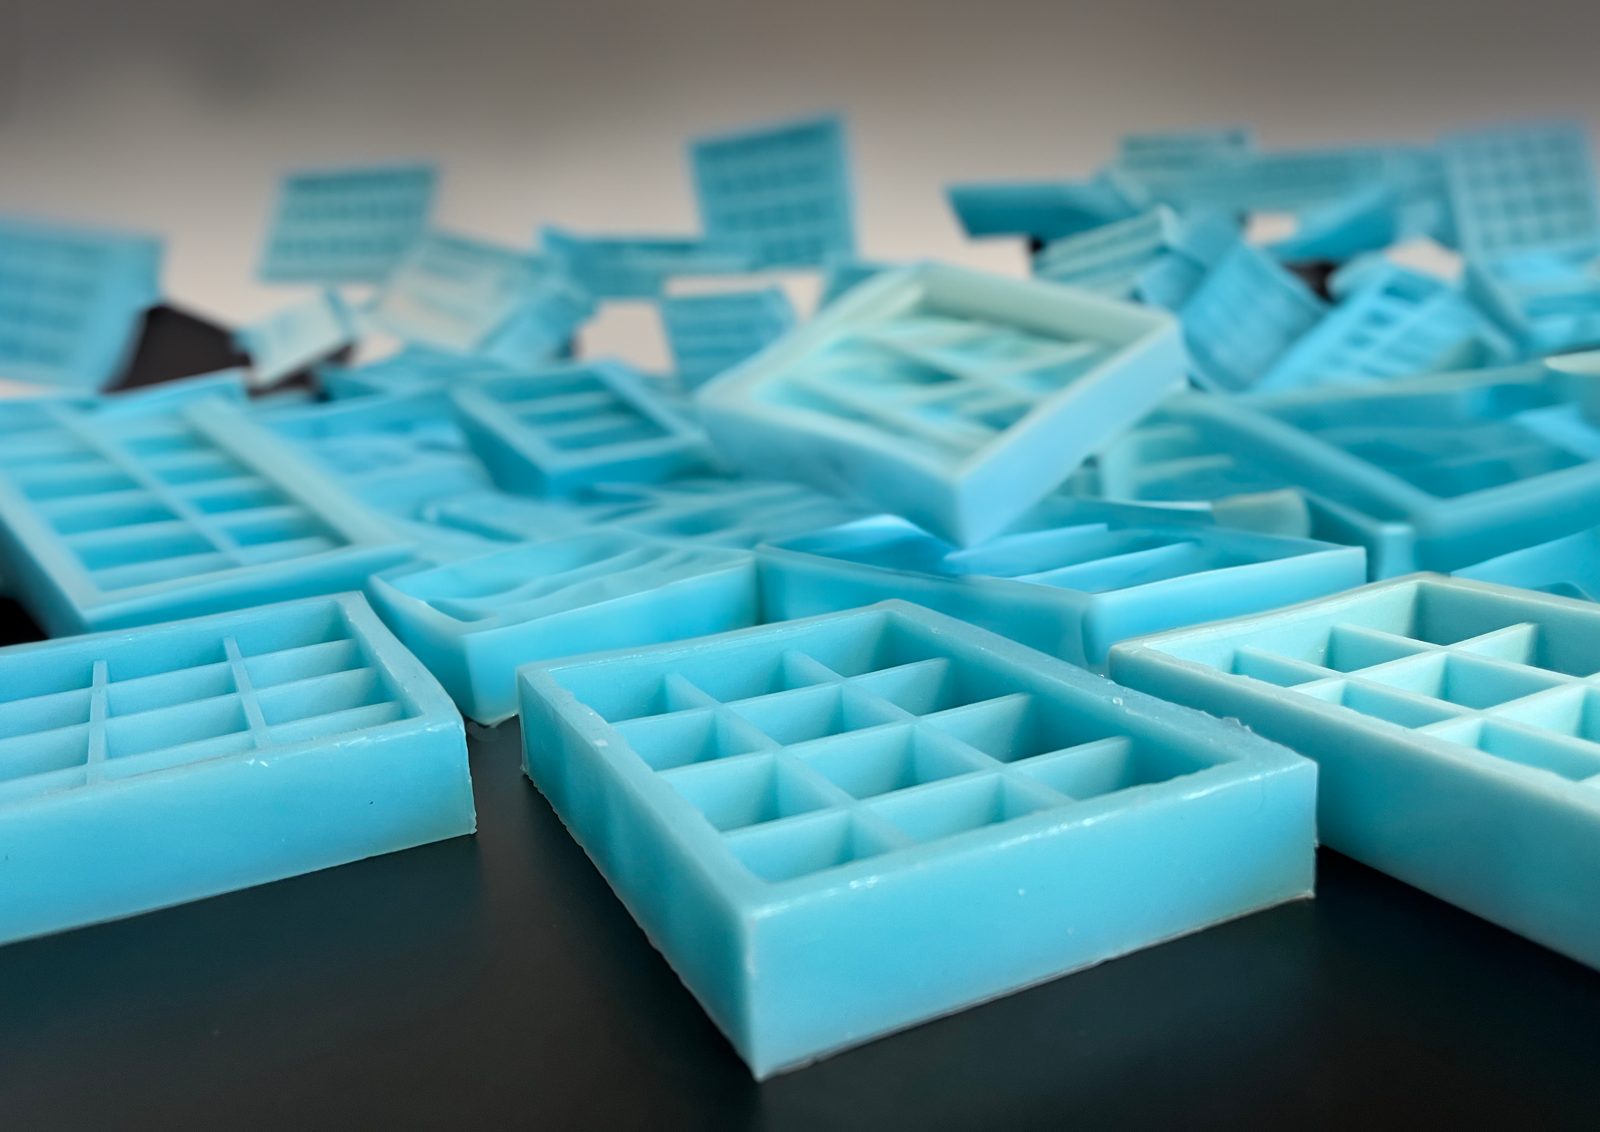
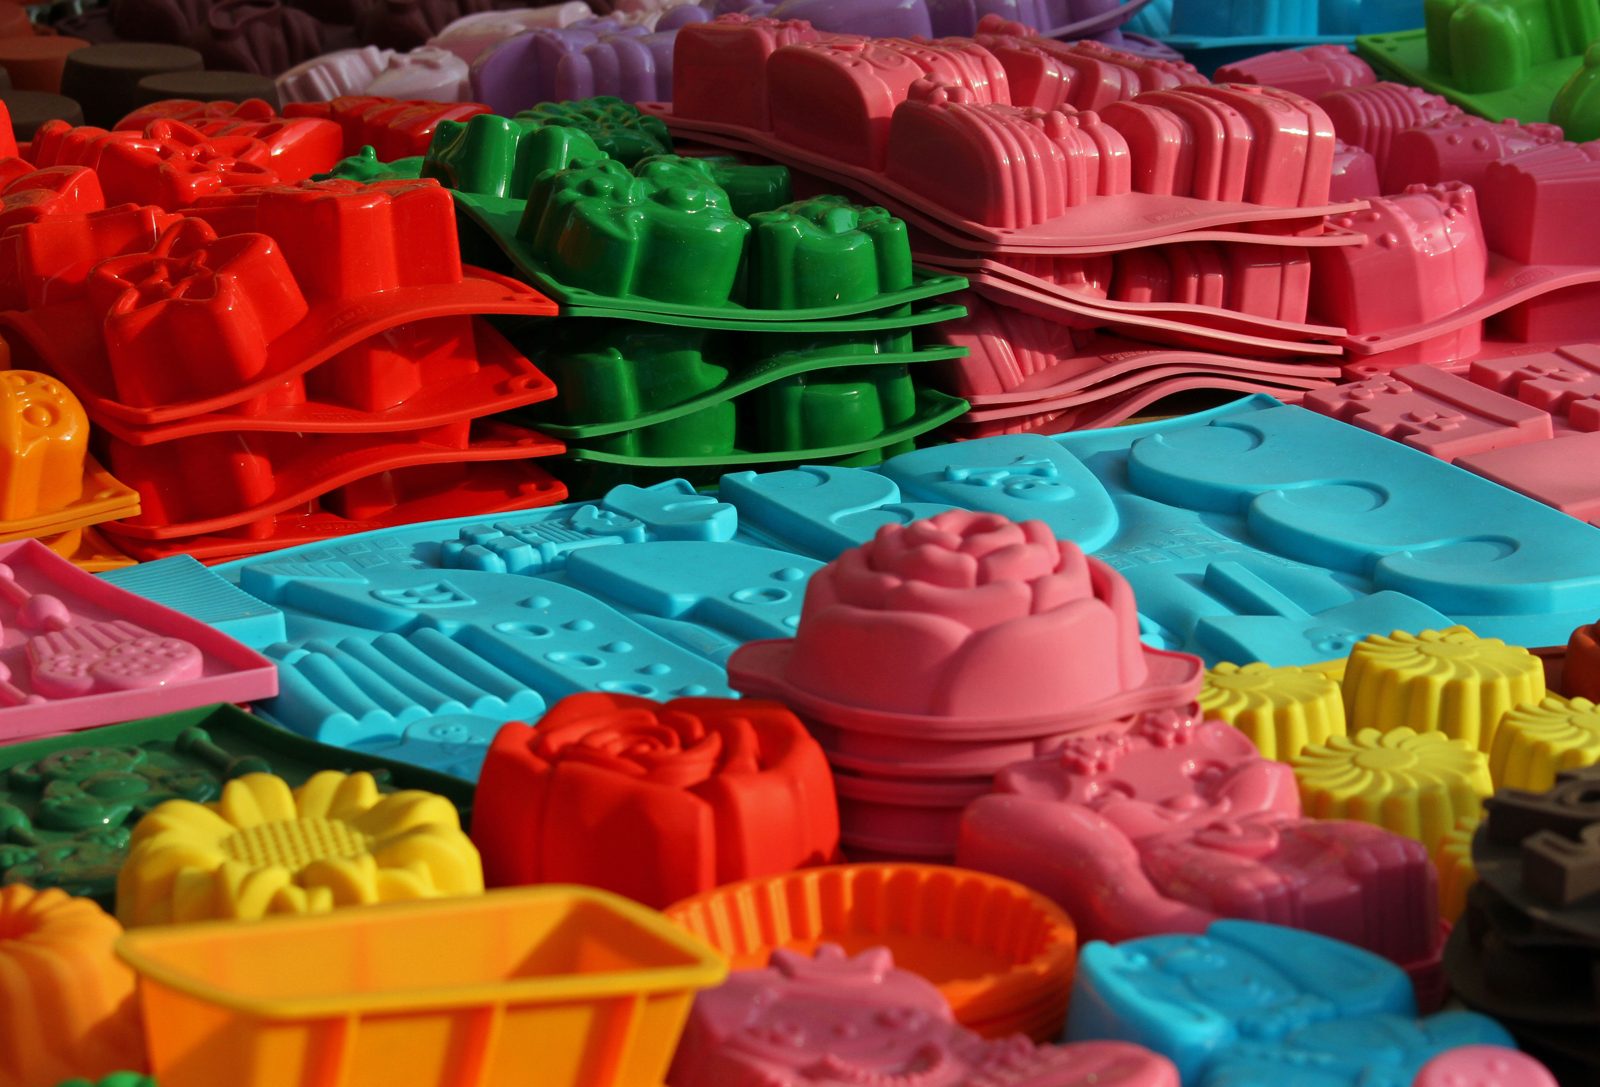
A stack of TCI silicone moulds.
  • Thomas LaneManaging Director
  • George PrestonDesign & Project Manager
  • Kelly BallingerHead of Partnerships
  • Jim AndertonProduction Manager
  • TheodoreEmployee Welfare
Meet the team