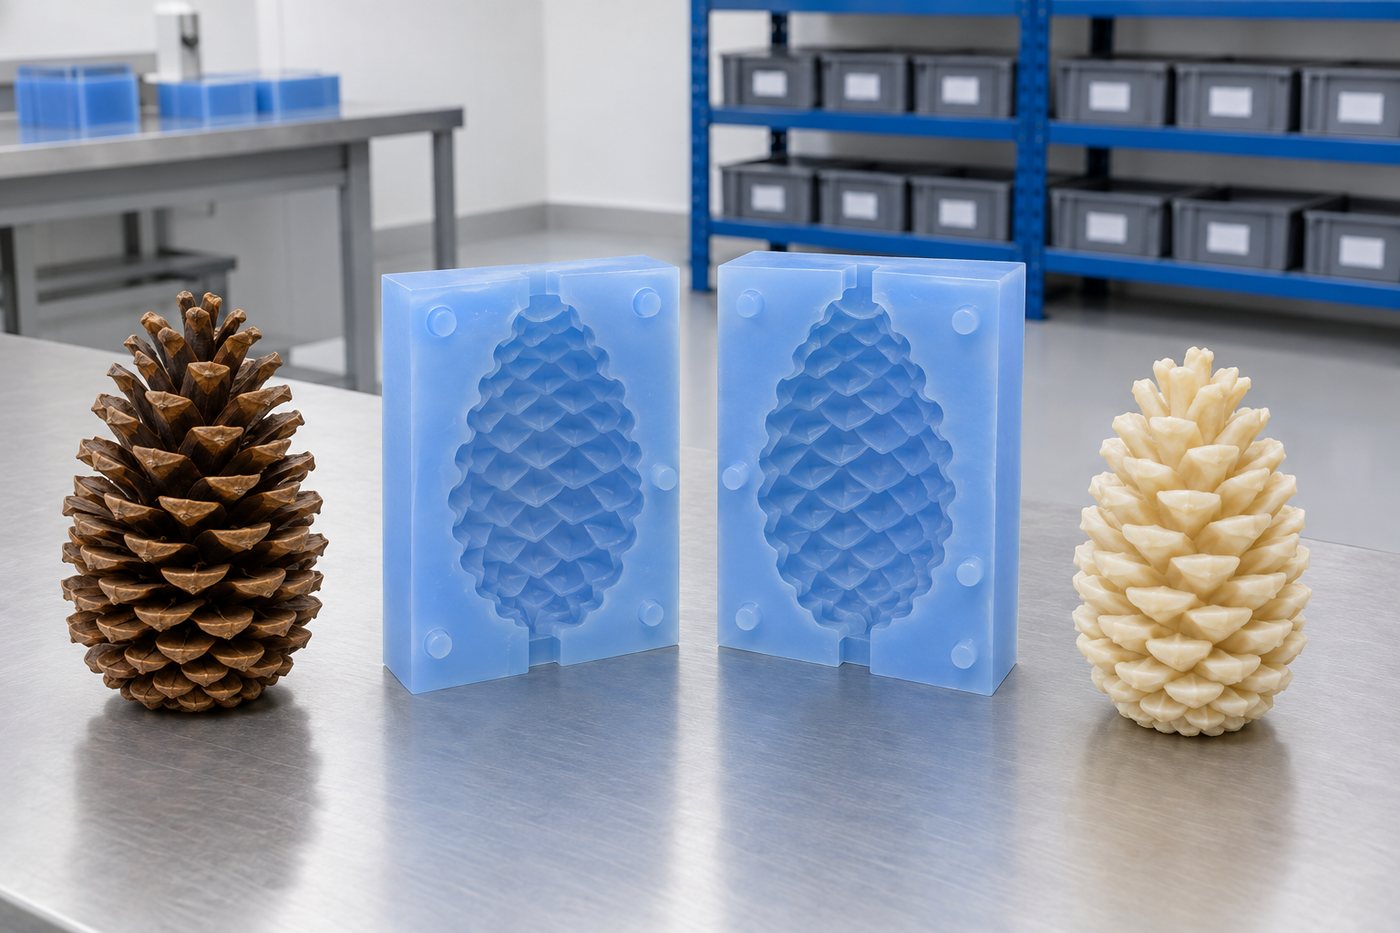
Hand-made silicone moulds
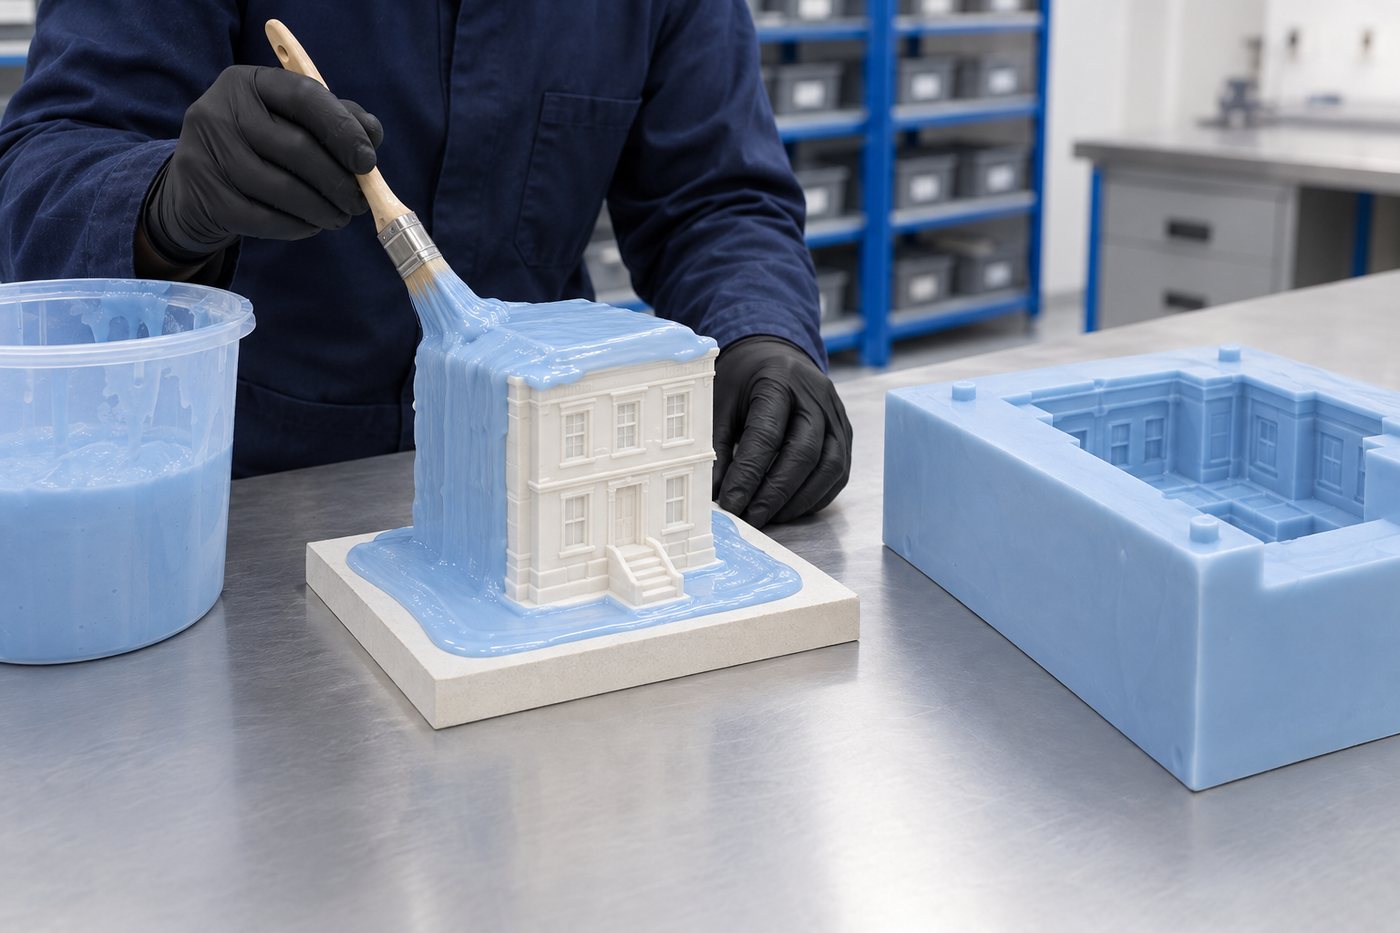
We brush and lay it up by hand around the master. This is the cheapest tooling we build and has the shortest life, but it is the only route for a shape with undercuts.
Hand-made mouldsProject record · Homeware and seasonal giftware · Hand-made route
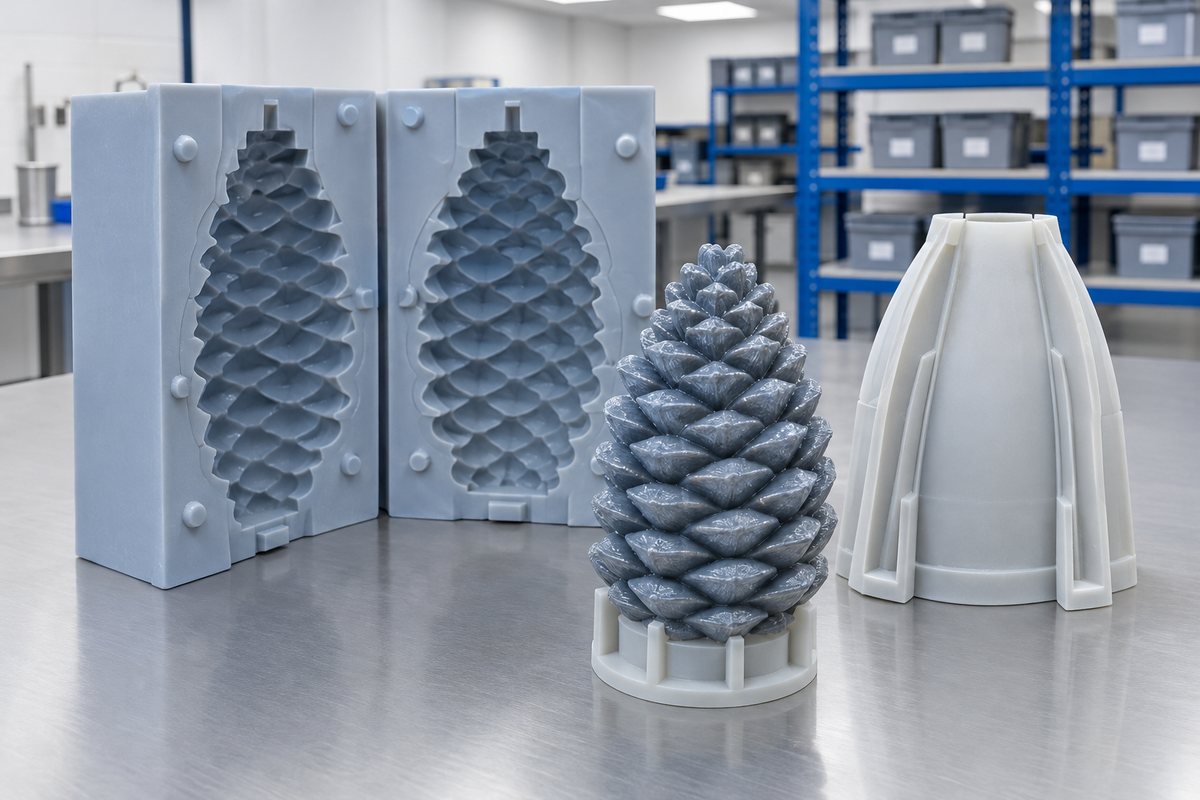
This pine cone was cast with its scales intact. Every scale creates an undercut, ruling out most ways to make a mould. A brushed glove mould inside a rigid mother mould is the only route available.
The brief
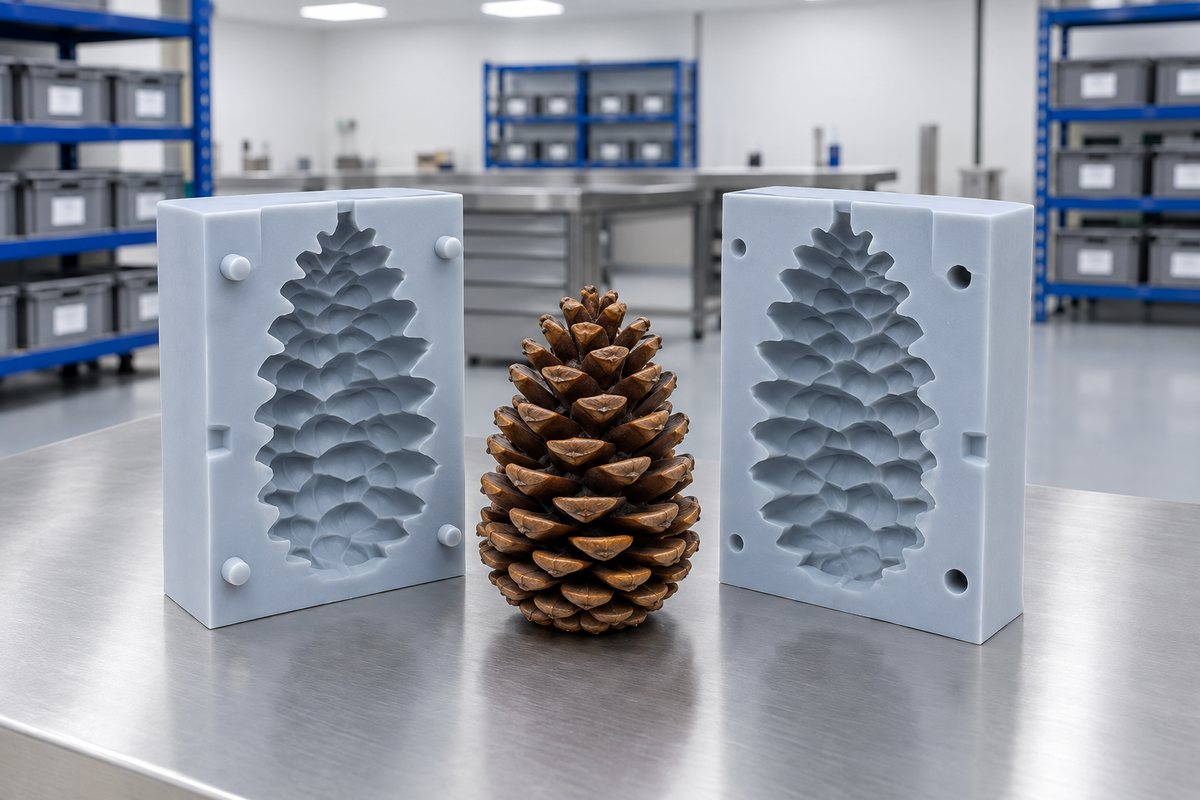
A homeware supplier came to us for a range of cast pine cones for a seasonal line, in wax and plaster. They wanted them to look like real pine cones, rather than the smoothed-over shapes found on a supermarket shelf. They brought a real cone in a paper bag. That was the master, with no drawing behind it.
The requirement was clear: keep the scales. If they come out soft, rounded or only half filled, the casting looks like a pine cone ornament, and the range is not worth making. Everything else, including the size, material and finish, was negotiable.
We took the cone and sealed it, so the silicone would not soak into it or pick up resin from its surface. We then discussed the route. It was a short conversation because, with a shape like this, most options rule themselves out.
The problem
An undercut is any feature that hooks behind itself, meaning the part cannot come straight out of a rigid cavity. A pine cone is not simply a shape with an undercut. It is made entirely of undercuts: hundreds of them, with each scale pointing back down towards the stem.
Draw a parting plane wherever you like, and you still have scales locking into both halves. A steel tool would need to come apart in more directions than there are directions, and even then, the scale tips would shear off inside the tool. Rigid tooling does not fail cleanly on a shape like this: it damages the part, then the tool wears where the flash forms.
A boxed two-part cast mould is closer to the answer, because silicone can flex. For this shape, it still falls short: removing the rigid casting requires the mould to open much further than a solid block can. Forcing it apart tears the scale detail from the mould face after only a handful of pulls.
The other constraint was the master itself: the original cone. It was real, dried, light and brittle. We had to choose a route that let us remove the mould without snapping the scales. There was no second cone that looked the same.
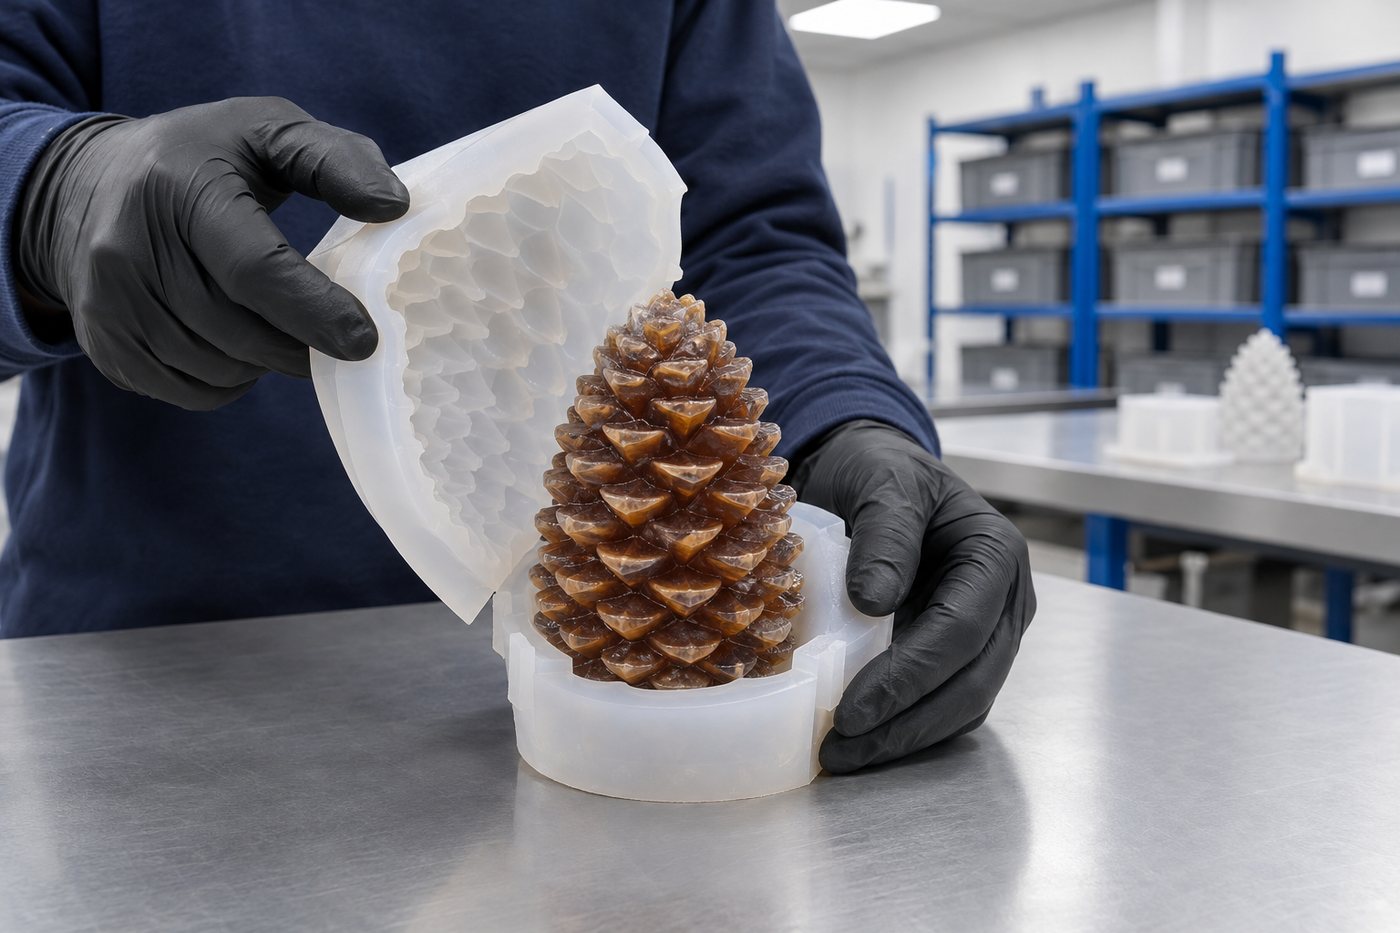
Illustrative schematic. Real tools include additional detail (runners, vents, ejector positions).
What we did
We build the mould on the outside of the master, applying one thin coat at a time. We then add a rigid shell to hold its shape.
A porous original can absorb silicone and release fibres into the mould face. To prevent this, the cone was sealed in thin passes until the surface was closed, while keeping the scale edges sharp.
We brush the first silicone coat into every scale root, helping prevent air from being trapped underneath. This coat captures all the detail in the finished mould. Everything applied afterwards is there only to hold this detail coat in place.
Apply further coats until the silicone skin has enough body to hold together when you peel it away. Thicker is not better. If you use too much silicone, it will not flex back into the scales when you close the mould for the next casting.
Registration keys are formed in the outer face, helping the parts align accurately. The split line is cut where the eye will forgive it, following a natural line between scale ranks rather than running straight across them.
A hard outer shell is built over the flexible skin in halves. Without it, the glove can distort on the bench, leaving your castings looking fat. The flexible skin handles the release, while the shell holds the shape.
We roll the skin back off the cone rather than pulling it. This is the moment when the original either survives or does not. It survived, so it went back into its paper bag.
The stages
Drag the timeline left and right, or use the arrow keys. Each stage explains what happens and roughly how long it takes.
Drag · tap a stage for detail
Total working time on a job of this shape: about 3 weeks (23 working days). Lead times shift with drawing changes, sign-off pace and material availability.
The commercial bit
Rather than quote a figure that would only be right for one job, here is a worked example, based on a realistic project of this shape. Your quote follows the same shape, with your part, your volume and your material.
A home-goods brand wanting 300 decorative resin pine cones per season.
| High-elongation silicone glove mould | £280 one-off |
|---|---|
| Plaster support jacket | £95 one-off |
| Tooling amortised over 300 pieces | ≈ £1.25 per piece |
| Resin cast, hand-peel, colour finish | ≈ £4.80 per piece |
| Landed cost per piece | ≈ £6.05 |
Silicone mould gives 25–35 pulls before elongation fatigue takes over. Budget for a replacement mould in year two if you re-run.
Two other mould makers told us it could not be done in one piece. You told us it could not be done in two, which turned out to be the useful answer.
Product buyer, homeware and seasonal giftware
Behind the work
This project brought together three services. The first provided the route, the second made the original safe to pour against, and the third was the consumable.
We brush and lay it up by hand around the master. This is the cheapest tooling we build and has the shortest life, but it is the only route for a shape with undercuts.
Hand-made moulds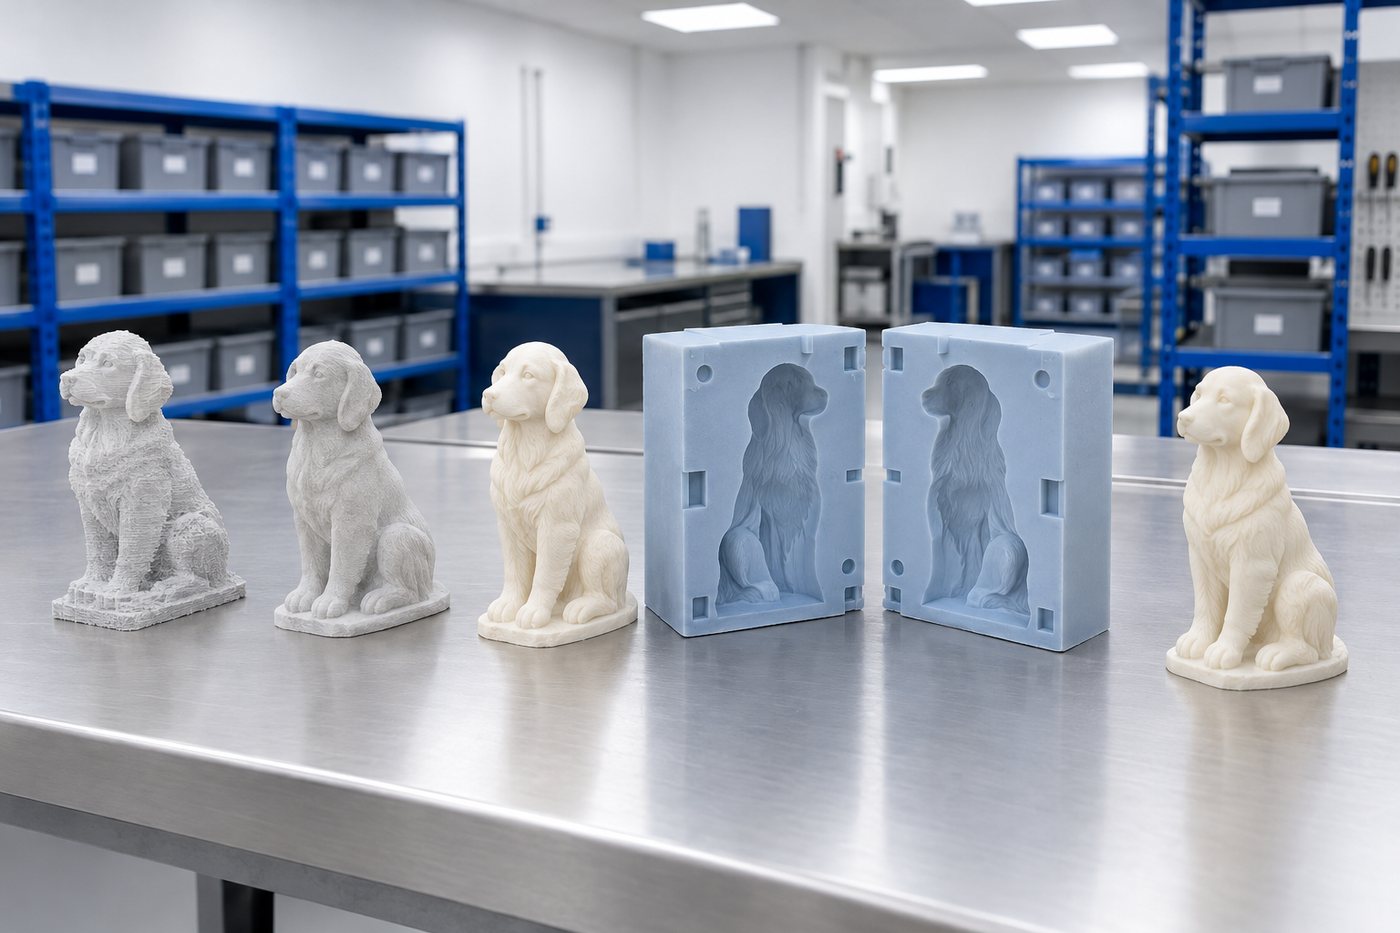
Sealing, repairing and copying the original can account for most of the risk when you're working with natural masters.
Master patterns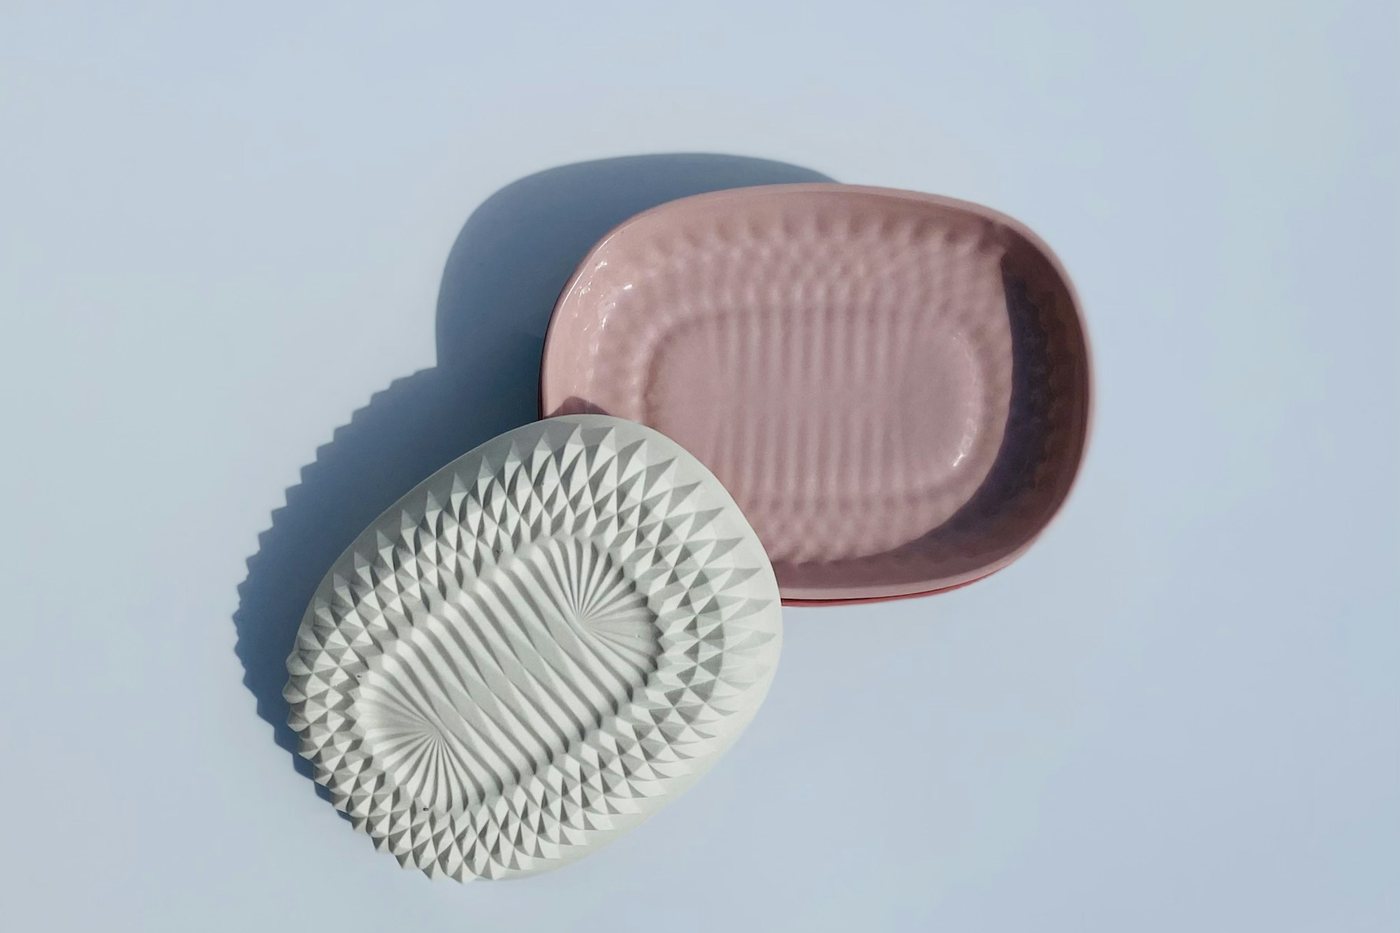
If you need a second mould from the same master, or repeat moulds when the detail starts to soften, order them with the first mould rather than waiting until a production line stops.
Replacement mouldsMore records
Hand-modelled pattern: recovering a master from a tacky mould face
Jewellery masterWe captured fine detail on an aerospace part and achieved repeatable filling by removing the air first.
Aerospace componentMoulded relief on a curved strap face, validated in a soft tool before steel was cut.
Watch strap logosNext step
Undercuts are one of the most common reasons a mould enquiry goes quiet. You send your shape to a tool maker, hear that it needs six side actions, and wonder where to go next. Often, the answer is not a more complicated hard tool. A flexible skin and a rigid shell can do the job, at a fraction of the quoted cost.
If you have the object, send it to us. If not, photographs from several angles with a rule in shot will do. Tell us what you want to cast in it and roughly how many you need. The material affects how hard the mould has to work, while the quantity determines how many moulds you will need.
If the original is natural, fragile or irreplaceable, say so at the start. That changes the sequence: we seal it, take a copy and work from the copy, so we do not risk the original twice.
At a glance
How a two-part mould fits together
Swipe to see the whole diagram
Ready to start?
Send us a drawing, a photograph or a sample, and we'll come back with a mould strategy, a material recommendation and a price.
Real people, a real workshop
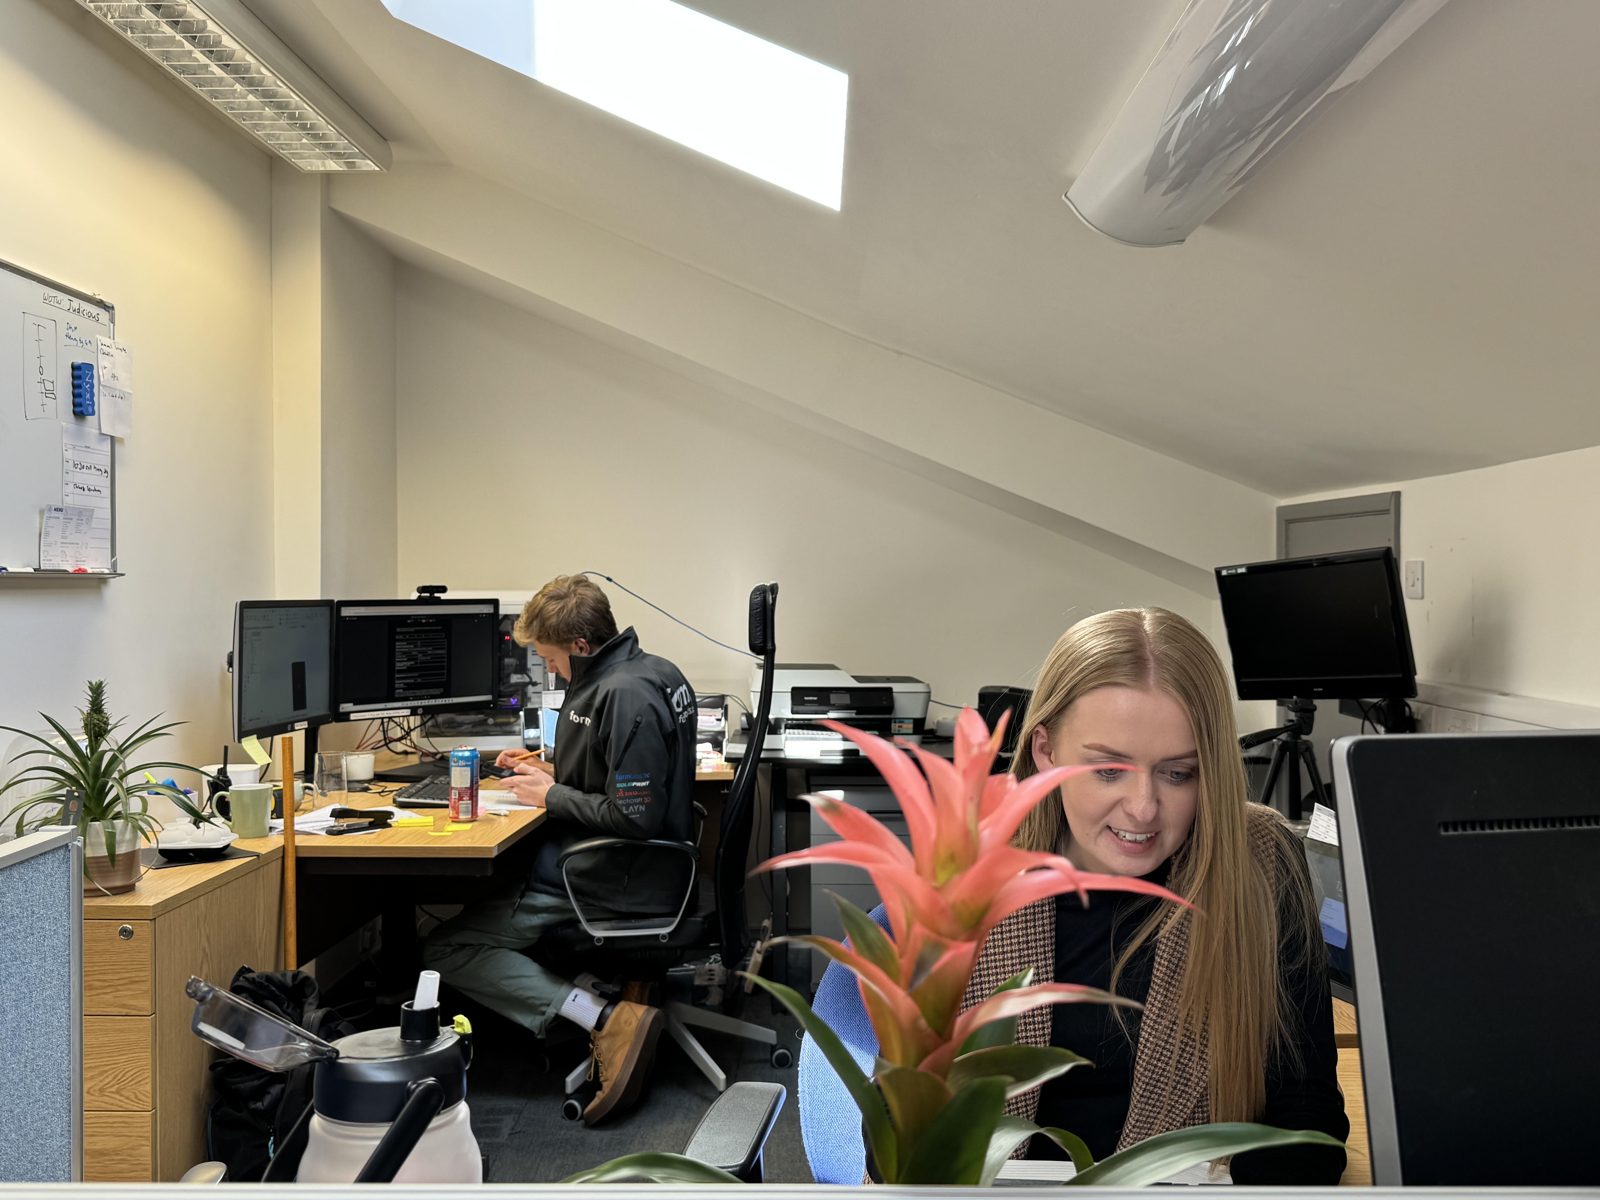
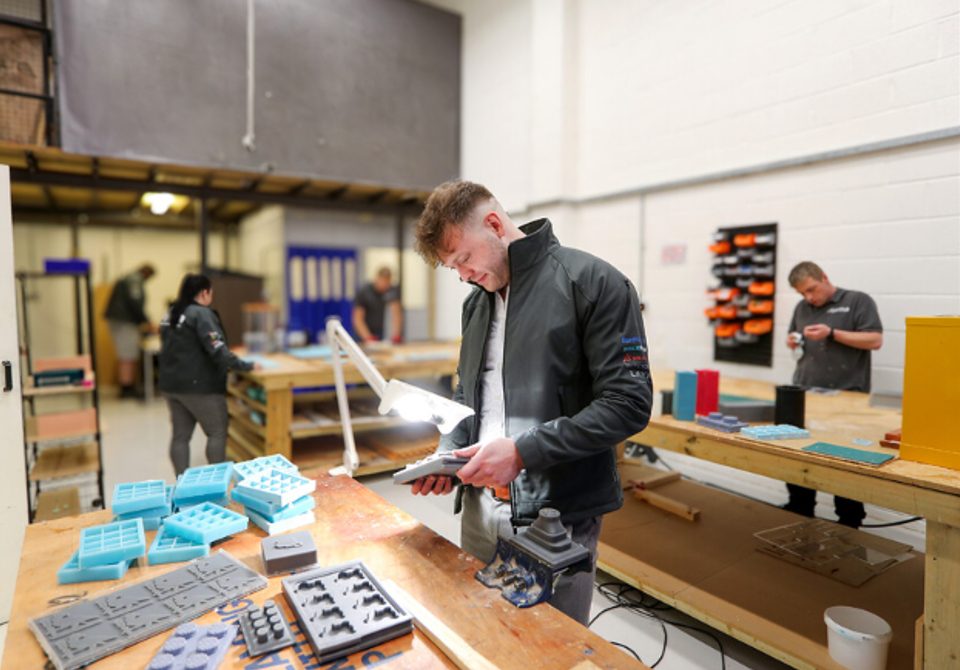
No call centre and no middlemen. When you contact TCI Mouldings, you speak to the team who design, build and check your mould.
 Thomas LaneManaging Director
 George PrestonDesign & Project Manager
 Kelly BallingerHead of Partnerships
 Jim AndertonProduction Manager
 TheodoreEmployee Welfare