The annual quantity, honestly
Use the number you can commit to, rather than your best-case estimate. It sets both the cavity count and tooling specification. An inflated figure can leave you with a tool you cannot fill.
Route five of five · liquid silicone rubber
We meter, mix and inject liquid silicone into a hardened tool. This involves the highest tooling investment, but gives you the lowest cost per part we can offer. It is the right choice for components you will buy for years, and the wrong choice for almost everything else.
The arithmetic
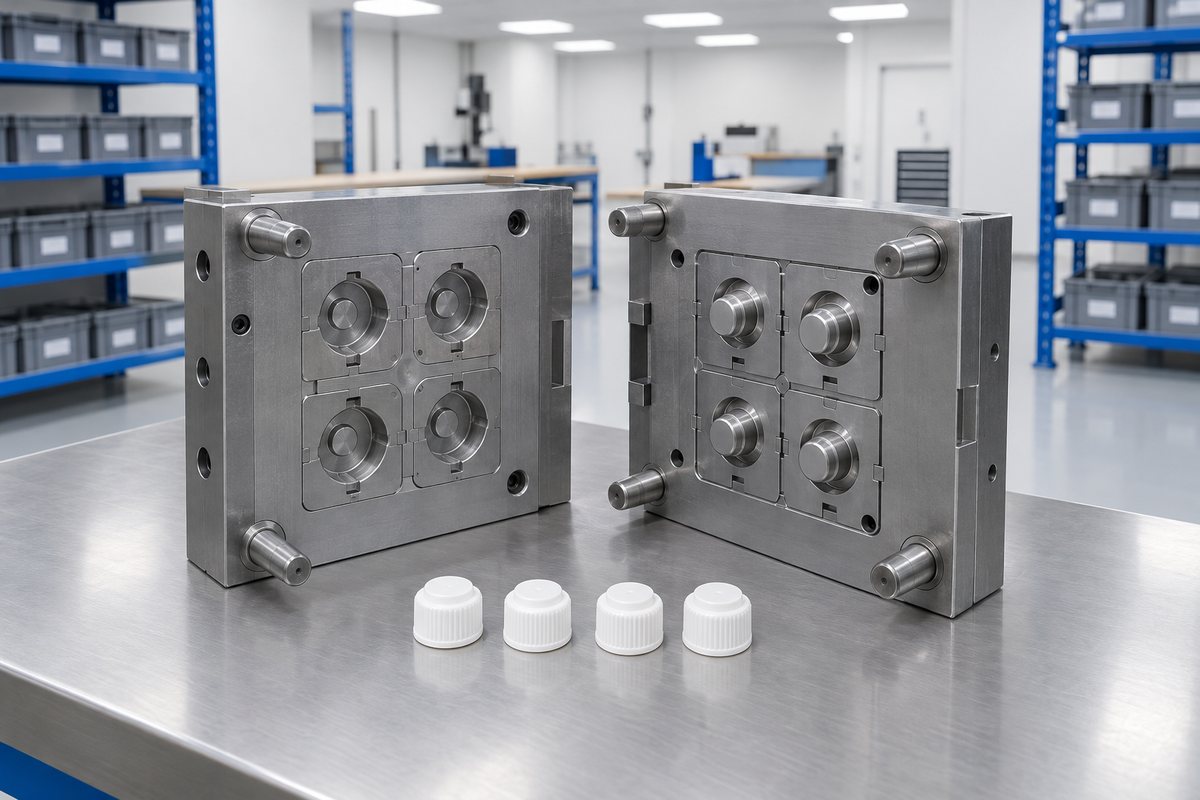
There is no clever way round this: an injection tool is made from hardened steel, machined and finished to hold detail for a very long time. It costs what it costs before you have a single part. That cost is then divided across every part it makes over its lifetime.
Spread it across a season's worth of parts and the cost per piece can be painful. Spread it across several years of a component fitted into a product you sell continuously, and it fades into the background, while the unit cost remains lower than any other route we have.
Before looking at what the part looks like, we first ask how many you expect to buy, over what period and how confident you are in that figure. A confident annual quantity repeated over several years makes injection an obvious choice. A hopeful one-year forecast makes it a gamble with your money.
If you are not there yet, that is perfectly normal. A sensible route is to prove the part in a soft or bridge tool first, then convert once the design and volumes have stopped moving. See prototype and bridge tooling.
Preconditions
Once the tool has been cut, changing a feature means reworking hardened steel or cutting a new one. Small changes are sometimes possible, but most are not, and none are cheap. If you are still deciding on the part, it is best to finalise it before the tool is cut.
Not aspirational. A tool sized for a forecast that never arrives is the most expensive mistake in this list. You spend the money up front, with nothing to recover it from.
For injection, your part needs even walls, proper draft, no features that trap air, and a parting line that does not cross a face you care about. Injection is less forgiving of challenging geometry than a flexible mould, which may have shrugged it off.
How it runs
Liquid silicone arrives as two components, so it behaves very differently from a thermoplastic. The process is built around that difference.
The two components are pumped in a fixed ratio, because getting it wrong can mean the material does not cure properly or cures faster than it can be injected. We monitor this part of the process carefully, so it is not a setting anyone has to guess at.
The components are combined in a static mixer immediately before the shot. Once combined, the clock is running, so everything downstream of the mixer is designed to be cleared and kept clean.
This is the opposite of thermoplastic moulding. The material enters a heated tool while the feed system stays cool. This allows the silicone to cure in the cavity, rather than on the way there.
Before the run continues, we check the first-off parts against the approved part. If the job has a specified grade, we record the material against the order, so a repeat gets the same silicone.
A well-designed LSR tool leaves very little for you to remove. If flash is unavoidable, it is dealt with as part of the process rather than left for you to find.
To quote it
Use the number you can commit to, rather than your best-case estimate. It sets both the cavity count and tooling specification. An inflated figure can leave you with a tool you cannot fill.
A component that remains in production for years calls for a different tool from one made for a single model or season.
Whether you need food contact, high temperature, electrically insulating silicone or compliance with a customer specification, choosing the right grade matters. It affects tool design and cycle behaviour, not just the material cost.
Many parts that arrive requesting injection run perfectly well in compression at a fraction of the tooling cost. We'll work through both costs and show you the comparison.
At a glance
Which route suits your quantity
Swipe to see the whole diagram
From idea to finished mould
Swipe to see the whole diagram
Ready to start?
Send us a drawing, photograph or sample. We'll come back with a mould strategy, material recommendation and price.
Real people, a real workshop
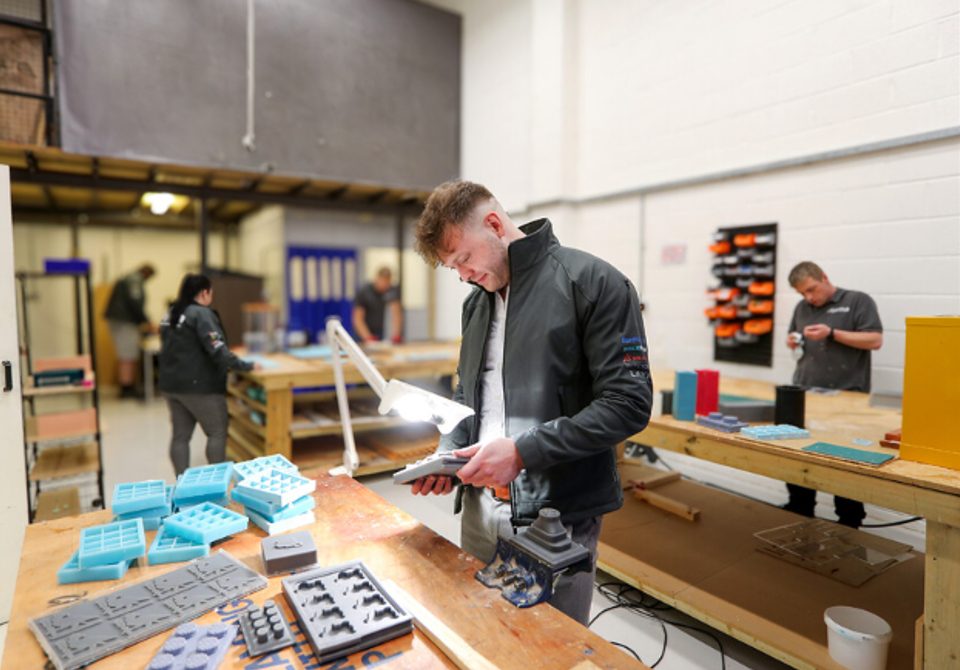
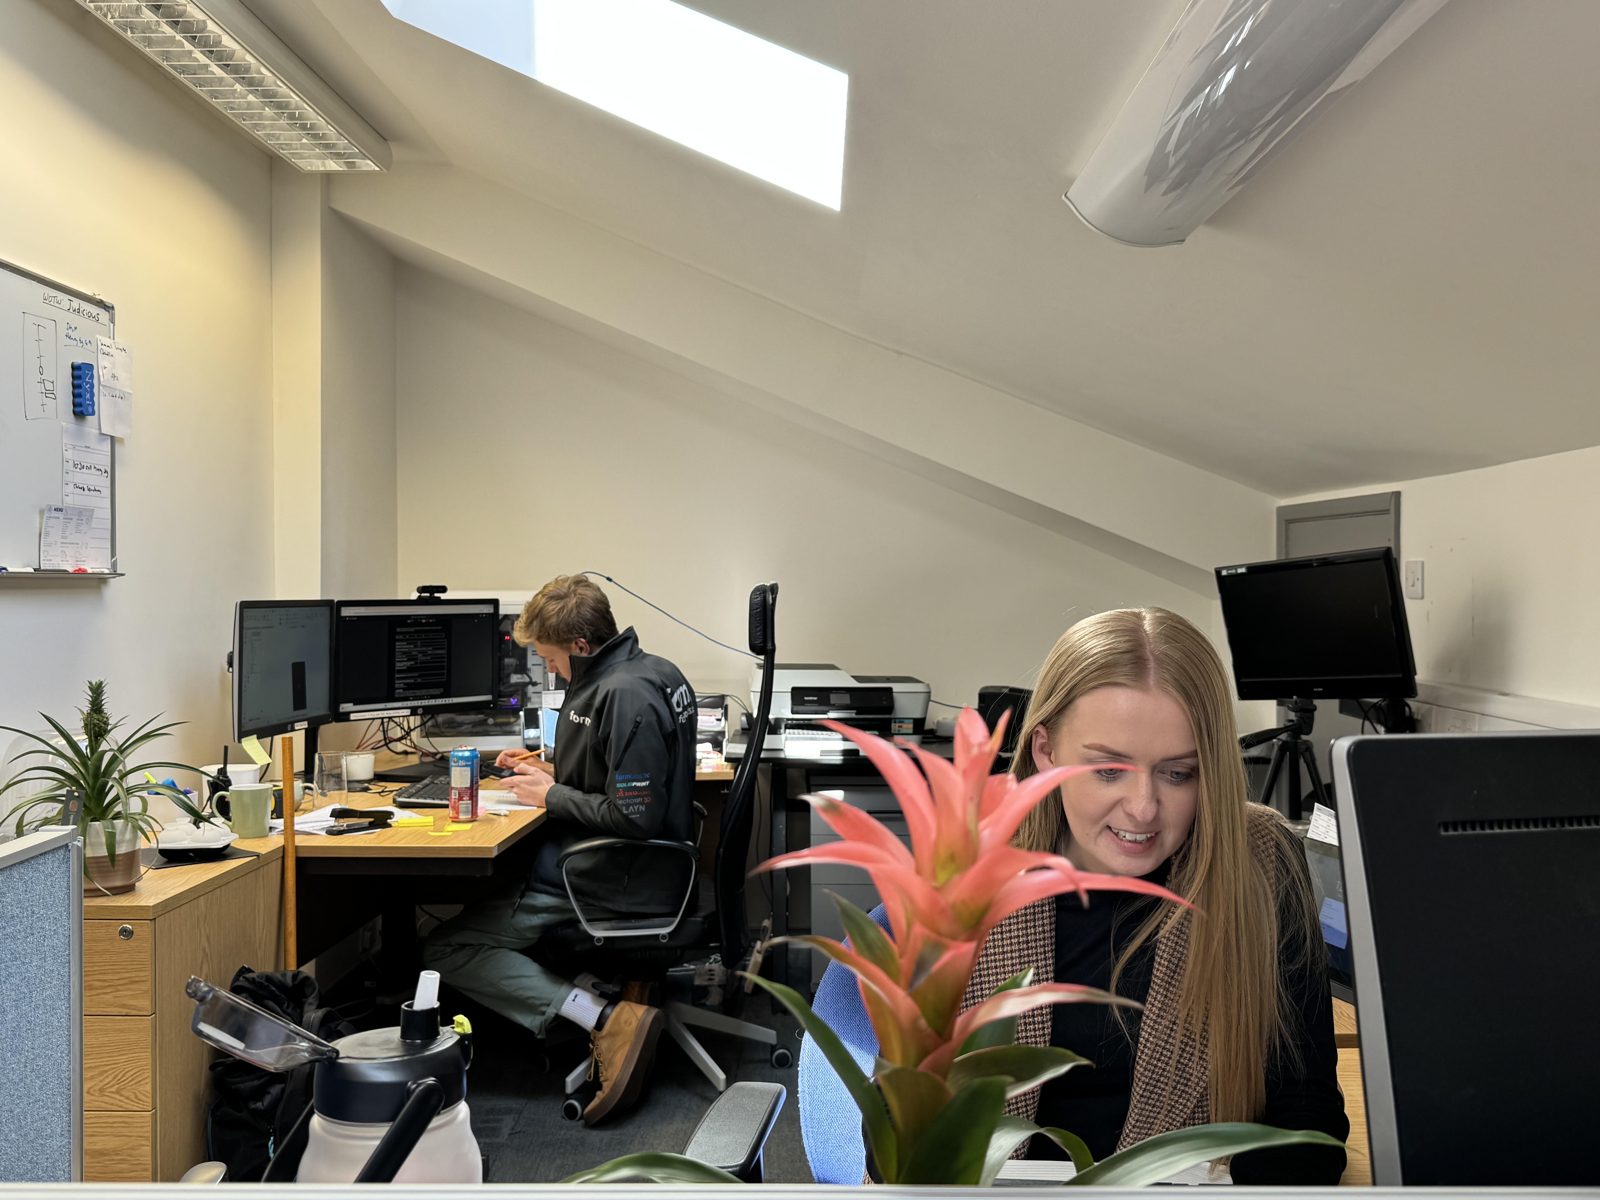
No call centre and no middlemen. When you contact TCI Mouldings, you speak to the team who design, build and check your mould.
 Thomas LaneManaging Director
 George PrestonDesign & Project Manager
 Kelly BallingerHead of Partnerships
 Jim AndertonProduction Manager
 TheodoreEmployee Welfare