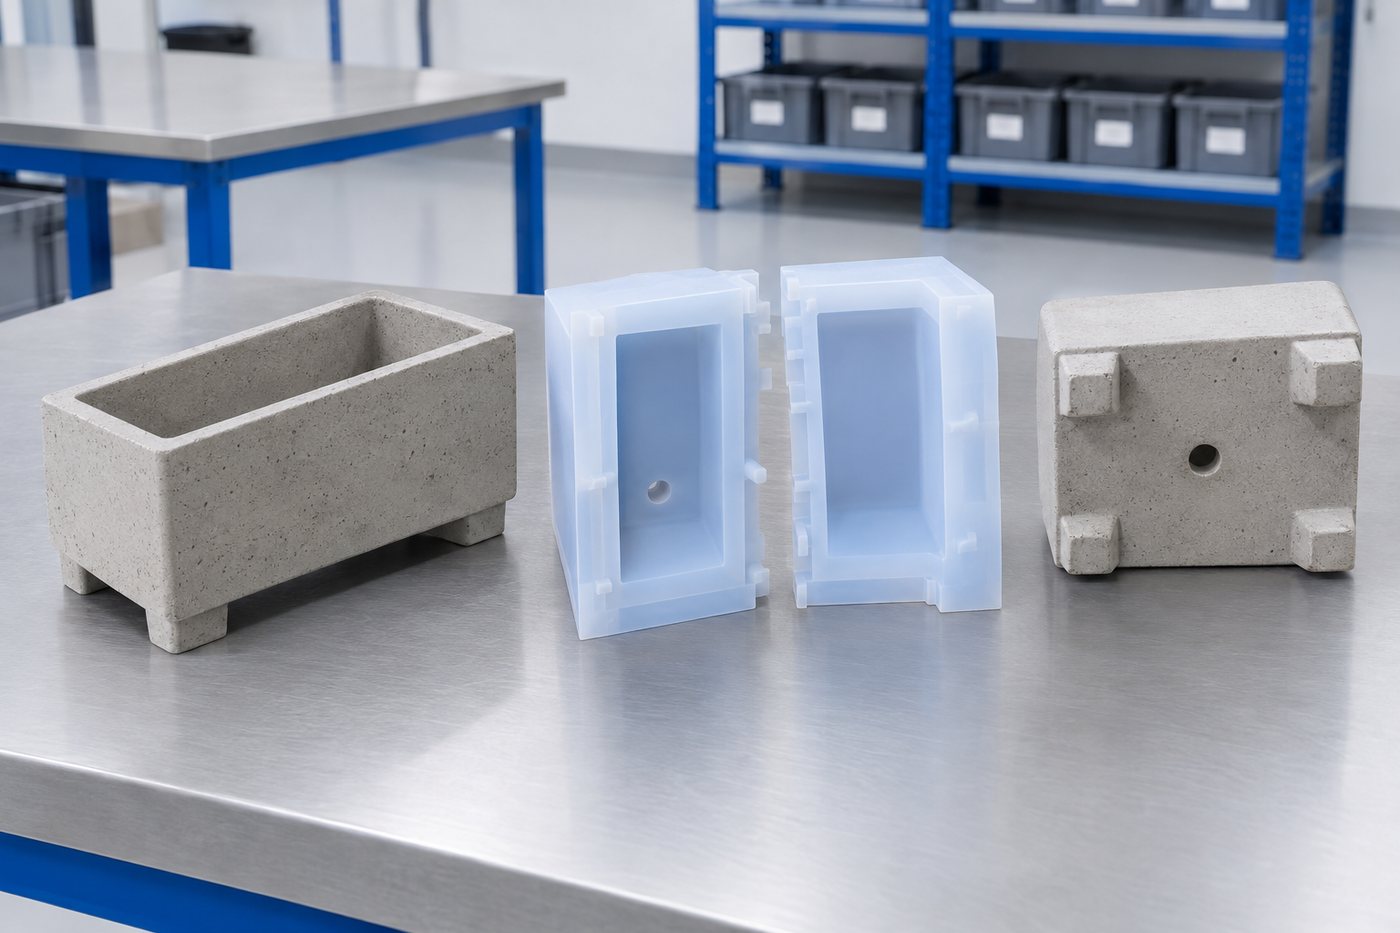
A soap loaf mould that stopped bulging
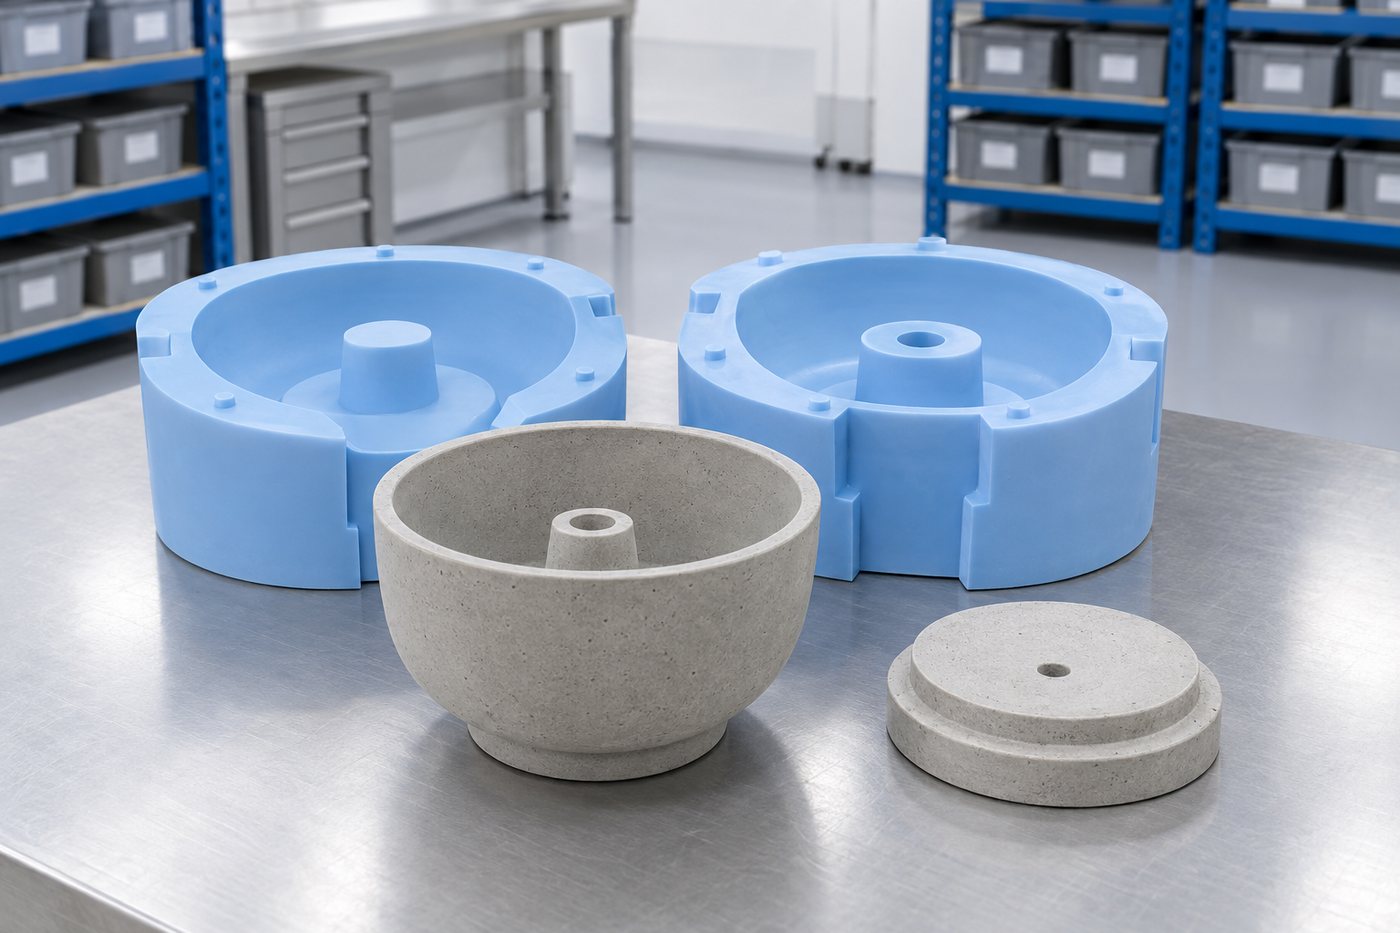
Silicone inner, rigid sleeve, brand relief on the base.
Read the recordProject record · Homeware · Cast silicone for concrete
A homewares brand was pouring concrete planters, then drilling drainage holes and gluing on rubber feet by hand. They wanted a mould that put both features into the casting itself, and they wanted the wall thickness controlled so the finished planter did not fracture in transit.
The brief
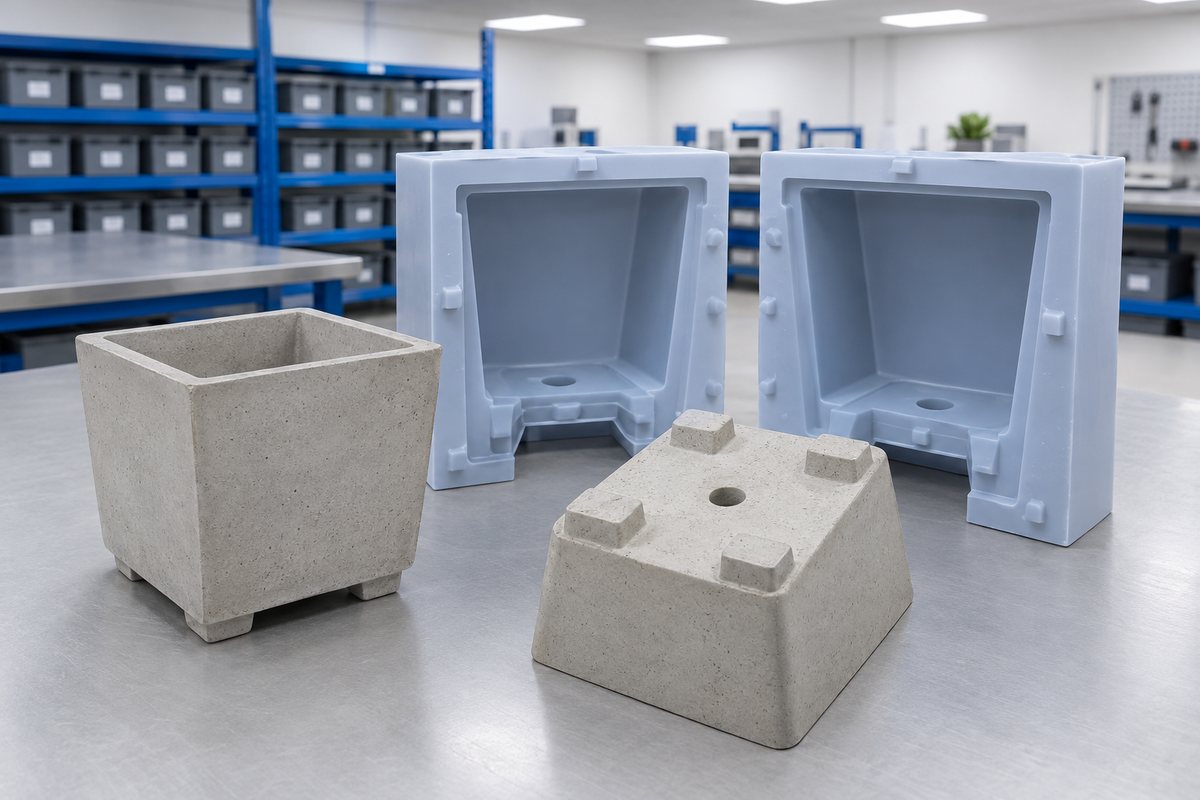
The brand had a planter range that sold well, but every finished piece went through three post-cast steps: drilling a drainage hole in the base, sanding the drill marks, and gluing on three rubber feet. Each step added time, added cost, and added a failure mode.
They wanted a mould that put the drainage hole into the casting itself, cast three low feet into the base, and gave a uniform wall thickness so the planter did not fracture along a thin spot in transit.
The finish had to be smooth on the outside. Concrete casting silicone is very good at capturing texture. It is equally good at capturing bench dust. So the outer face of the mould had to release from a master that had been polished, not just smoothed.
The problem
The drainage hole is an internal feature. To cast a hole into a concrete planter, the mould has to include a plug that stays in place during the pour and lifts out afterwards. A silicone plug flexes for release; a rigid plug jams. The plug had to be silicone with a rigid stem.
The base feet are the opposite problem. They are external features that sit on the underside of the base. The mould has to have three matching recesses in what becomes the top surface during pouring. Those recesses have to release cleanly around a full-strength concrete cure, which likes to bond to itself around any positive shape.
The wall thickness is really a levelling problem, not a mould problem. If the mould sits off-level during pour, the concrete pools to the low side and the wall thickens on that side and thins on the other. So the mould had to include its own levelling base, and the pouring process had to be documented.
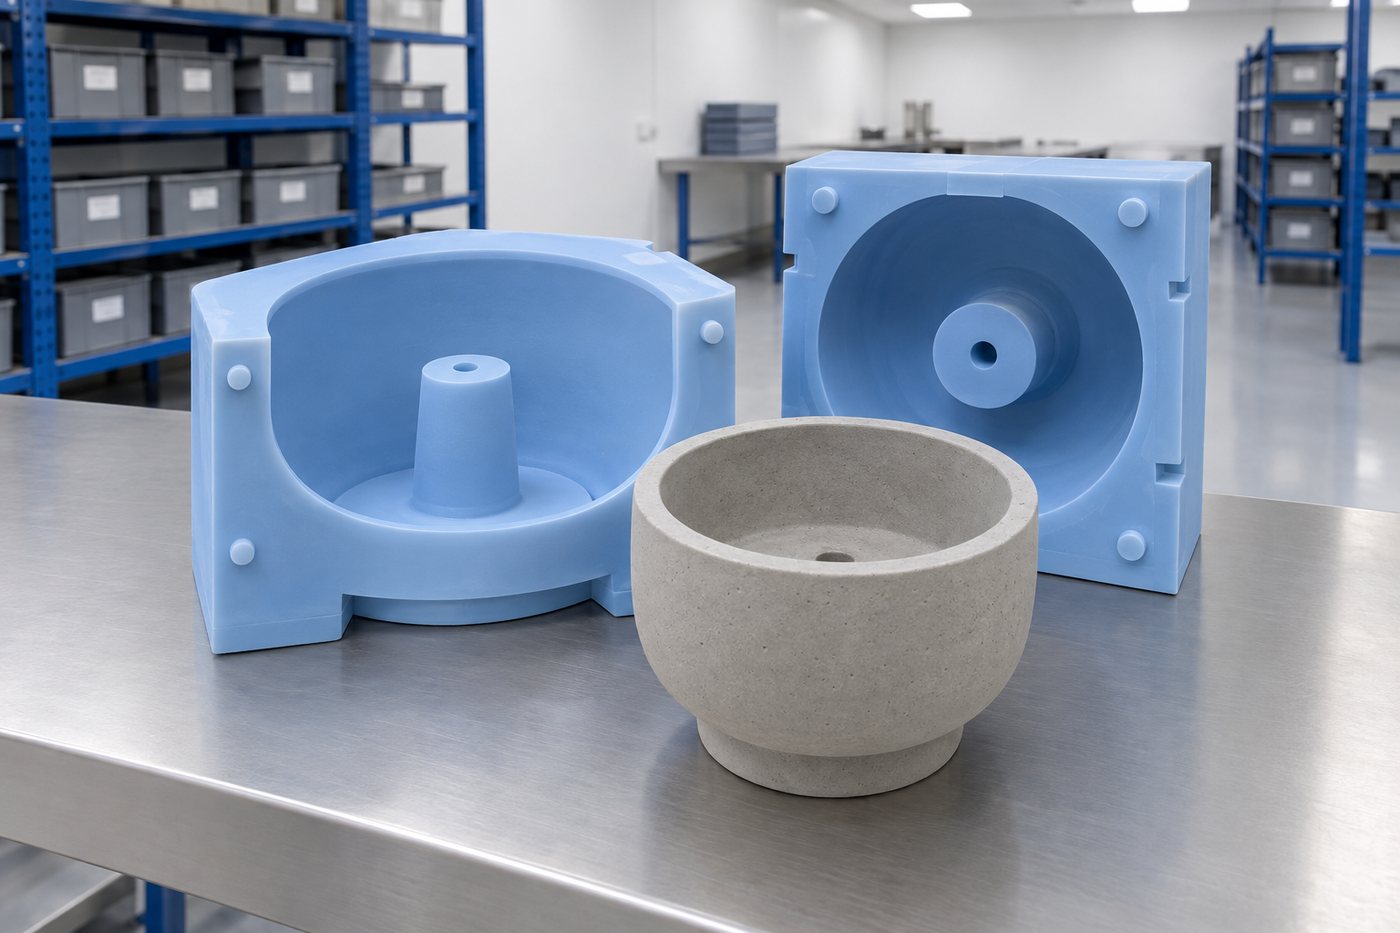
Illustrative schematic. Real tools include additional detail (runners, vents, ejector positions).
What we did
Every feature the finished planter needed was designed into the mould, not added after.
The planter was modelled with the drainage hole, three base-foot recesses, and a uniform 8 mm wall. The mould was designed backwards from that geometry, not the other way around.
The master was CNC-cut in a high-density tooling foam, then hand-polished. Polishing the master pays back in the finished planter surface — the mould captures the polish, the concrete captures the mould.
Concrete-grade silicone was cast over the master to form the outer shell. Wall thickness was set at 15 mm to resist the hydrostatic load of the concrete pour.
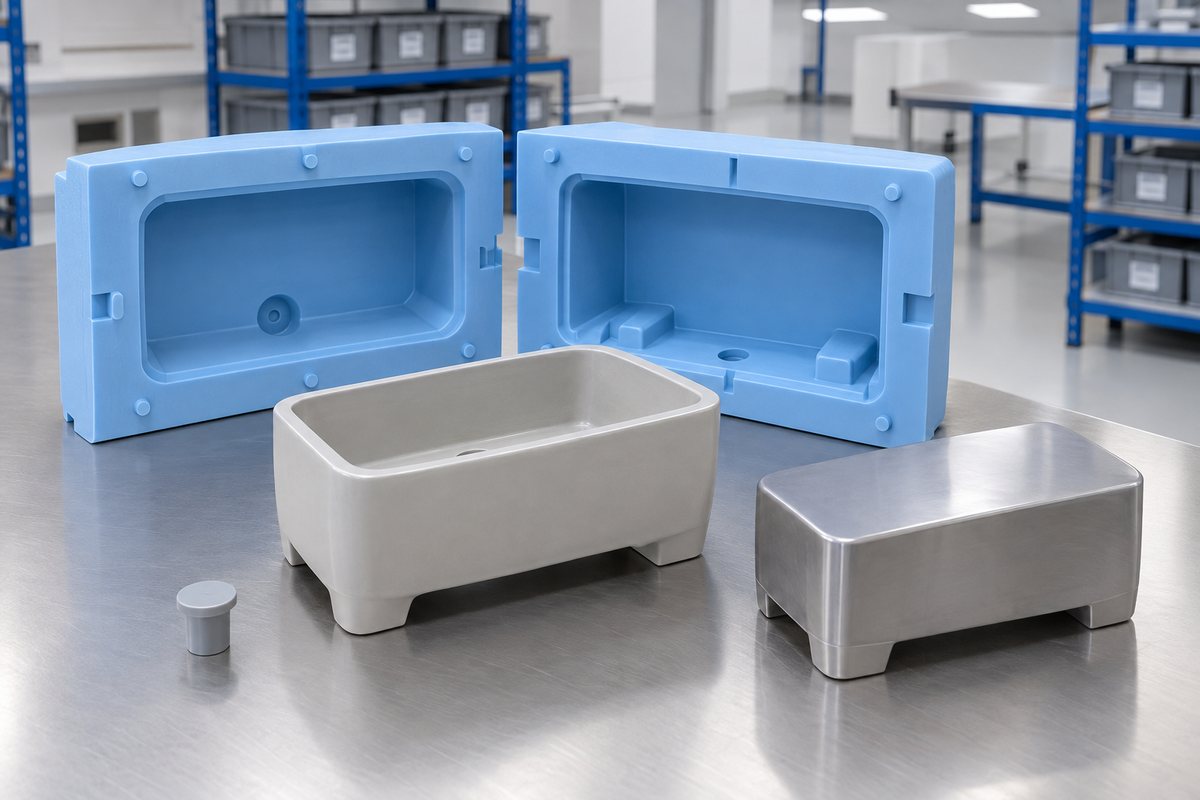
The drainage plug was cast in silicone with a rigid aluminium stem. The stem lets the plug be pulled cleanly out of the cured concrete; the silicone lets the concrete release from the plug without cracking around the hole.
A levelling base was CNC-cut in phenolic, with the three foot-recess positives mounted on it. The mould sits on the base during pour, and the base carries the recesses for the feet.
First-off planters were poured with the brand's own concrete mix. The plug came out clean, the base feet released without cracking, the wall was uniform to within half a millimetre. Signed off on the third pour.
The stages
Drag the timeline left and right, or use the arrow keys. Each stage explains what happens and roughly how long it takes.
Drag · tap a stage for detail
Total working time on a job of this shape: about 4 weeks (28 working days). Lead times shift with drawing changes, sign-off pace and material availability.
The commercial bit
Rather than quote a figure that would only be right for one job, here is a worked example based on a realistic project of this shape. Your quote follows the same shape, with your part, your volume and your material.
A homewares brand casting 25 planters a week over a two-year retail cycle.
| Master pattern + CAD | £1,850 one-off |
|---|---|
| Silicone outer shell | £850 one-off |
| Drainage plug + levelling base | £620 one-off |
| Tool amortised over 2,600 planters | ≈ £1.28 per planter |
| Concrete, colouring, cure | your existing cost |
Numbers are indicative for a 240 mm × 180 mm planter with a single drainage hole and three cast base feet. Additional plug positions push tooling up moderately.
One pour, one planter, no drill, no glue. It changed the unit economics on the whole range.
Founder, homewares brand
Where it landed
Every project record on this site is a real piece of work delivered to a real client, with the tooling and the numbers to back it up. This one is no exception.
If you have a similar problem, please send a drawing or a photograph. We will come back with a route, a lead time, and an indicative cost.
More records
Silicone inner, rigid sleeve, brand relief on the base.
Read the recordTapered wall silicone tool that released clean every pour.
Read the recordNext step
Send us the finished piece — a photograph or a drawing — and describe what you're doing after the cast. Drilling, sanding, gluing feet, spraying a base — each of those is usually solvable inside the mould, in one pour.
If you're currently pouring into plaster, timber or wire-formed cardboard, silicone typically pays back inside 200 to 400 castings, depending on the finish tolerance you need. We'll model that for your specific volumes if you send them.
Ready to start?
Send us a drawing, photograph or sample, and we'll come back with a route, a material recommendation and a price.
Real people, a real workshop
No call centre and no middlemen. When you contact TCI Mouldings, you speak to the team who design, build and check your mould.
 Thomas LaneManaging Director
 George PrestonDesign & Project Manager
 Kelly BallingerHead of Partnerships
 Jim AndertonProduction Manager
 TheodoreEmployee Welfare