Bidford-on-Avon, Warwickshire. Mon to Fri.01789 224228

Silicone mould guide

Pillar candles or vessel candles: which mould do you actually need?

Two tools, two entirely different jobs. Choosing the wrong one can be expensive. Find out where pillar production wins, where vessels win, how the moulds are built differently, and what wicking does to both.

2Routes compared
8Points of difference
5Common mistakes
2019Established

The short answer

One mould makes the candle. The other makes its holder.

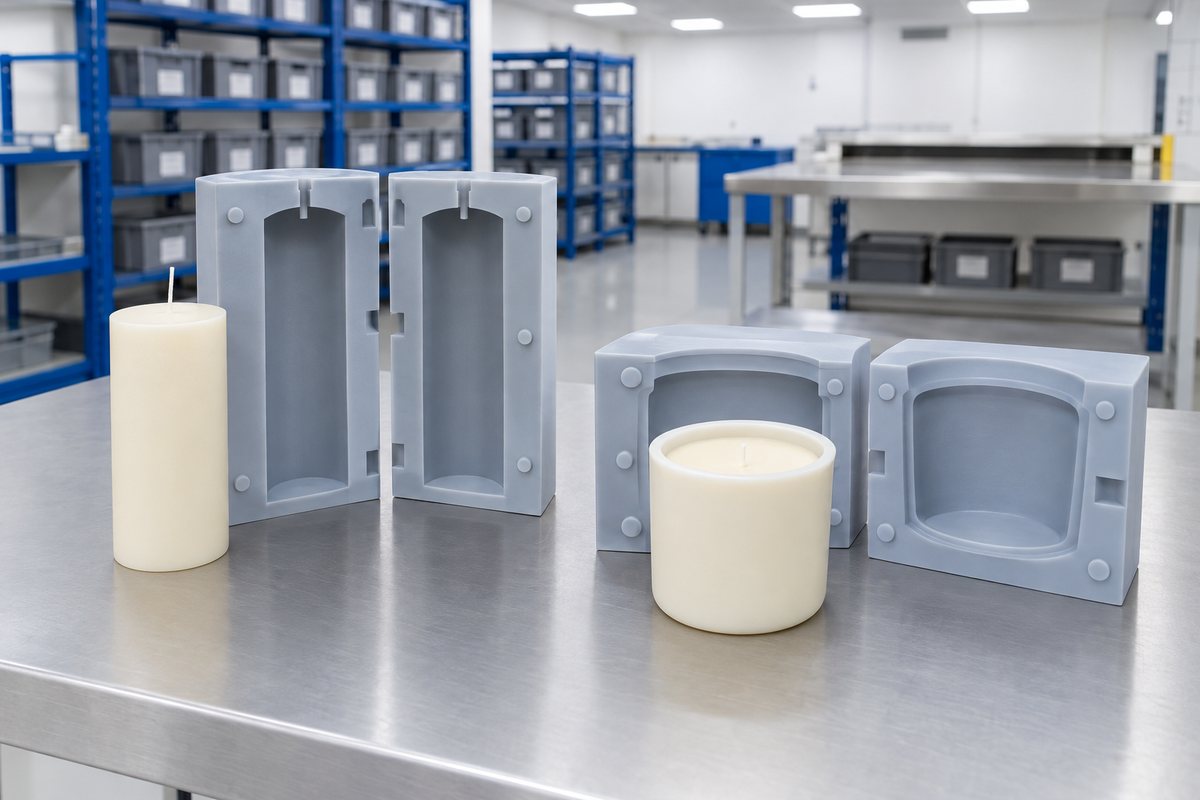
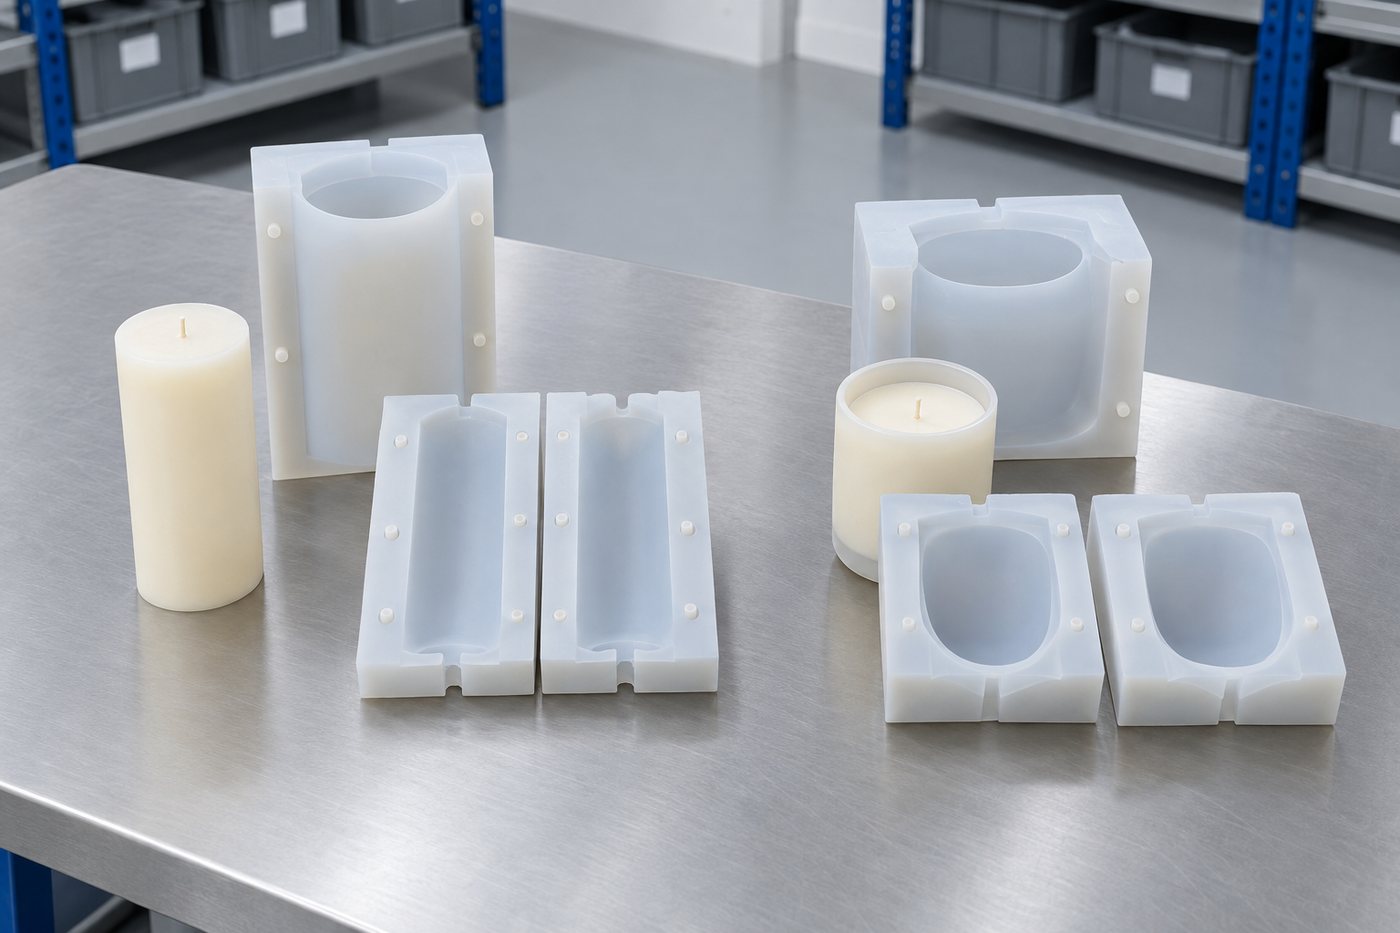
Illustrative example: Pillar candle mould and vessel mould setup shown side by side
One tool forms the candle, the other the holder

This is the question we hear more than any other from chandlers, and it is usually asked the wrong way round. People call us looking for a candle mould when they actually need a vessel mould, or the other way around. The two tools may look similar on a workbench, but they have very little else in common.

A pillar mould forms the wax itself. Its silicone surface becomes the product surface, so the tool sees warm wax on every cycle. Your candle must also come out of the mould hundreds of times without marking. A vessel mould forms a container, usually in concrete, jesmonite, plaster or resin. The container is then filled with wax somewhere else entirely, so the wax never touches the tool. As a result, the cast material, hardness, wall thickness and expected life are all different.

Get this decision right, and the rest of the specification follows. Get it wrong, and you may have bought a good mould for a job you are not doing.

The candle mould buyer's guide

Side by side

The differences that matter in production.

This is not a feature comparison. It focuses on the things that affect what you pay, how quickly you can work and what might go wrong.

A comparison of pillar tooling and vessel tooling, as outlined in our quotation.

ConsiderationPillar candle mouldVessel or container mould
What the tool formsThe candle. Mould surface becomes product surface.The container. The wax is poured in afterwards.
Cast materialWax, poured warm and setting soft.Concrete, jesmonite, plaster, resin or cast stone.
Main wear mechanismHeat cycling and repeated peeling.Abrasion, alkalinity and cast weight.
Typical hardnessSofter end of the range, for peeling off detail.Firmer, to hold shape under a heavy cast.
Wall thicknessThinner walls are workable, since the cast is light.Thicker walls, often with a rigid outer shell.
DemouldingFlex, invert and peel. Usually by hand, at speed.Wait for cure, then release carefully. Slower cycle.
Wick handlingWick pin or post-drilled hole, designed into the tool.Wick fixed into the finished vessel at filling.
Where the cost sitsCavity count and cavity finish.Wall build, shell work and cast weight.

If a job needs both, and many do, we will quote them as two separate tools rather than pretending one mould can do both jobs.

Pillar production

When pillars make sense.

If wax is your product, pillars could be a good fit. There is no jar to buy, no vessel to stock and nothing to ship empty. Your material costs are wax, fragrance, wick and packaging, while your margin comes from the shape. A distinctive pillar is one of the few candle products a small brand can own outright: the mould is yours, and nobody else has that shape.

Once your tooling is right, production is quick. The process is straightforward: melt, pour, cool, peel, trim the base, and you're done. A tray of pillars can be turned around in a working day. Because there is no container, a single mould covers the whole product rather than just half of it.

The catch with pillar tooling is that everything shows. A bubble in the silicone, a rough patch on the master or a seam in the wrong place can all end up on a product your customer holds up in a shop. Pillar tooling therefore needs more finishing work than most people expect, and that is where the money goes. It also means the master must be right before we pour silicone over it. That is why we take this stage seriously and tend to be fussy about the details. See master patterns for what we do about it.

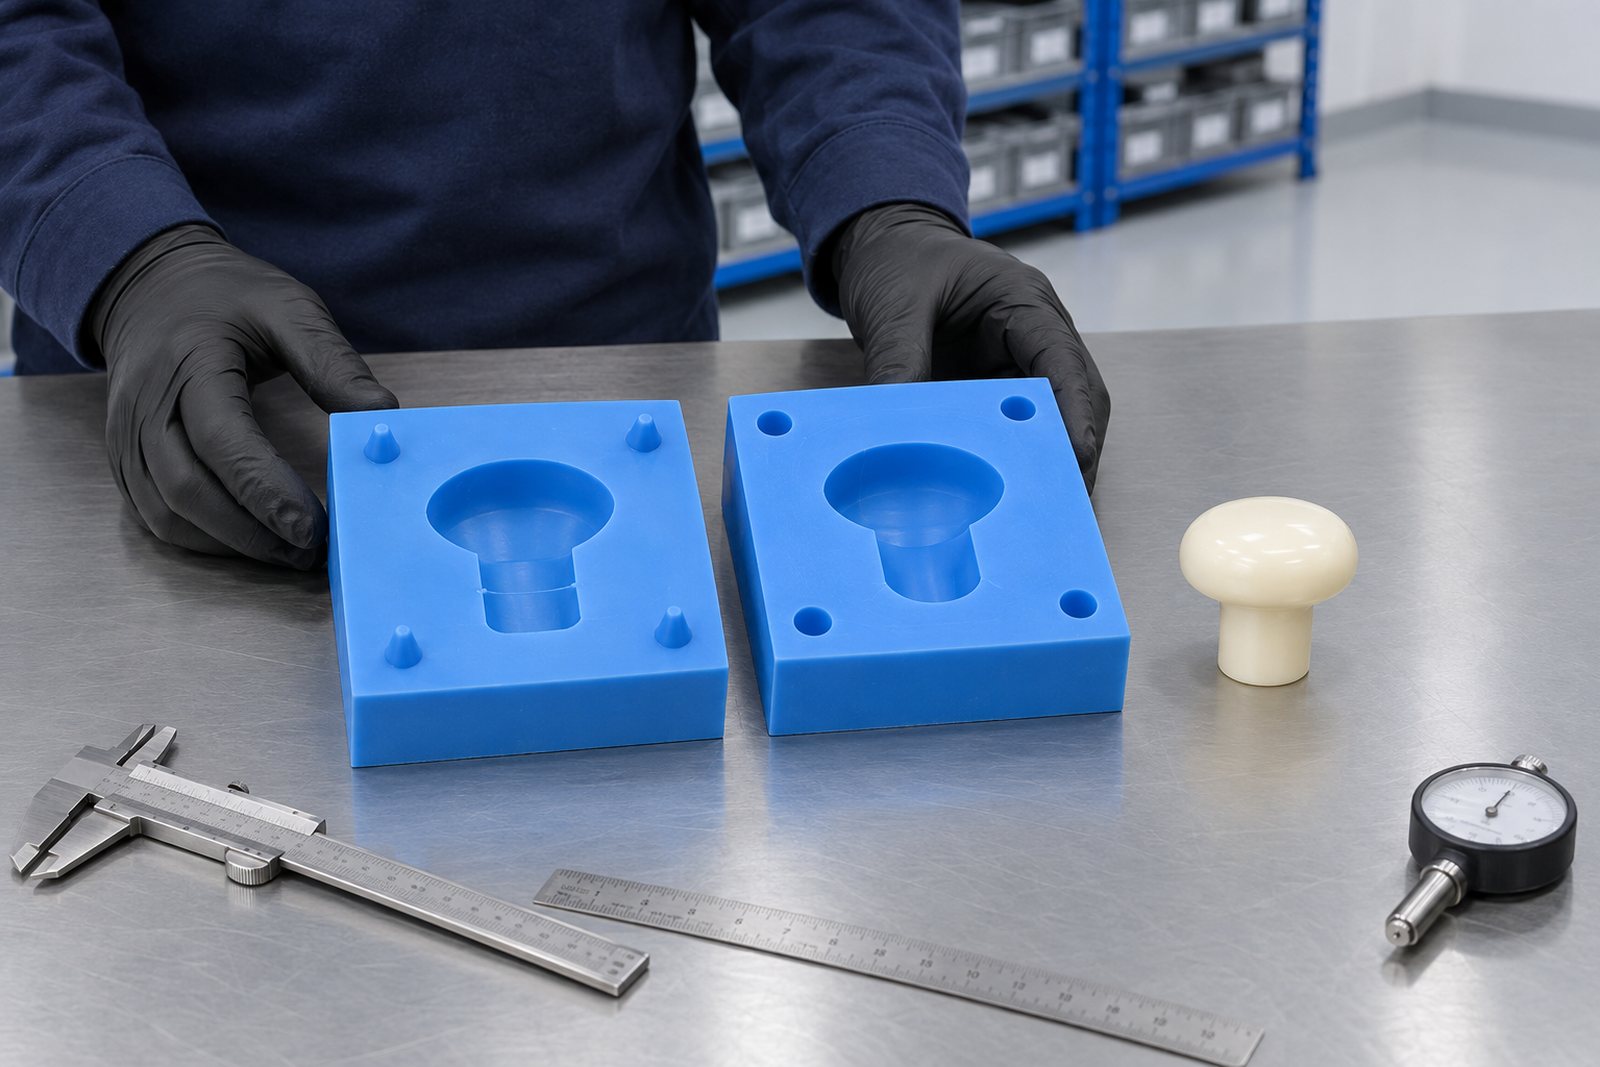
Hand-made moulds
Illustrative example: Two halves of a silicone mould laid open on a bench with registration keys visible along the split line

Vessel production

When vessels make sense.

Vessels could be a good fit if the container is the product and the candle is the excuse. Concrete pots, plaster bowls, ribbed jesmonite vessels and cast plinths all sell on the object rather than the wax, and your customer can keep them afterwards. That gives the item a second life and gives you a reason to charge more than the wax alone would justify.

Vessel tooling is often more forgiving on the finished surface. A concrete cast has its own texture, so a small tool mark can disappear into it. The mould itself has a tougher job. Concrete is abrasive and alkaline. The cast is heavy enough to bow a soft wall, and demoulding must wait for the concrete to cure rather than cool. For a tool of the same size, expect fewer pulls (moulding cycles) than with a wax mould. Build replacements into your cost per unit from the start, rather than treating them as an unexpected cost.

There is another practical question worth considering. Every vessel you cast needs to be dried, finished, sealed if the material requires it, and stored before it can be filled. That takes up floor space and working capital, while a pillar programme simply does not. It is worth factoring this in before you commit to the route.

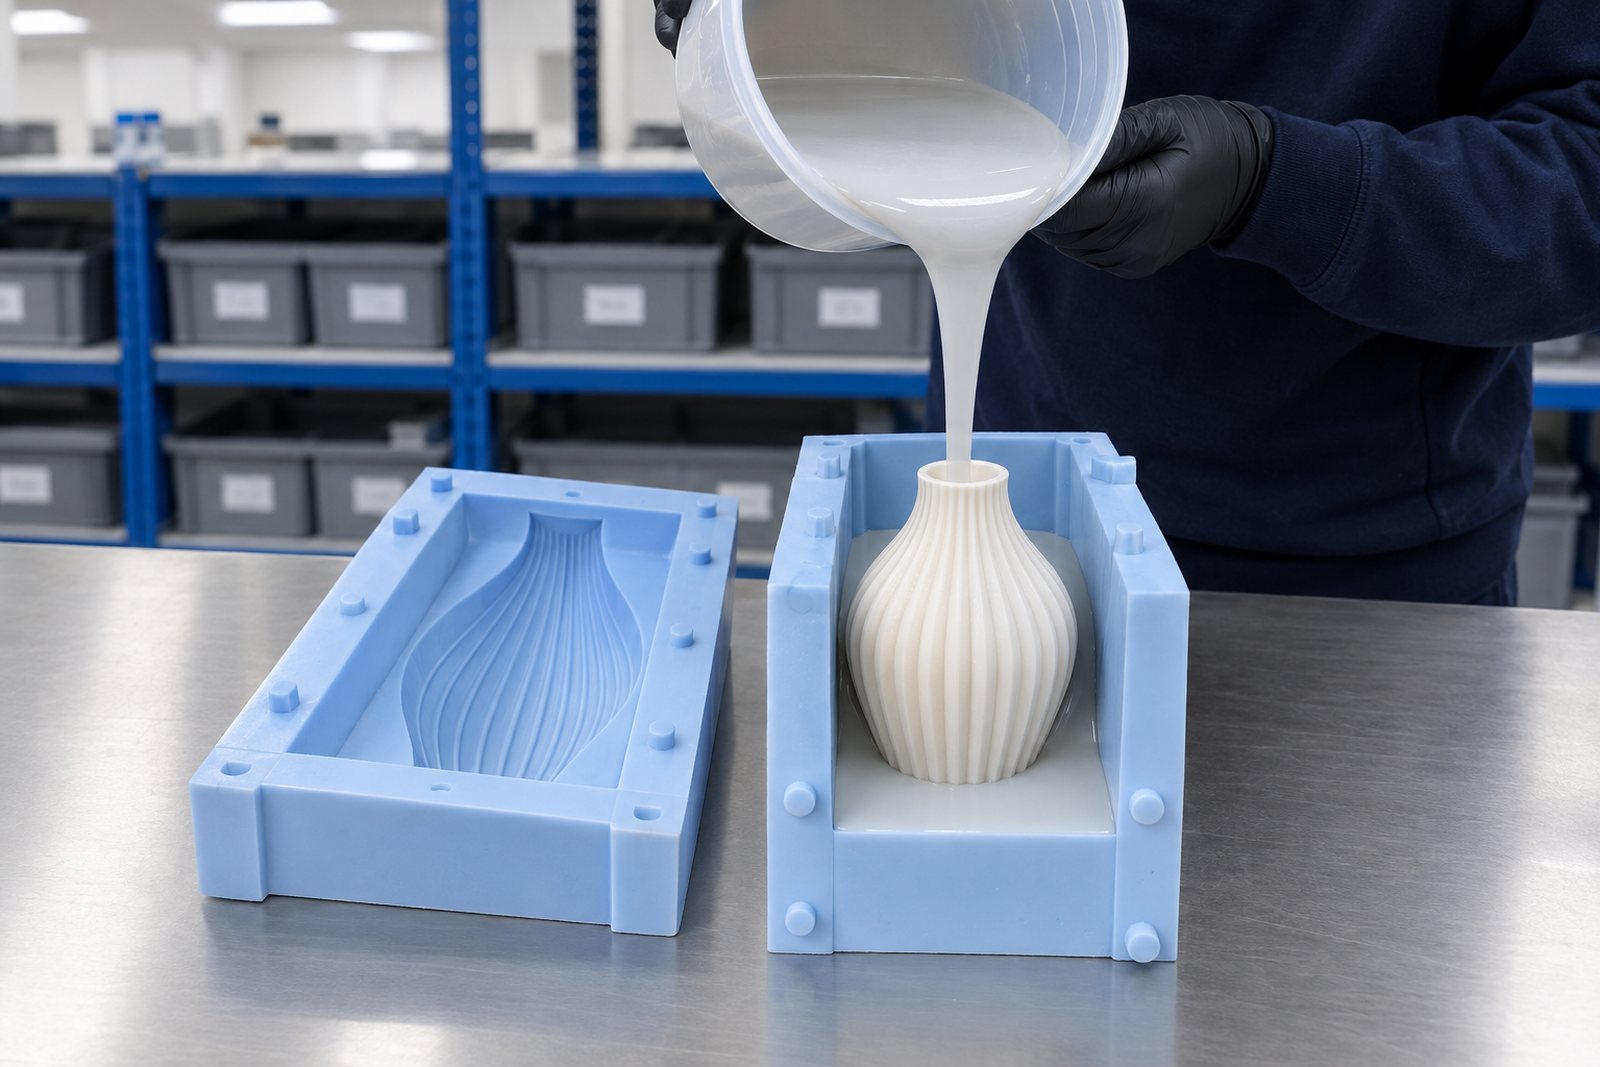
Concrete and cast stone tooling

Illustrative example: Silicone being poured slowly into a mould box around a master to build a vessel mould

Construction

How we build the two tools

A pillar mould usually takes one of two forms: a block with the cavity opening upwards, or a two-part tool with a designed split line. The block is simpler, cheaper and quicker to run. However, it limits you to shapes that will peel out of a single piece. The two-part tool costs more and takes longer, but it gives you undercuts, a shape with a waist, detail all the way round and a moulded base mark. Where the split line falls is your call, and it should be. You are the one looking at the candles.

A vessel mould is usually a thicker-walled negative mould, with a rigid mother mould around the outside. The silicone creates the surface and provides flexibility, while the shell keeps the wall in the right place as several kilograms of wet concrete sit in it. Skipping the shell to save money can mean the first few casts come out with a slight belly. Nobody notices until the units are stacked side by side.

Both routes use the same five processes across our business: hand-made, cast, vacuum cast, compression moulded and injection moulded. The right process for your job depends on its volume and geometry, not on whether you are making a candle. The processes page explains how we make that choice.

Wick behaviour

The two routes differ most when it comes to wicking.

The same wax and fragrance can produce completely different burns. It is worth understanding what is happening before blaming the wick supplier.

01

A pillar burns its way down a tunnel

The wax itself forms the container. A pillar candle needs a wick that consumes just enough wax to keep the melt pool within the wall, while the wall must be thick enough to withstand it. The pillar's diameter and wick size are closely linked, so changing the mould diameter means retesting the wick from scratch.

02

A vessel burns to the edge

Container candles need a full melt pool across the surface. Because the vessel takes some of the heat, wick size depends on the internal diameter and on how much heat the material can withstand. Thick concrete behaves differently from thin glass, and a vessel that absorbs heat can need a larger wick than a jar of the same diameter.

03

The pin is a tooling choice

If your pillar candles need a wick route, there are two practical options. Cast a pin into the mould and each candle comes out ready to wick, but the pin creates a wear point in the tool. Drill the route afterwards and the mould lasts longer, although you add an extra operation. For low volumes, drilling is the sensible choice. For a rolling programme, design the pin in properly and accept the maintenance.

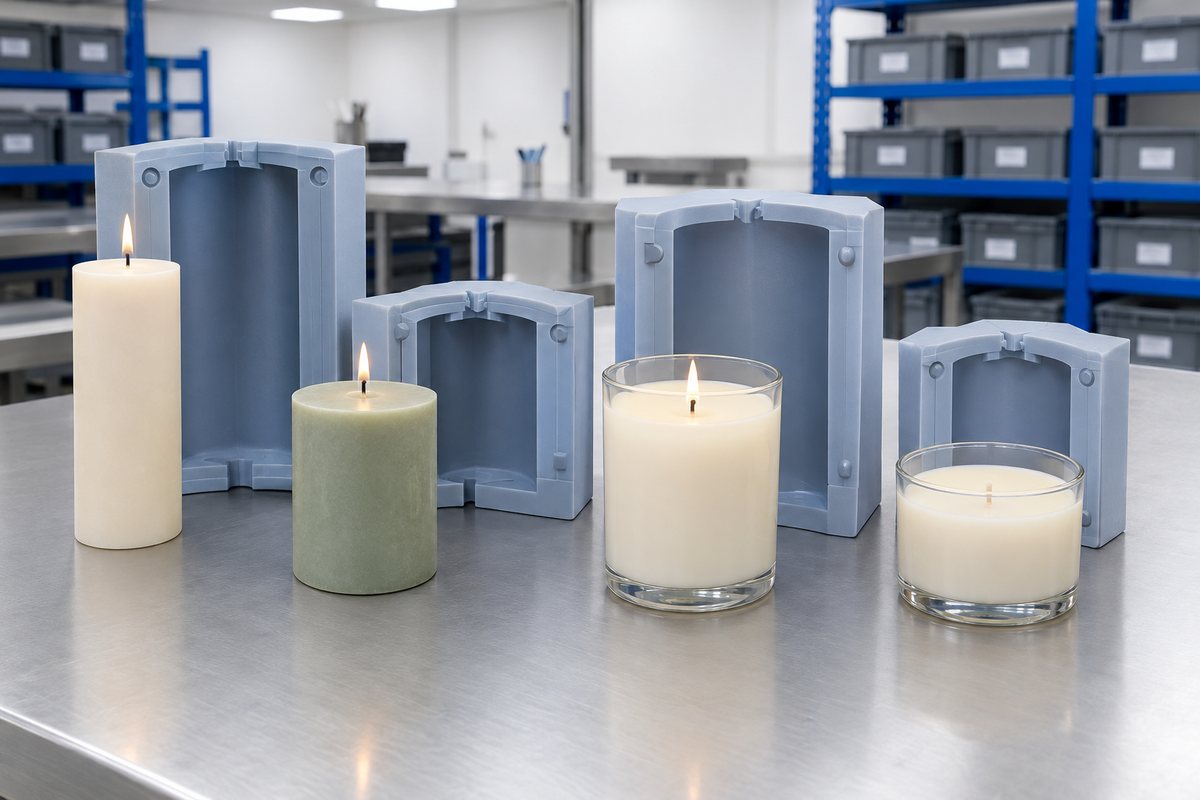
Illustrative example: Pillar candle and candle vessel showing different wick and burn formats
Pillars and vessels need different wick thinking

Mistakes

The five we see most.

Ordering a pillar mould, then filling it as a container

It happens more often than you might expect. Pour soft container wax into a pillar mould and the candle may slump, release poorly and burn badly. Container wax is formulated to cling to a jar. For a free-standing candle, choose a wax that sets hard enough to stand up.

Copying a competitor's dimensions without testing the wick

You can measure someone else's pillar to the millimetre and still end up with a candle that tunnels. Their wax, fragrance load and wick all play a part, but you cannot see any of those details. Use the shape as inspiration, then do your own burn testing.

Specifying a vessel mould as if it were a wax mould

Two moulds can be the same size and shape, yet need different tools. A heavy concrete cast can bow the wall, while alkalinity can eat through a grade chosen for wax, leaving the mould finished after only a fraction of its expected life. Tell us what is going into it every time.

Leaving the split line to the mould maker

If you do not specify a location, we will place it somewhere sensible. But what makes sense for making the tool is not always best for selling the candle. Spend two minutes deciding where you would least mind a faint line, and you can avoid regret across the entire production run.

Buying a multi-cavity tray before the shape is settled

The most expensive mistake on this list is building a tray around a shape you later change. That tray becomes scrap. Prove the design in a single cavity, run it, sell it, and only then commit to the tray. Prototype tooling exists for exactly this.

Sizing a mould around your wax

At a glance

The idea in a picture.

Which route suits your quantity

PrototypesHundredsThousandsTens of thousandsHand-made mouldsCast silicone mouldsVacuum-cast mouldsCompression toolingInjection and LSR tooling

Swipe to see the whole diagram

A general picture. Shape, material and detail also decide the route, and we talk it through with you.

Ready to start?

Tell us what your customer takes home, and we'll tell you which mould makes it.

Send us a sample, photograph or sketch of the candle or vessel. We'll come back to you with a mould strategy, material recommendation and price.

Real people, a real workshop

You deal with the people who make it.

No call centre and no middlemen. When you contact TCI Mouldings, you speak to the team who design, build and check your mould.

  • A real Warwickshire workshopUnit 15, Waterloo Park, Bidford-on-Avon, Alcester B50 4JG.
  • Real people on the phoneCall the team on 01789 224228, Monday to Friday.
  • The same team on every jobDesign, production and aftercare come from the people you see here.
  • Part of TCI GroupFive specialist brands, one engineering team. Visit TCI Group.
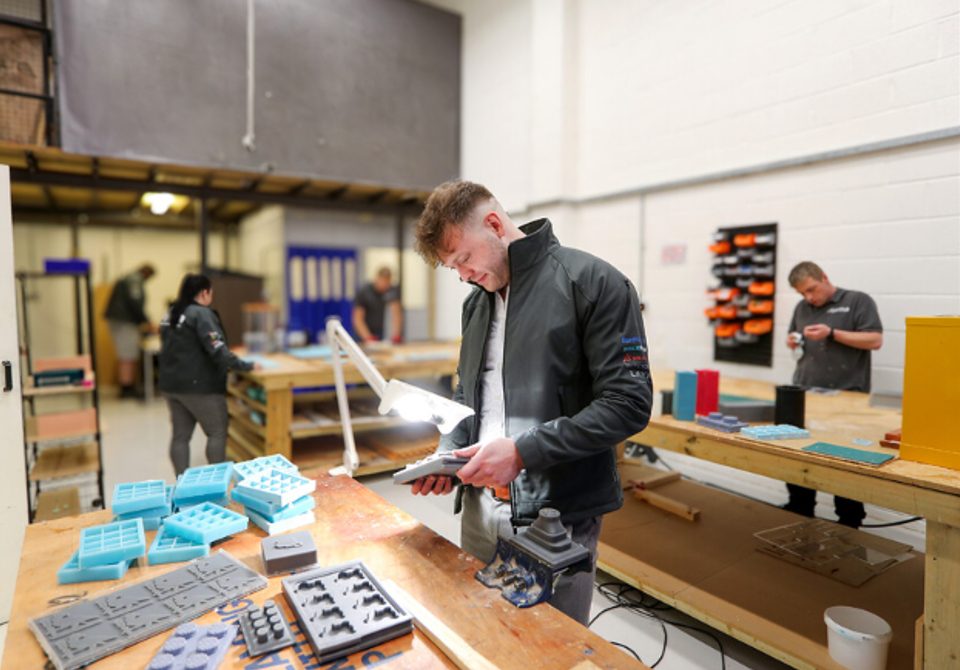
The TCI workshop, with moulds on the bench mid-build.
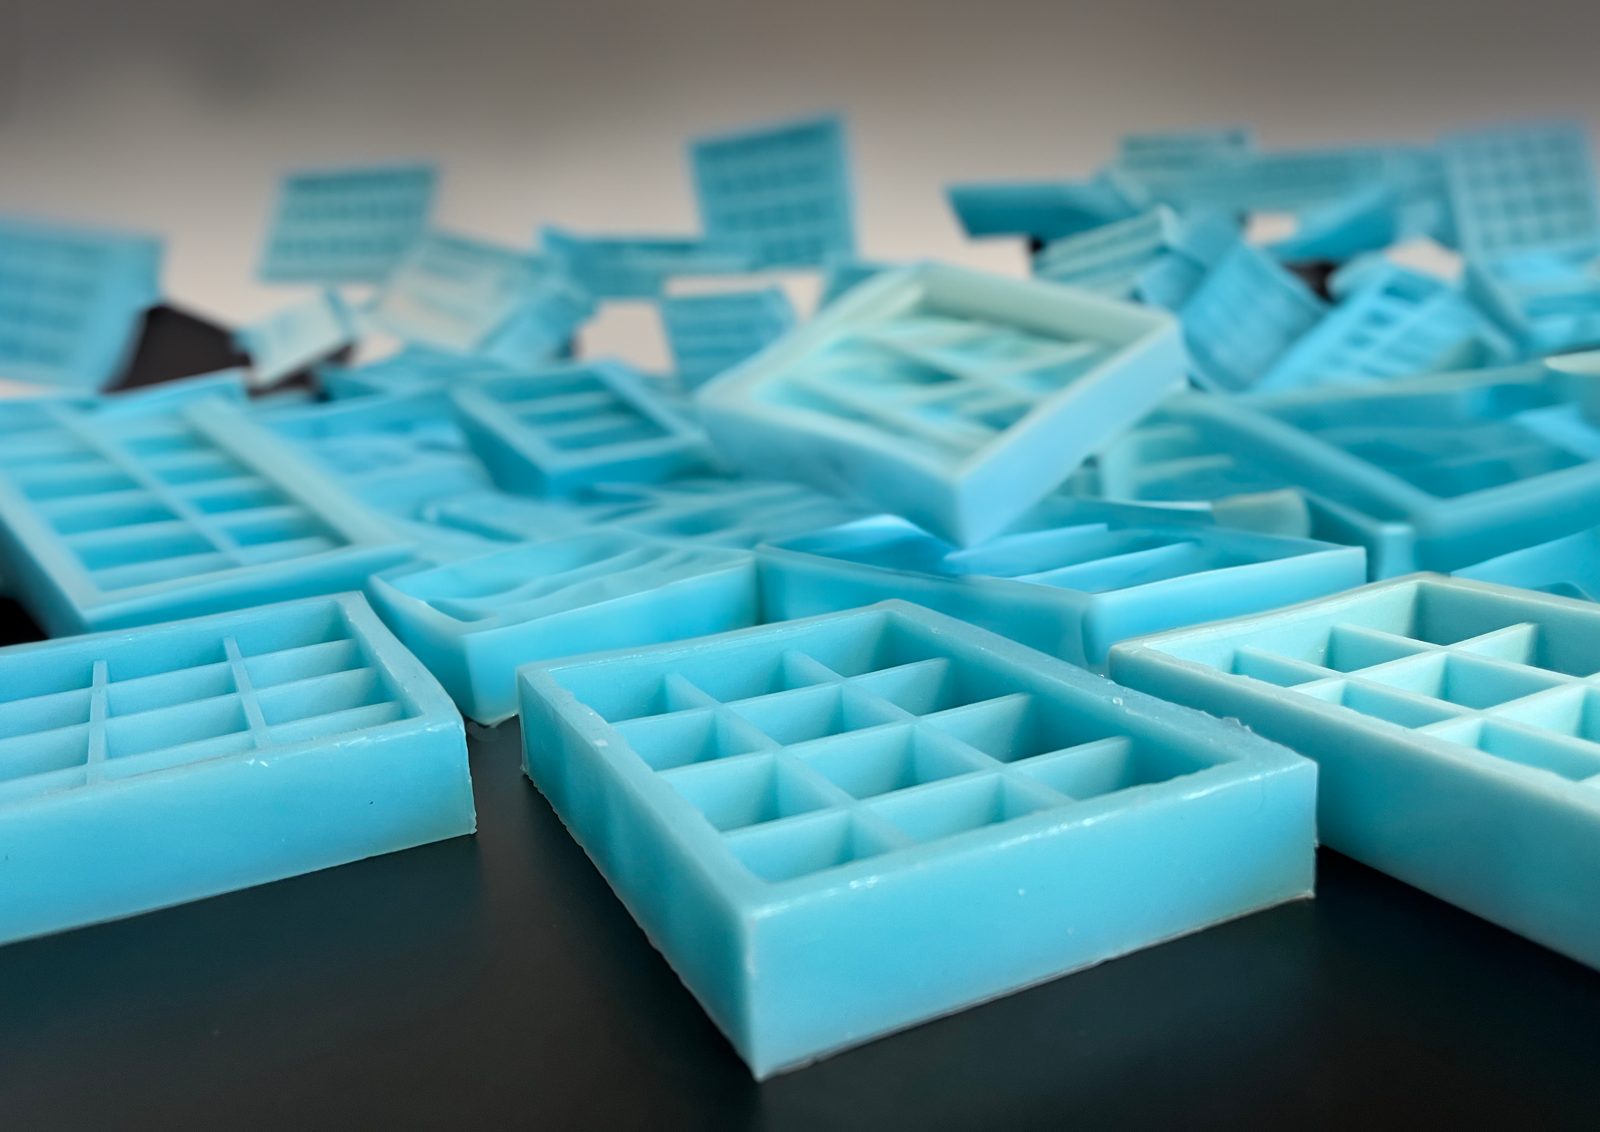
Silicone wax melt moulds made by TCI Mouldings.
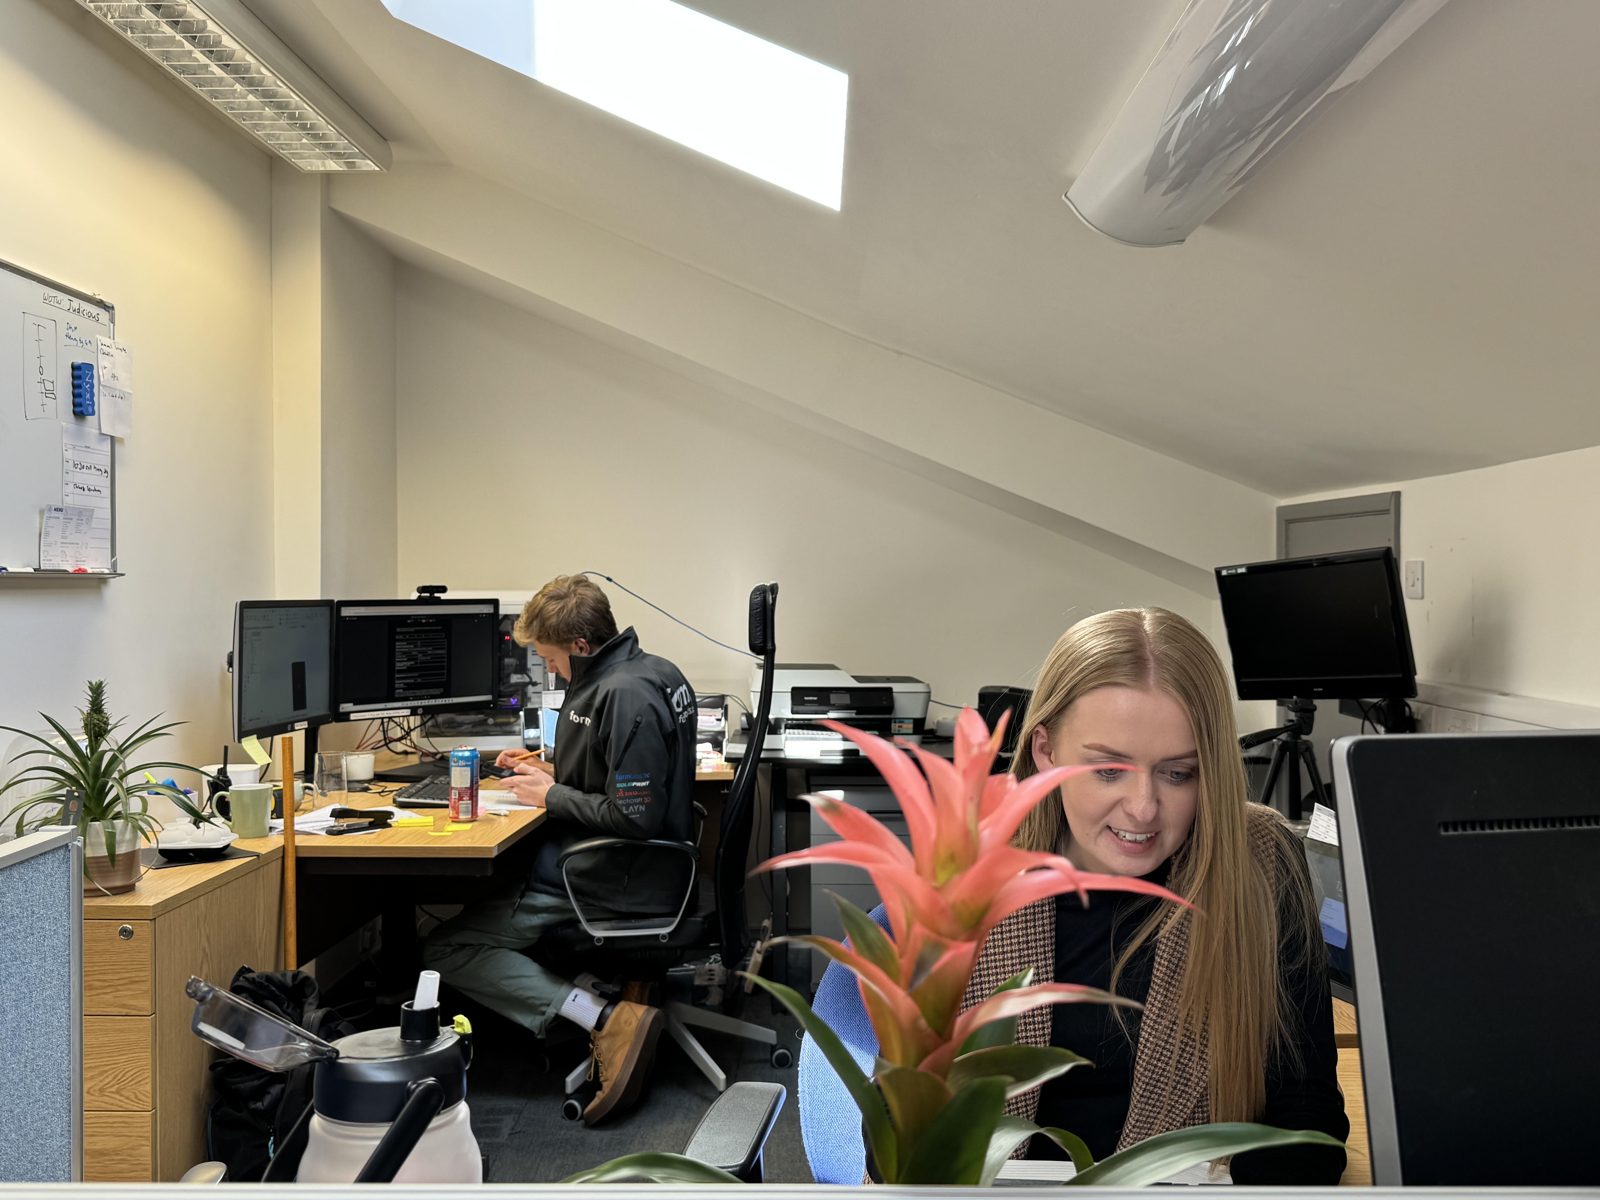
The TCI design and project office.
  • Thomas LaneManaging Director
  • George PrestonDesign & Project Manager
  • Kelly BallingerHead of Partnerships
  • Jim AndertonProduction Manager
  • TheodoreEmployee Welfare
Meet the team