Bidford-on-Avon, Warwickshire. Mon to Fri.01789 224228

Silicone mould guide

Ready to scale from hand-poured candles to a proper production run?

At twenty a week, judgement matters. At five hundred a week, process matters. This guide covers when your first proper tray has paid for itself, how to size it to the equipment you already own, and what production starts to demand that hand-pouring never did.

6Stages in order
4Production details
WeeksNot days
2019Established

The jump

Twenty a week is a hobby with orders. Five hundred a week is a factory.

Illustrative example: Identical candle moulds in a jig with matching finished candles
Scaling up means building repeatability into the process

The gap between those two numbers is not really about wax. It is about repeatability. At twenty candles a week, you can keep the whole process in your head, make corrections as you go and quietly discard anything that does not come out well. At five hundred, you cannot. Every decision that once relied on judgement has to become a tool, a fixture or a written step.

We speak to chandlers at every point along that curve. Those who make the jump smoothly tend to follow the same handful of steps, in roughly the same order. Those who struggle have usually bought tooling too early or too late, or built a tray that does not fit the equipment they already own. So here is the roadmap, in the order we would tackle it.

The candle mould buyer's guide

Roadmap

Six stages, in order.

Skip a stage and it will catch up with you later, usually at the worst possible moment during a Christmas run.

  1. Settle the design and stop changing it

    Before anything else can be committed, the shape needs to stop moving. Prove it in a single cavity, sell it, gather the feedback, then freeze the design.

    A tray built around a shape you later revise becomes scrap. It is the most expensive error on this list.

  2. Lock the wax and the fragrance load

    Changing the wax after tooling can affect release, shrinkage and burn behaviour all at once. That's why it's best to fix the recipe first.

    If you're not sure of the recipe yet, just tell us. We can build a little margin into the tool.

  3. Buy one proper single-cavity mould

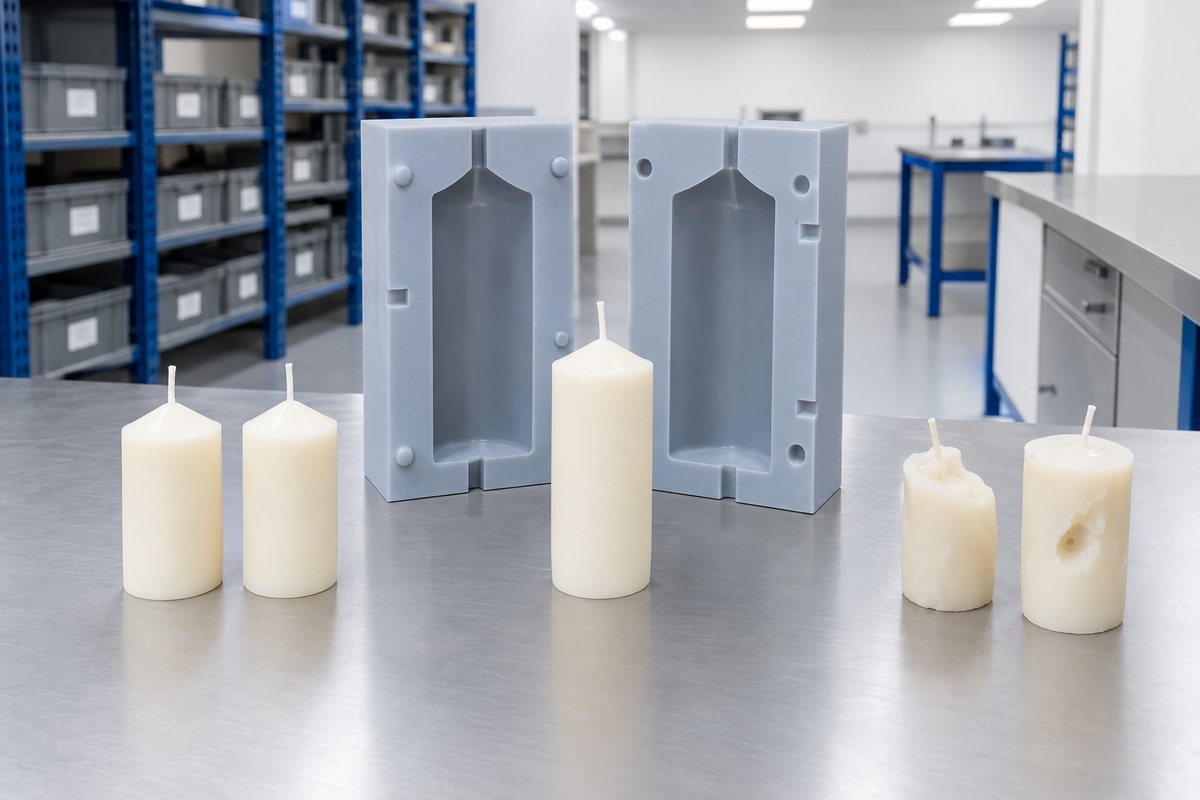
    We'll make it around your shape, with real draft and a designed split line. It becomes your reference tool, proving the geometry and giving you a benchmark candle. Even after the trays arrive, it remains useful as a sample and repair mould.

  4. Measure your own cycle

    Before choosing your cavity count, time the pour, the set, the demould and the trim during a normal evening. Be honest about each timing. Those four numbers decide cavity count. Guessing is how people end up with a tray that outpaces their melter.

  5. Commit to a multi-cavity tray

    Choose a tray sized for the equipment you own, not the equipment you hope to own. Run it hard before ordering a second, because your first tray will always teach you something about the layout.

  6. Add trays, not variety

    Need more volume? Make more of the same, rather than adding more shapes. Two trays of your best seller will make you more money than trays of six different products. It also keeps your quality control simple.

Multi-cavity tooling

Illustrative example: Approved single-cavity mould with final candle samples and rejected trials
Settle the candle shape before expanding into trays

Payback

When your first multi-cavity mould pays for itself.

You do not need a spreadsheet for this, although it can help. The arithmetic is simple: tooling is a one-off cost, and it can reduce the labour needed for each candle. Start by working out how long a single pour cycle takes you now, from melter to trimmed candle, and what an hour of your time is worth. Multiply that by the number of candles you expect to make in a year. That is the labour cost your tooling investment is competing against.

The surprising part is how much the cavity count can change the process. Doubling the number of cavities does not double the tooling cost, because the mould box, silicone pour and setup are shared across all the cavities. It does roughly halve the handling time per candle. You pour, wait and demould once for many candles instead of once for one. That asymmetry is the whole reason multi-cavity tooling exists.

The other half of the payback is consistency, although it is harder to put a figure on. When your candles are identical, you can state a burn time, quote a wholesale price with confidence and stop absorbing the cost of candles that came out wrong. For most chandlers moving into wholesale, that matters more than the labour saving.

We do not publish a payback figure because it depends on your labour cost, selling price and throughput. Any figure we printed could be wrong for you. Send us your weekly volume and we will work out the sum with you, rather than at you.
Tray sizing

Size your tray to your bench, not your ambition.

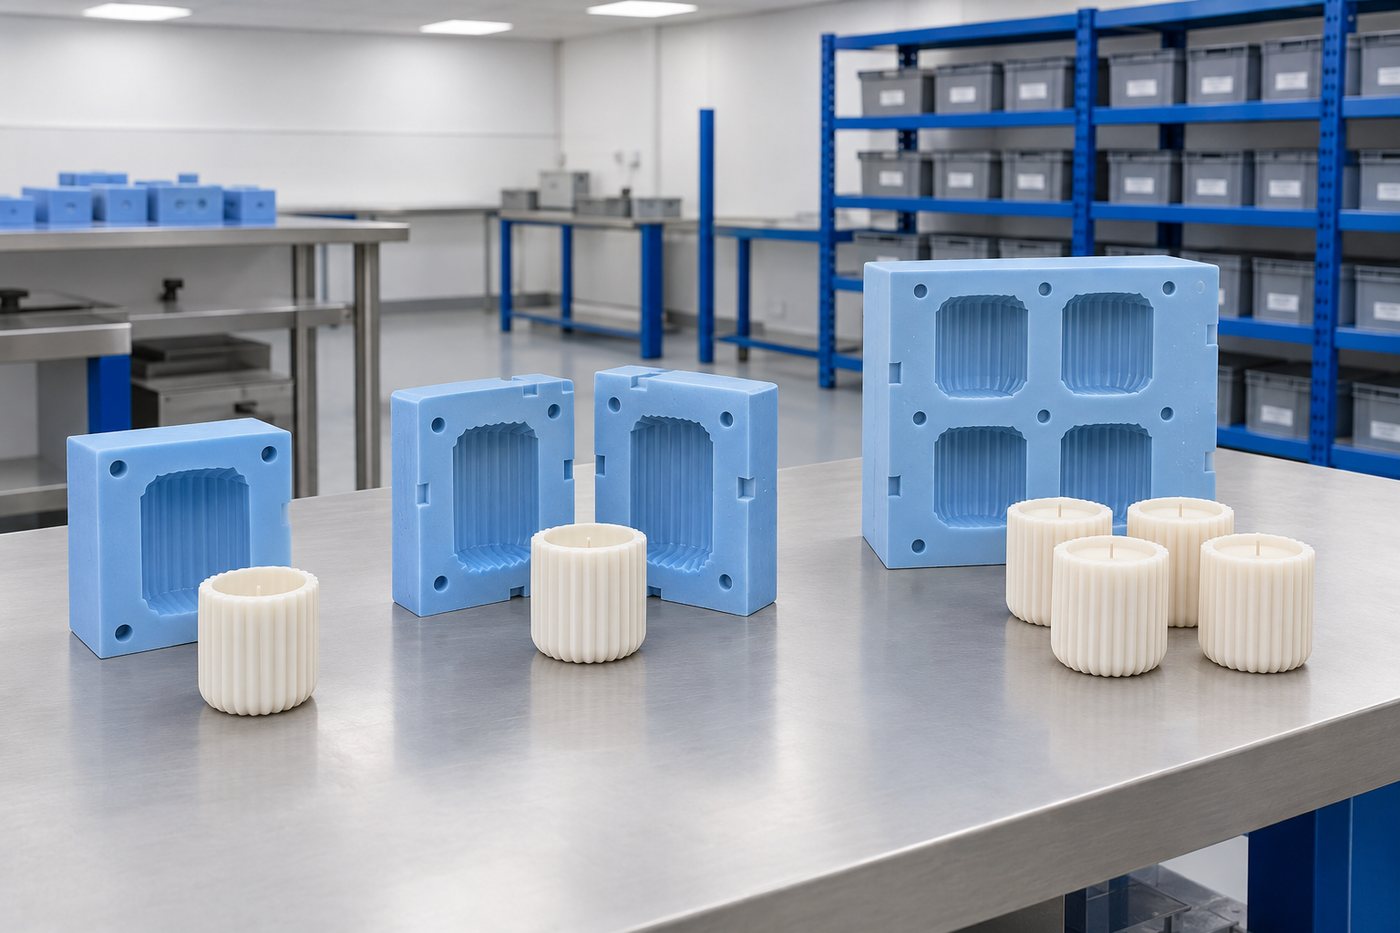
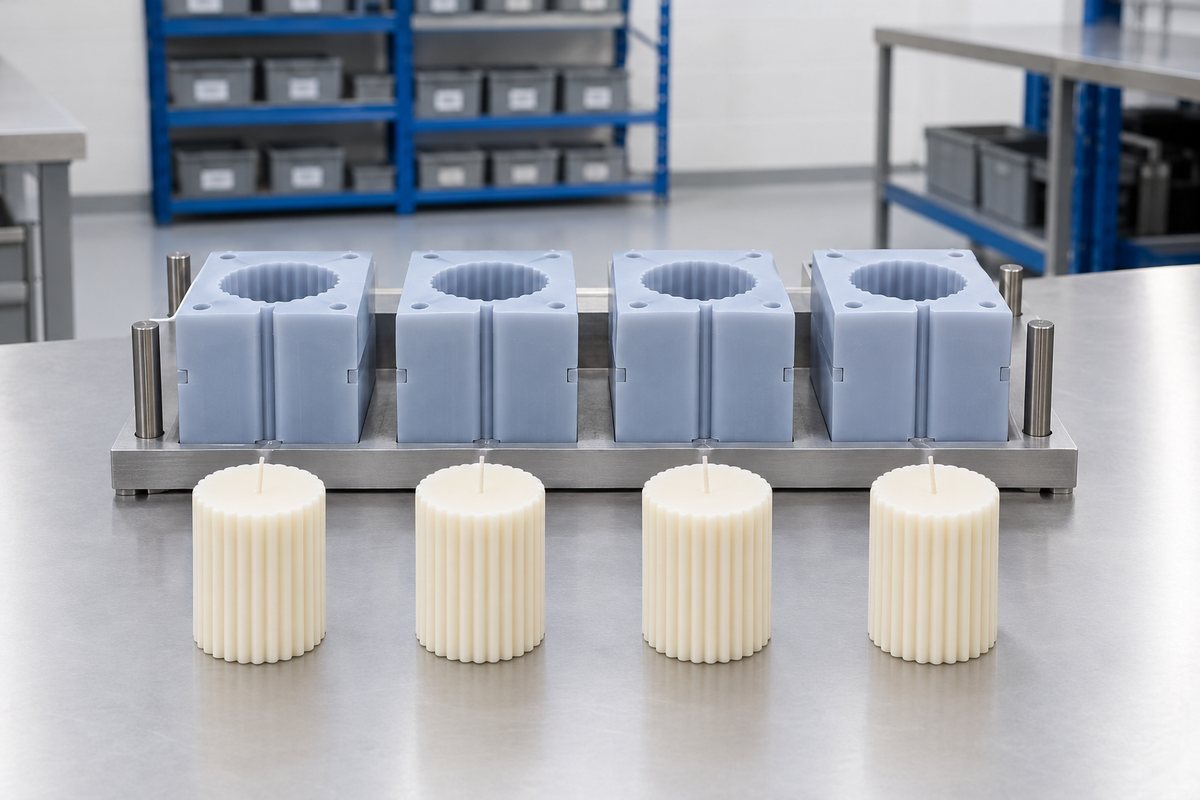
The single most common thing we help chandlers reconsider is choosing a twenty-four cavity tray over a twelve-cavity tray. The larger tray may sound better, but when it arrives, it may not fit on the hotplate, go into the oven for warming or sit level on the cooling rack. When full, it may also need two people to carry it across the workshop, along with a strong sense of dread.

Start by measuring the usable area of your hotplate or warming cabinet. Then measure the internal dimensions of your oven, including the shelf runners, along with the cooling rack and the shelf where the tray will live. If the pouring bench and cooling area are in different rooms, measure the width of the doorway between them. Send us these measurements with your enquiry, and we will lay the cavities out inside them.

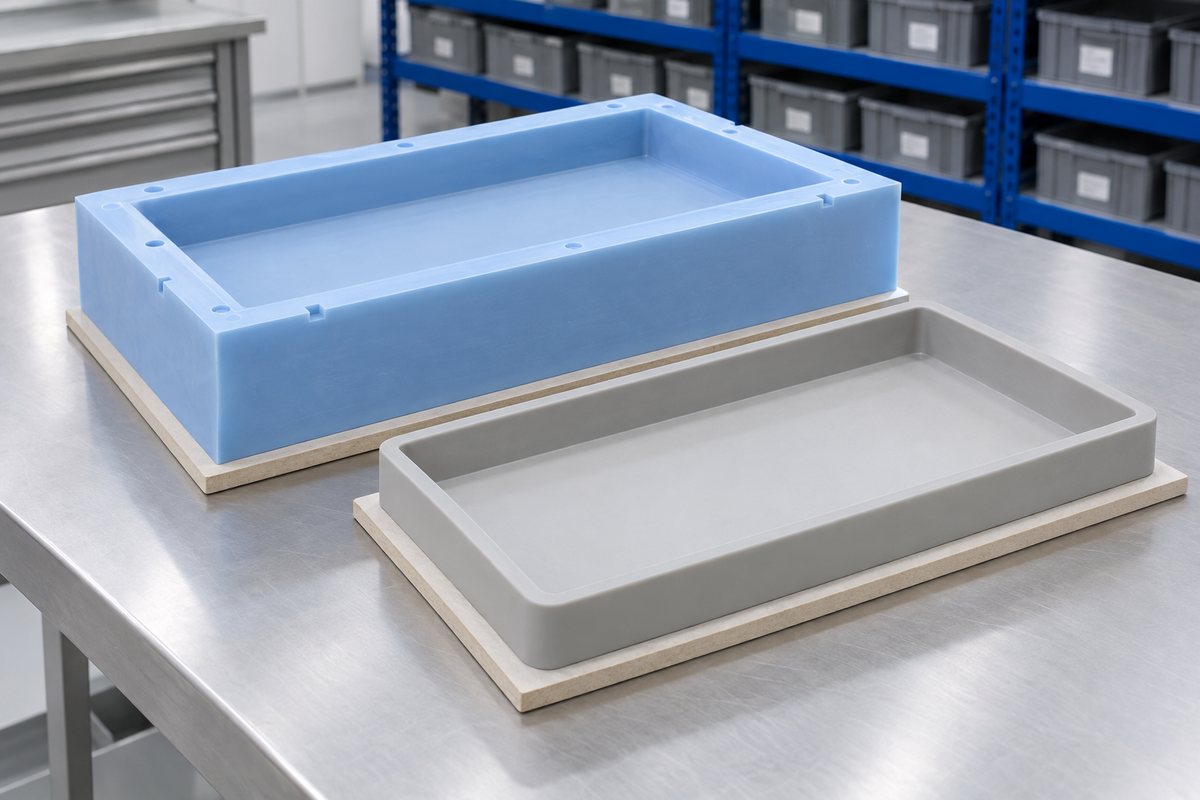
Weight is another constraint, and it is easy to overlook. A full tray of wax is much heavier than an empty tray of silicone, while silicone has no stiffness of its own. Once a tray reaches a certain span, it needs a rigid carrier board or frame to stay flat. Without one, the cavities in the middle will fill more deeply than those at the edge. We prefer to build a smaller tray that stays flat rather than a bigger one that does not.

Low-volume production

Illustrative example: Large silicone tray supported by a rigid carrier board

Details

Four things you'll care about in production.

Wick pins

Pin design, at volume

If you are making twenty a week, you can drill the wick hole afterwards. At five hundred, it becomes a separate operation you will quickly grow to hate. Cast-in pins solve that, but they create a wear point that needs to be designed rather than improvised: the taper must be correct so the pin releases, the seat must hold it centrally, and the surrounding wall must be thick enough not to tear. Pins are also the part most likely to need replacing before the mould does, so plan for spares.

Design for manufacture
Quality control

Checks you can actually keep up

Production QC needs to be quick, or it will not keep up with a busy week. Weigh one candle from each tray, check its height against a simple gauge, inspect the base and seam, then log it. These checks are enough to catch a mould starting to go, a melter running cool or a drifting fill height. A fussier system that nobody completes is worse than a simple one that gets done.

Applications
Traceability

Batch records, before you need them

Number each batch and record the wax lot, fragrance lot, pour date and the tray it came from. It only takes seconds. If a stockist reports a burn problem, that record could mean recalling one batch instead of losing confidence in your whole range. Mark the trays themselves, too, so you can trace each candle back to a specific cavity.

Example projects
Spares

Order a second mould before you need it

A single tray can be a point of failure. If it tears mid-season, you may have to stop making candles until a replacement arrives. The busiest weeks are often when a tool is most likely to fail. Ordering a spare alongside your first tray is cheaper than ordering one in a panic. Your tooling record already exists, so nothing needs to be developed again.

Replacement and spares

Lead times

What to expect, realistically.

Tooling usually takes weeks rather than days, but the honest answer depends on the stage your design has reached. If you send us a finished master and a settled brief, the work is straightforward and the timeline is short. If we need to model the shape, print or machine a master, prove it and then build a tray around it, there are several stages to complete. Each one must be signed off before we move on to the next.

When a job slips, it is almost never the moulding itself. More often, it is a design change halfway through, a wax swap that changes the specification, or a master that arrives later than promised. We will give you a date, explain what it depends on, and tell you promptly if anything moves.

Here is one practical point for the candle-making trade. Candle demand is seasonal, and every chandler in the country works out in September that they need tooling for Christmas. If your autumn depends on a new mould, commission it in spring. That is not a sales line. It is simply how workshop capacity behaves, and planning ahead helps you secure better tooling and enjoy calmer production runs.

Designed and developed in the UK, with UK manufacturing capabilities.

Your candle tooling is drawn, specified and engineered at our own facility in Bidford-on-Avon, Warwickshire. We hold the moulding capability here too: hand-made, cast, vacuum cast, compression and injection. On some programmes we place part of the production with partners we have used for years, and we will tell you which route your job is taking before you order. How that works is set out on our About page.

Rolling programmes

When to stop buying moulds one at a time.

At some point, a sensible arrangement becomes a programme. The signs are easy to recognise. You order replacement trays on a predictable cycle, have more than one shape in production, or plan a seasonal range six months ahead. You may also have a wholesale account whose order you cannot afford to miss because a mould has torn.

At this stage, it is often more useful to discuss a rolling arrangement than individual quotations. We keep your tooling record and master, along with the grade and hardness reading used, so we can put a replacement in hand without redeveloping anything. That lets us schedule work against your season, rather than responding only to emergencies. It also means your second, third and fourth tools are quicker and simpler than the first, because the development work is already done.

We know that approach will not suit every chandler, and that is fine. If you make one product and one tray lasts you two years, buy the tray and enjoy it. But if candles are your living and tooling has become a running cost rather than a purchase, tell us. We will structure it properly. The partnership team handles that conversation.

Pillar or vessel moulds

At a glance

The idea in a picture.

Which route suits your quantity

PrototypesHundredsThousandsTens of thousandsHand-made mouldsCast silicone mouldsVacuum-cast mouldsCompression toolingInjection and LSR tooling

Swipe to see the whole diagram

A general picture. Shape, material and detail also decide the route, and we talk it through with you.

Ready to start?

Tell us the volume you need to achieve, and we'll tell you which tooling will get you there.

Send us your weekly numbers, bench dimensions and a sample candle. We'll come back with a tooling plan, cavity count and price.

Real people, a real workshop

You deal with the people who make it.

No call centre and no middlemen. When you contact TCI Mouldings, you speak to the team who design, build and check your mould.

  • A real Warwickshire workshopUnit 15, Waterloo Park, Bidford-on-Avon, Alcester B50 4JG.
  • Real people on the phoneCall the team on 01789 224228, Monday to Friday.
  • The same team on every jobDesign, production and aftercare come from the people you see here.
  • Part of TCI GroupFive specialist brands, one engineering team. Visit TCI Group.
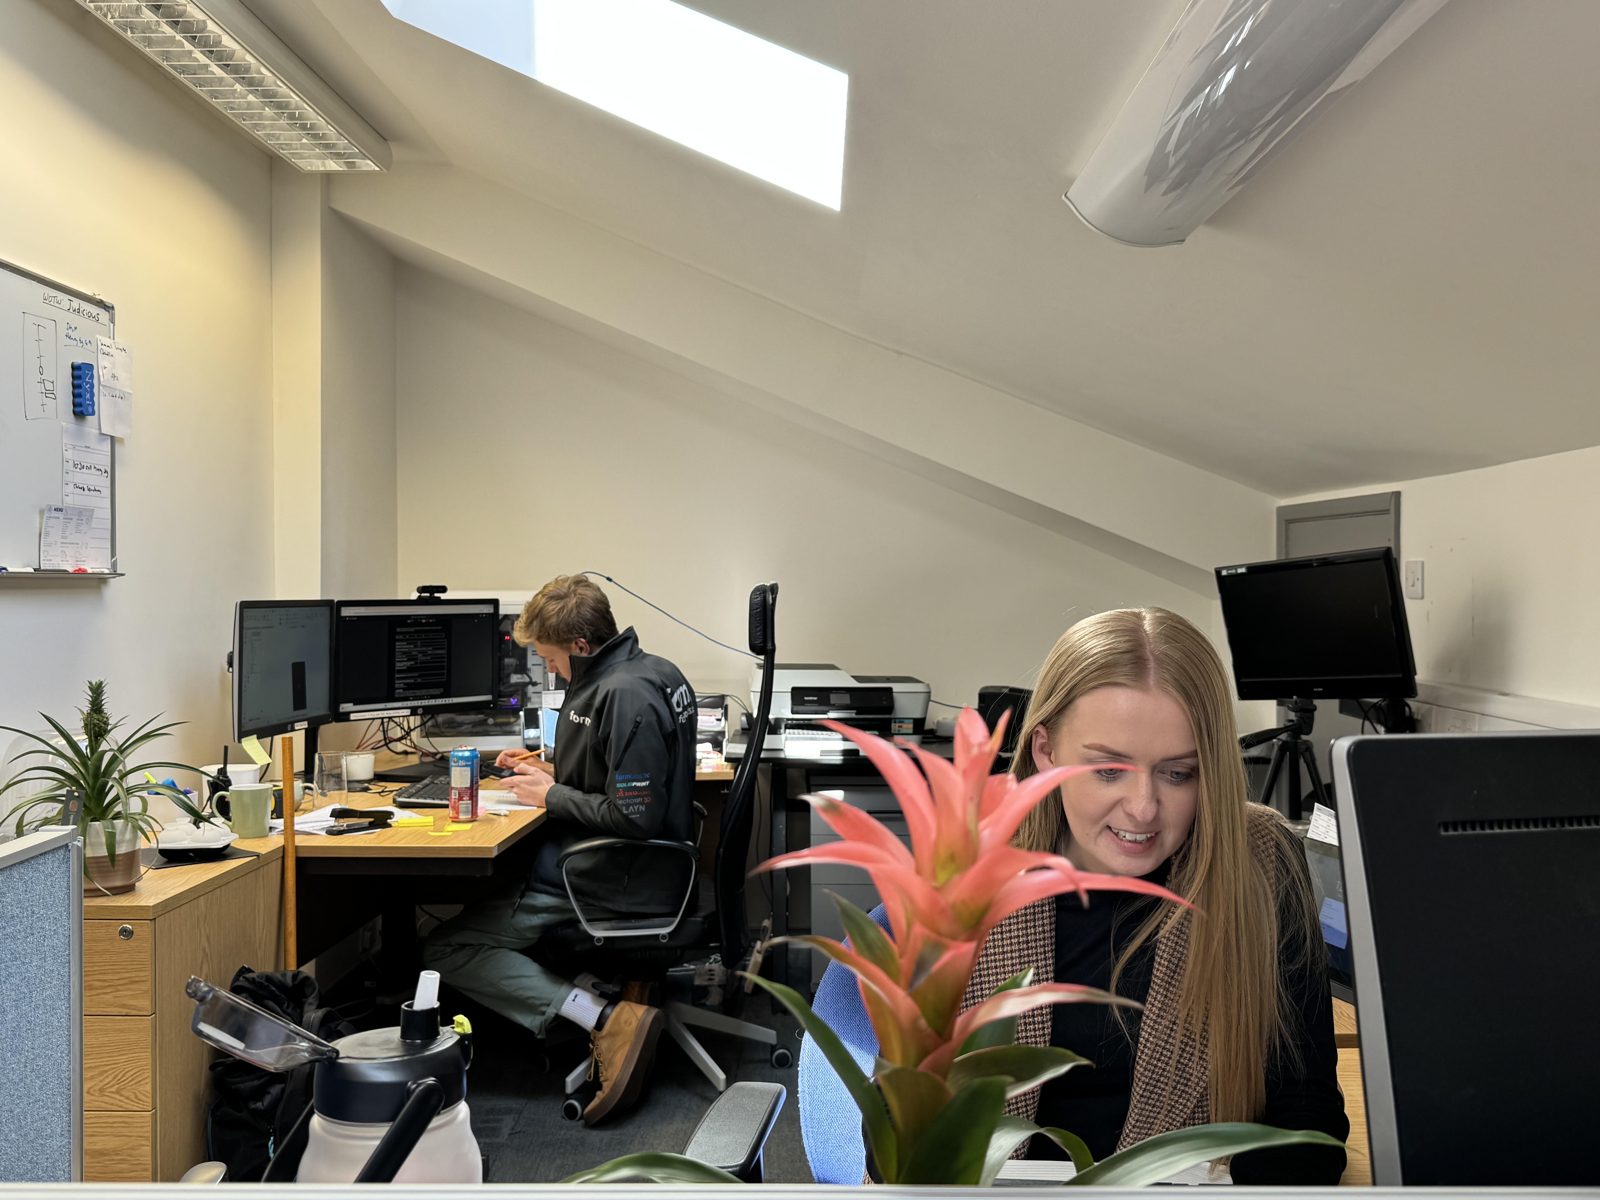
The TCI design and project office.
A stack of TCI silicone moulds.
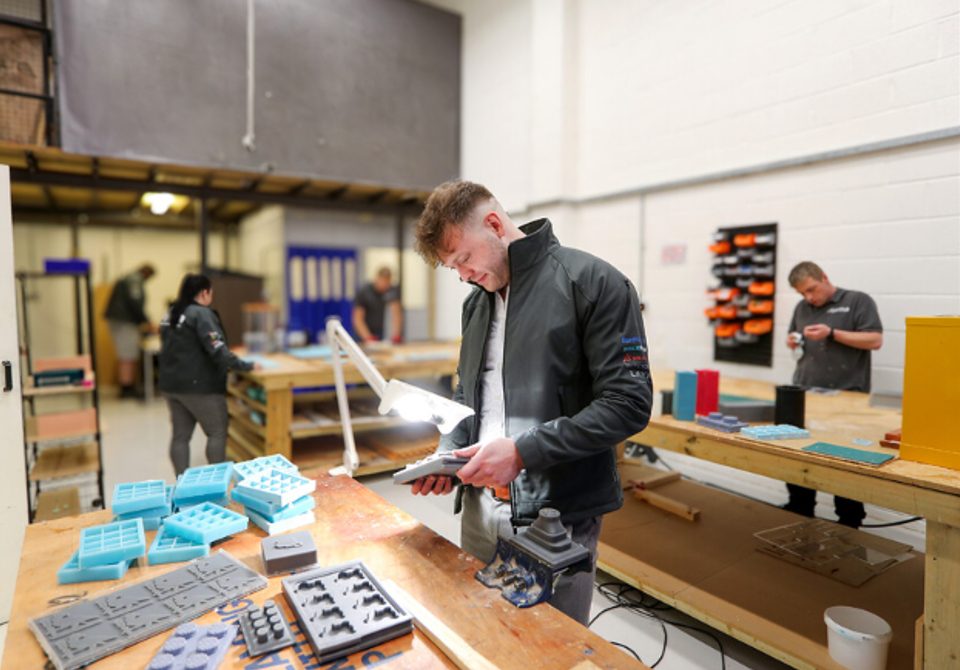
The TCI workshop, with moulds on the bench mid-build.
  • Thomas LaneManaging Director
  • George PrestonDesign & Project Manager
  • Kelly BallingerHead of Partnerships
  • Jim AndertonProduction Manager
  • TheodoreEmployee Welfare
Meet the team