Cast silicone moulds
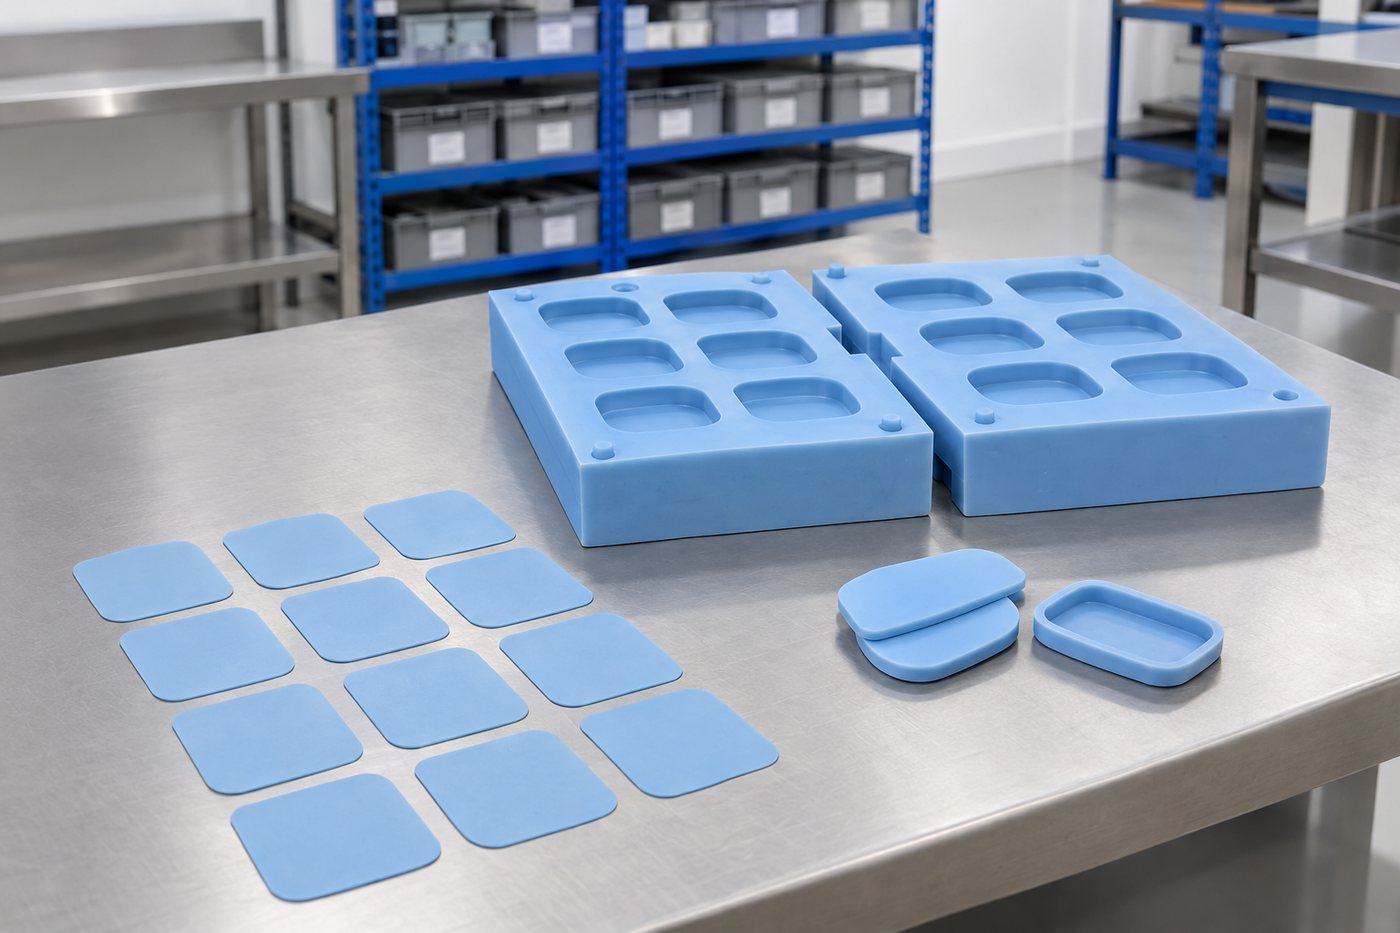
Boxed moulds with the split line chosen rather than simply accepted. Once the box was built properly, the patch stayed on this route.
Cast mouldsProject record · Electrical assembly · Cast route, multi-cavity
This thin cast silicone patch needed to sit flat on a housing, but it would not. The part and material were right; the mould was the problem. Rebuilding the box fixed the fit, and moving to a multi-cavity tool made it worth running.
The brief
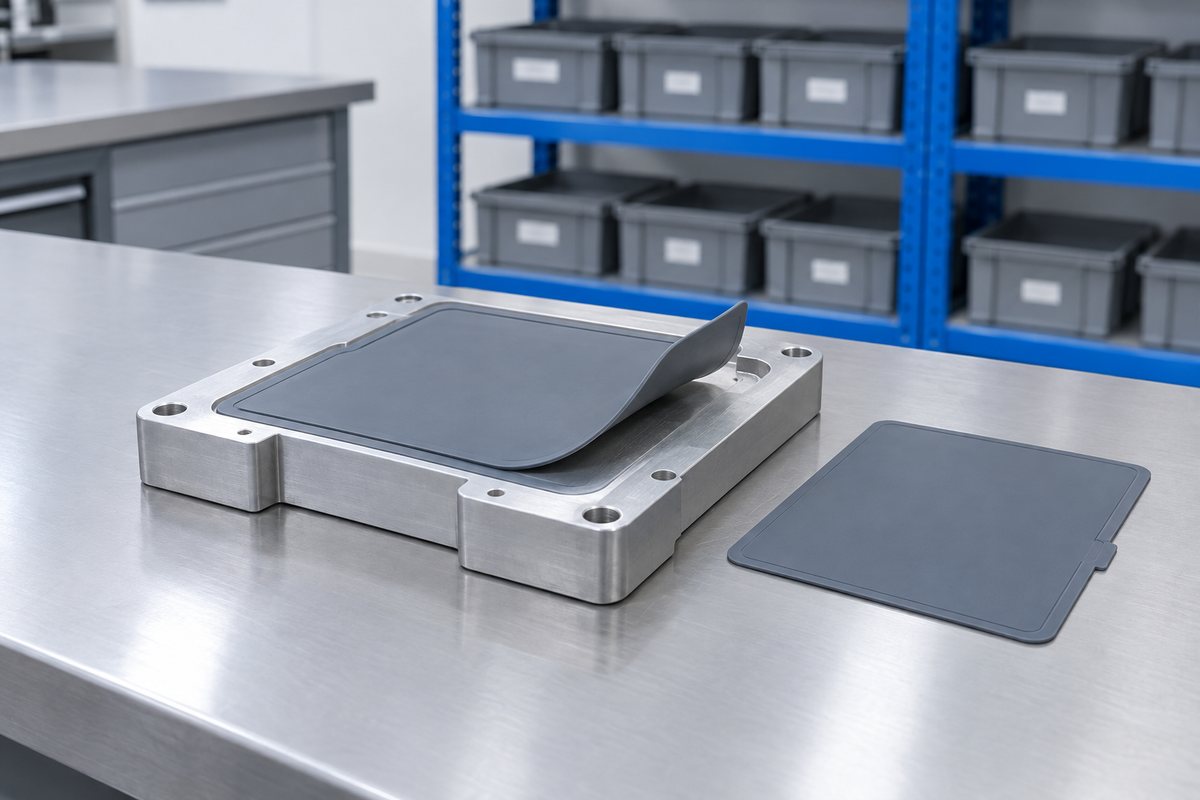
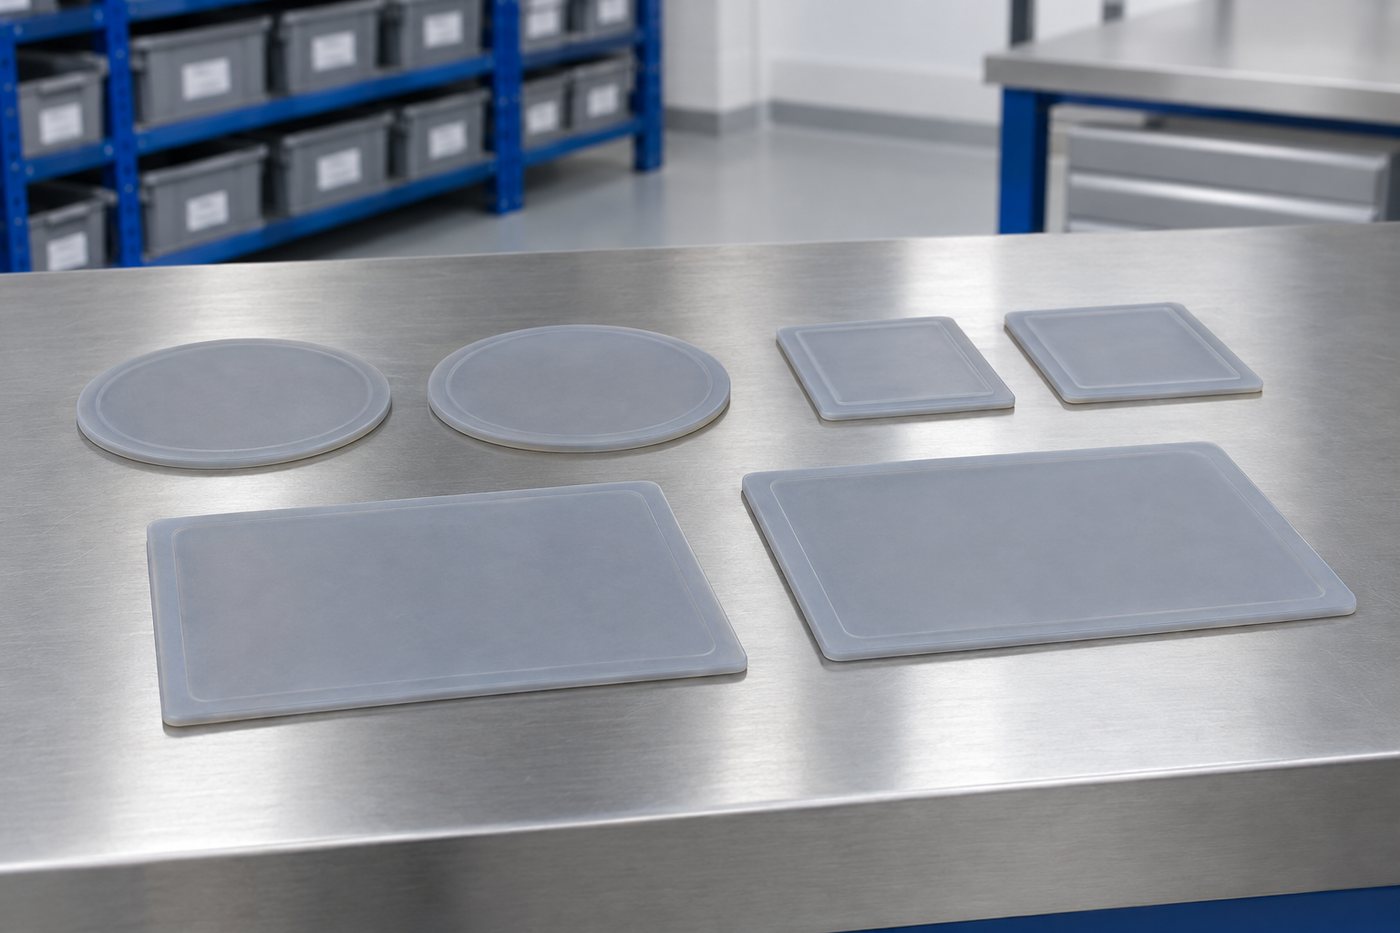
An electrical assembly business came to us with a thin silicone patch. It sits between a housing and a mounting face to seal and insulate the assembly. The patch had a simple outline, with no undercuts or fine detail to complicate the mould. The key requirement was that it lay flat on the housing before clamping. That meant the operator could use both hands for the fixings, rather than holding a patch that curled out of position.
They had been buying the parts from an existing supplier and had a drawer full of rejects. The parts were the right size, hardness and colour. They simply were not flat. The corners lifted, always the corners, and never by quite the same amount on two parts in a row.
They arrived expecting a conversation about materials: softer grade, harder grade or a different filler. We had that conversation anyway. But we did not think the material was where the fault lived. When a curl changes from part to part, it is not usually a property of the material. It is usually a property of the thing the material was cured in.
The diagnosis
The original mould was a single silicone block, poured and then trimmed, resting loose on a bench while it cured. That is a perfectly reasonable way to make many things. For a thin, flat mould, though, it is not the right approach.
A thin cavity in a soft mould has almost no stiffness across its width. When you put warm silicone into it, the block relaxes. Lift it to move it, and the block sags. Whatever shape the mould face is holding when the part gels is the shape the part keeps. In a thin section, there is not enough material in the part to resist that shape afterwards. The corners are worst because that is where the block is least supported.
We did not just assert it; we proved it. We cast the same material in the original mould and in a trial mould backed by a machined rigid plate, using the same batch and curing both side by side. The plate-backed parts came out flat and stayed flat. The bench-cured parts curled, while those we deliberately moved during curing curled more.
So the fix turned out to be a tooling job rather than a materials job, which was welcome news for the customer's budget.
Illustrative schematic. Real tools include additional detail (runners, vents, ejector positions).
What we changed
We first proved the single-cavity fix, then multiplied it.
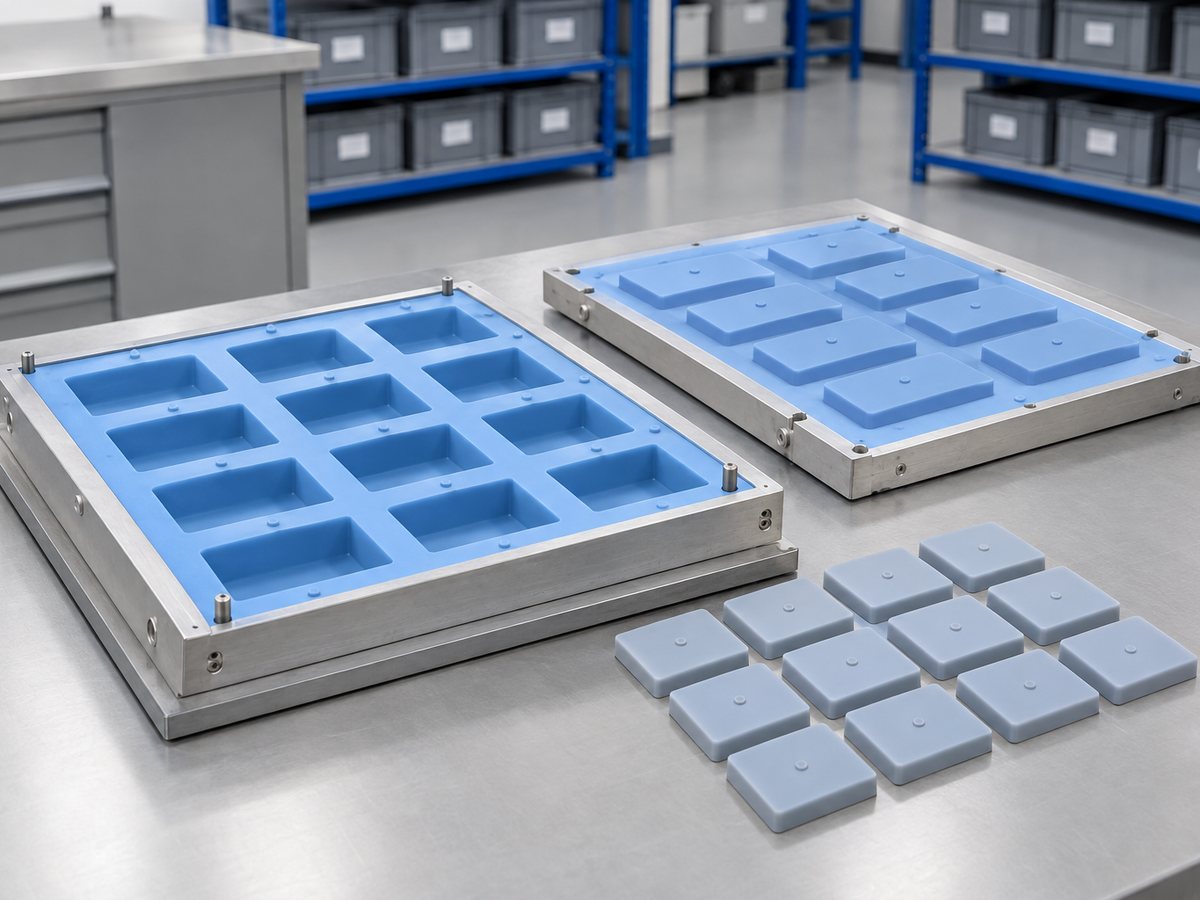
Instead of pouring silicone into a soft box, we cast it into a machined frame. The rigid frame carries the load, while the silicone forms only the face.
We took the cavity floor from a ground plate, so the surface your patch sets against is genuinely flat rather than only approximately flat.
We fill the tool, close it and leave it to cure where it was poured. Nothing is carried across the workshop with liquid silicone inside, because that is where half the curl came from.
We moved the split to the patch edge. This keeps any flash where it can be dressed, rather than on the sealing face that needs to seal against the housing.
Once one cavity was making a flat part every time, we repeated that cavity across a single frame. This means a whole set can be filled and cured under the same conditions.
First-off patches are checked against a surface plate, not held up and judged by eye. A patch that looks flat in your hand is not proof that it is flat.
The stages
Drag the timeline left and right, or use the arrow keys. Each stage explains what happens and roughly how long it takes.
Drag · tap a stage for detail
Total working time on a job of this shape: about 4 weeks (26 working days). Lead times shift with drawing changes, sign-off pace and material availability.
The commercial bit
Rather than quote a figure that would only be right for one job, here is a worked example, based on a realistic project of this shape. Your quote follows the same shape, with your part, your volume and your material.
An electrical OEM needing 2,000 patches a year, dead-flat critical.
| Machined aluminium base plate | £420 one-off |
|---|---|
| Silicone mould on the base | £340 one-off |
| Tooling amortised over 6,000 parts (3 yrs) | ≈ £0.13 per patch |
| Cast, cure, trim | ≈ £0.82 per patch |
| Landed cost per patch | ≈ £0.95 |
Assumes a 60 mm × 90 mm × 2.5 mm patch in 60 Shore A. Flatness spec ≤ 0.3 mm across face.
For two years, we treated it as a material fault. No one had told us that the mould was causing the corners to lift.
Manufacturing engineer, electrical assembly manufacturer
Behind the work
Two services carried this part, while a third is worth reading if your own part is still changing shape.
Boxed moulds with the split line chosen rather than simply accepted. Once the box was built properly, the patch stayed on this route.
Cast moulds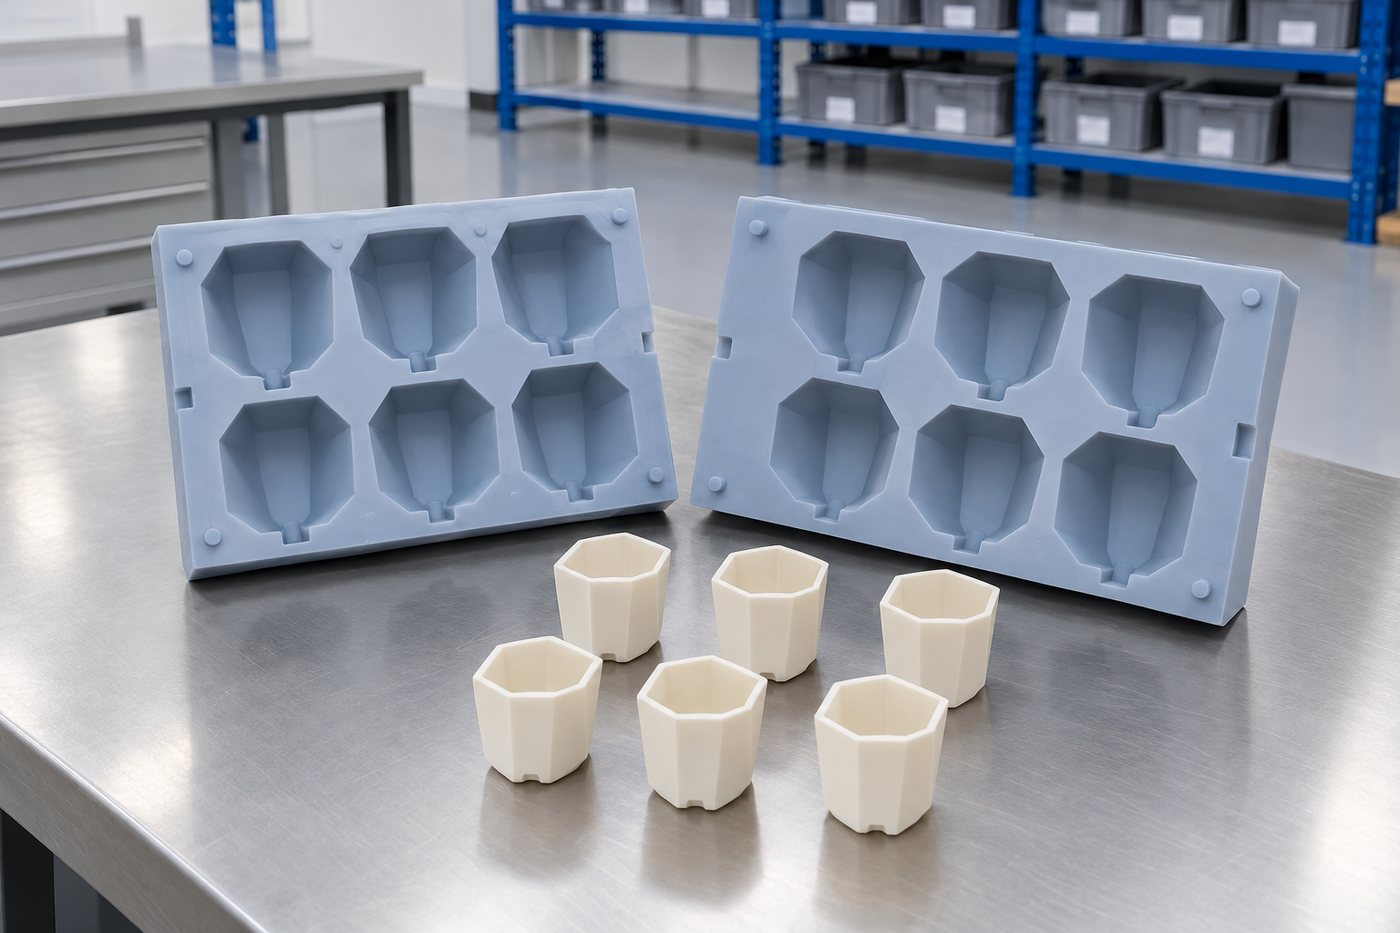
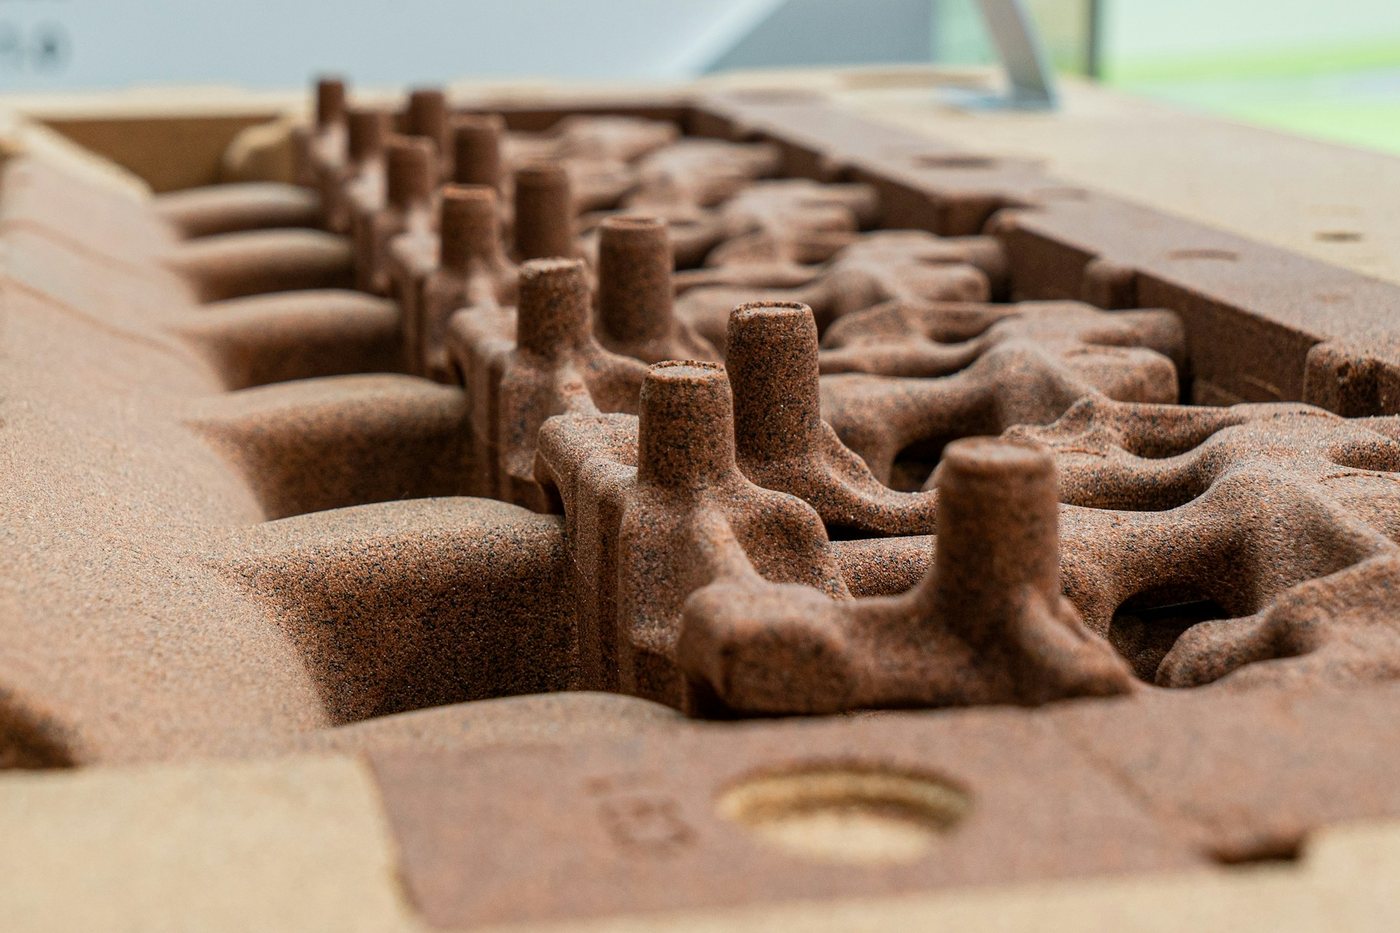
Repeating a proven cavity lets the whole set fill and cure together. This can lower your cost per part, but any change affects every cavity.
Multi-cavity tooling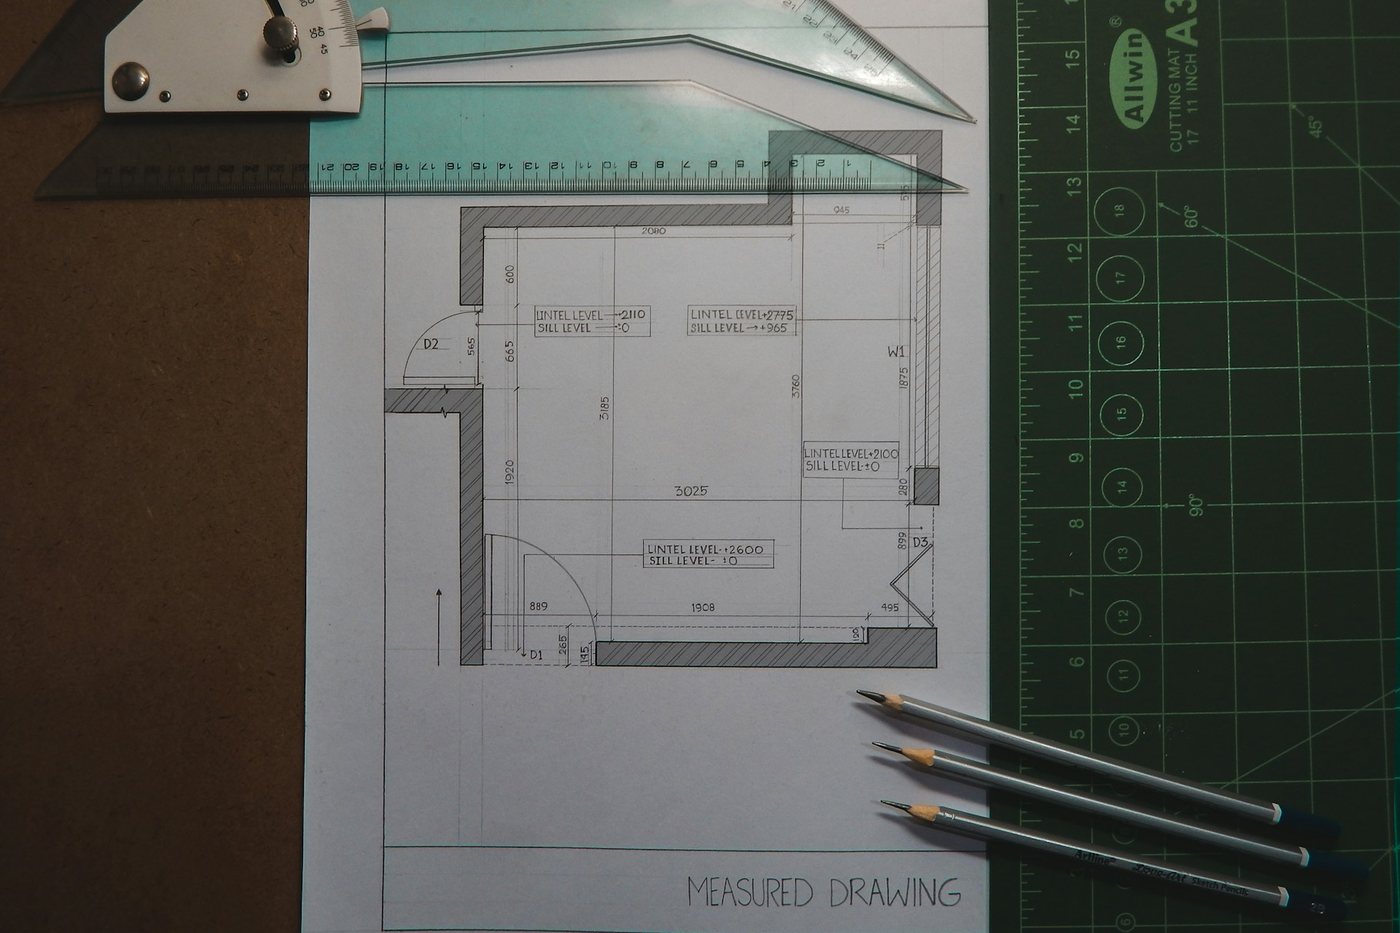
This is where we agree the split line and fill arrangement before anything is cut. It is the cheapest stage at which to fix a flatness problem.
CAD and DFMMore records
This aerospace part had finer detail than anything we had previously held in a soft tool.
Aerospace componentWe positioned the parting line on the one face of the ear pads that needed to feel like nothing.
Silicone ear padsThe modelling clay pattern that left the mould face tacky, and the test that identified it.
Jewellery masterNext step
Curl on a thin cast part is nearly always caused by what happened during cure, rather than by the material itself. The useful questions are: is the mould properly supported, is the cavity floor genuinely flat, and was the mould picked up before the part had gelled? Two of those three checks are free to fix.
Please send a handful of the bad parts rather than just one. A single curled patch shows that it curled; six show whether the curl is consistent. Consistency points to geometry, while inconsistency points to handling. If you have the existing mould, please send that too, as it usually answers the question by itself.
If the part hasn't been made yet, bring us the geometry. We'll advise where the split line and fill point should go before anyone builds a box.
At a glance
Silicone hardness in everyday terms
Swipe to see the whole diagram
Ready to start?
Send us a drawing, photograph or sample, and we'll come back to you with a mould strategy, material recommendation and price.
Real people, a real workshop
No call centre and no middlemen. When you contact TCI Mouldings, you speak to the team who design, build and check your mould.

 Thomas LaneManaging Director
 George PrestonDesign & Project Manager
 Kelly BallingerHead of Partnerships
 Jim AndertonProduction Manager
 TheodoreEmployee Welfare