Bidford-on-Avon, Warwickshire. Mon to Fri.01789 224228

Groundwork · the thing the mould is taken from

Master patterns.

A mould is only as good as the master it is cast around. Every blemish, print line and soft edge on your master is reproduced faithfully on every part throughout the life of the tooling. That is where quality is decided.

PrintedMachined or modelled
FinishedBefore any silicone
RetainedSo repeats match
2019Established

Four ways to a master

And what each one costs you to finish.

The cheapest master is rarely the cheapest job, because anything left behind by the process still has to be removed by hand.

Hands finishing a prototype casting at the bench
Most common

3D printed

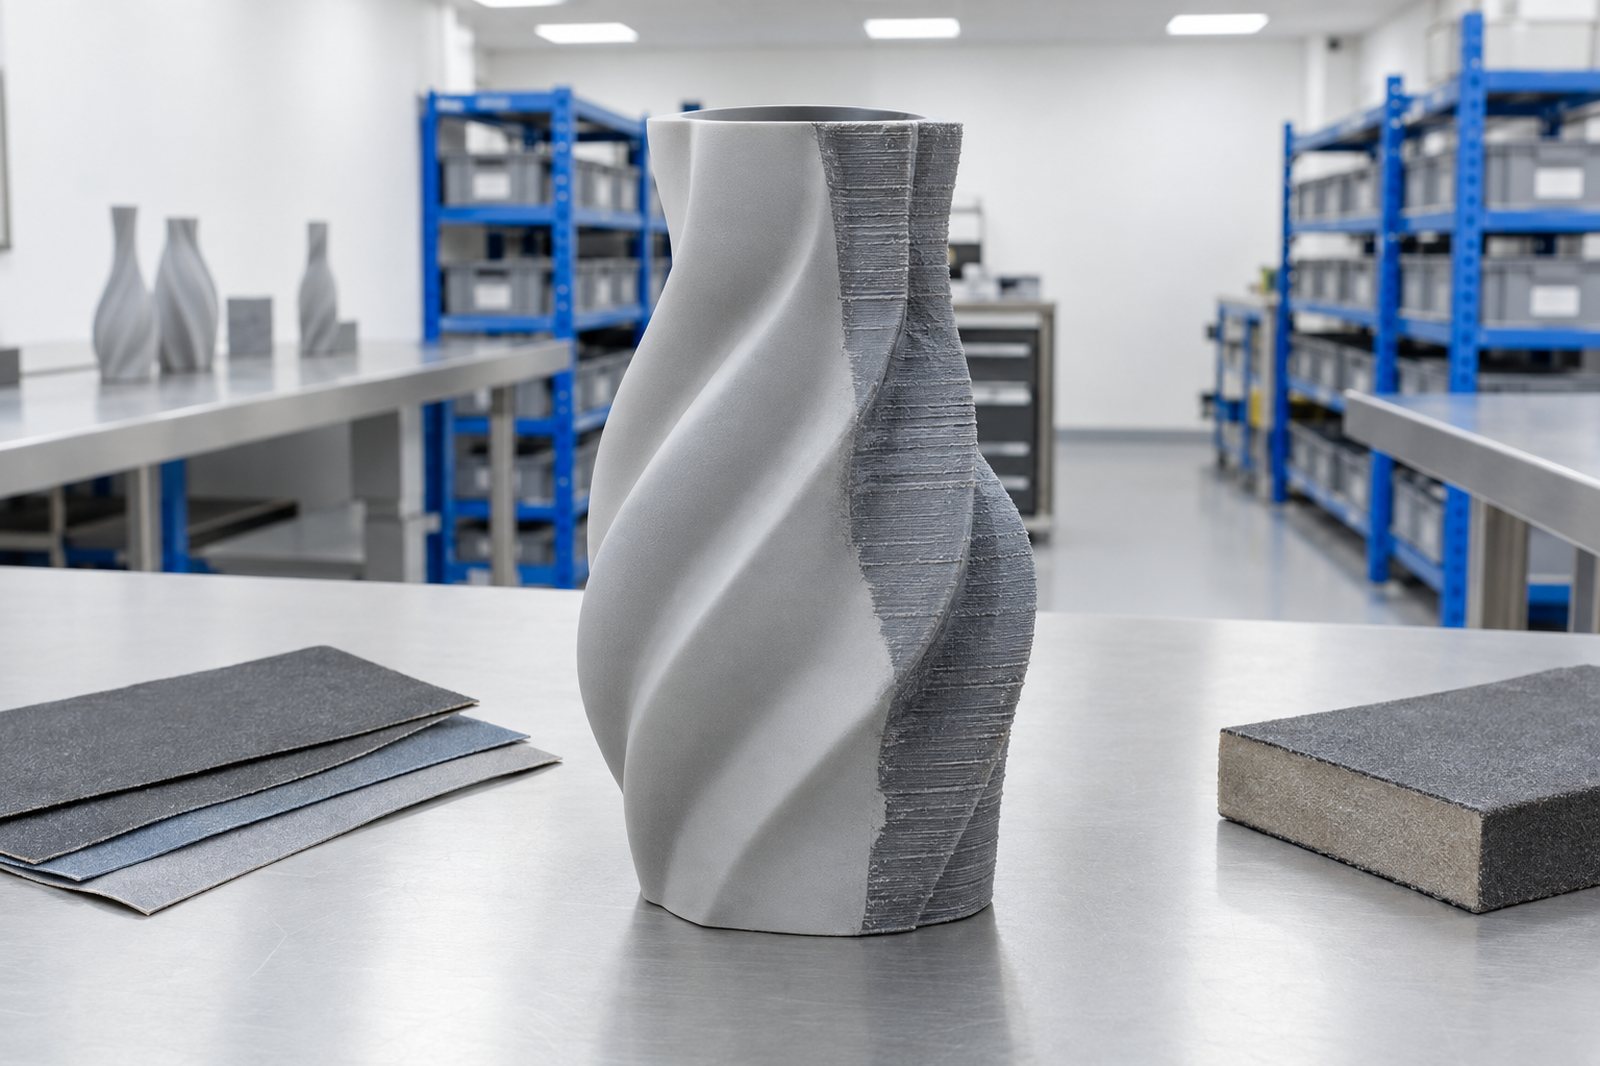
Printed masters are quick to produce from CAD and work well for complex geometry. However, they arrive with layer lines. On a curved face, those lines can transfer straight through the mould and onto every casting. Printed masters need filling, sanding and sealing, and finishing them is often more work than printing the master itself.

Prototype tooling
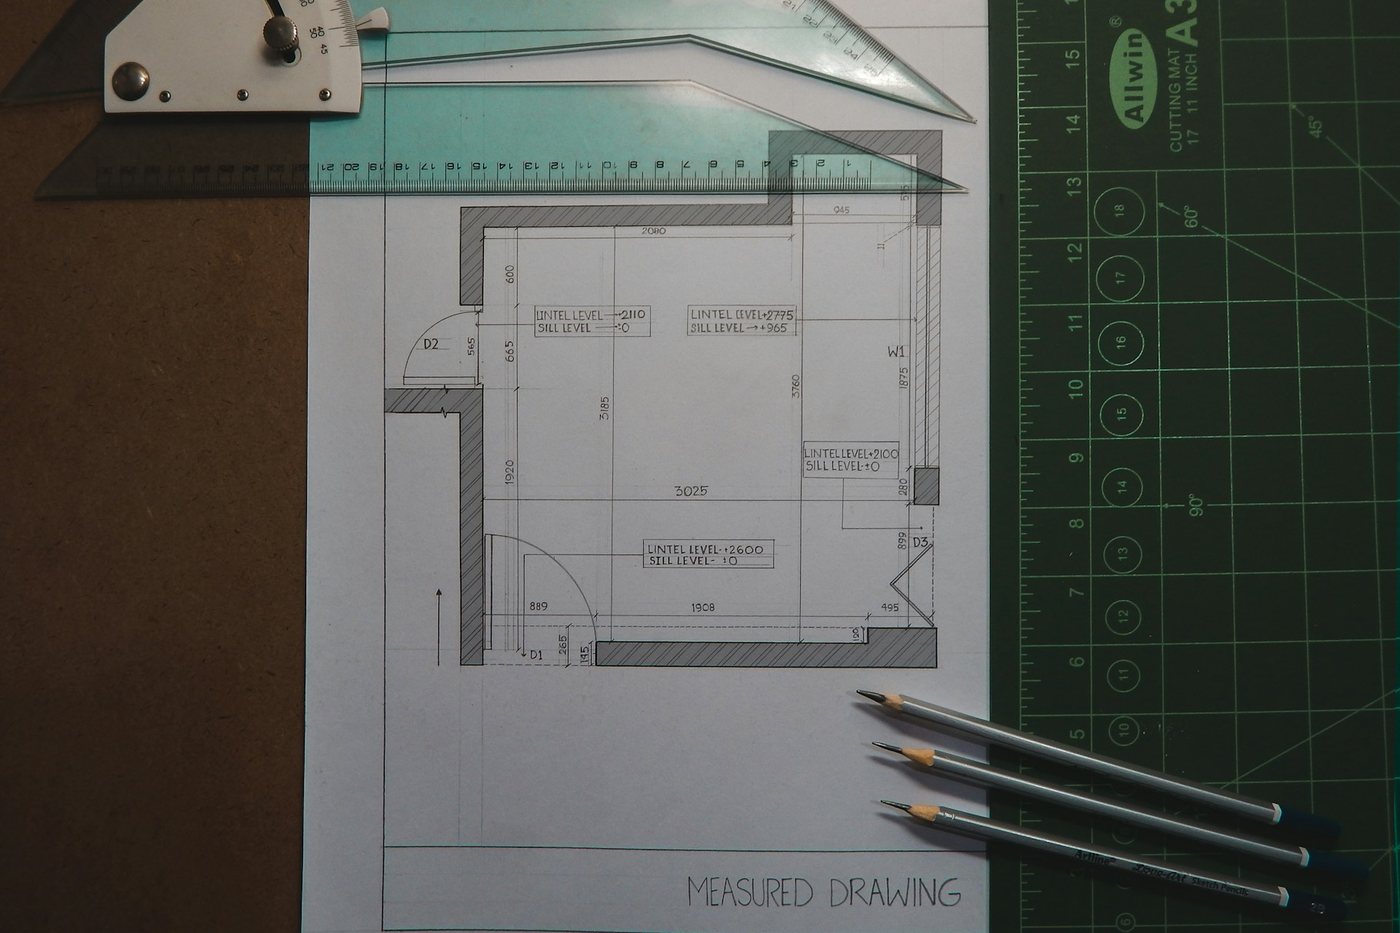
Technical drawing with pencils on a drafting board
Crispest

Machined

If you need genuinely flat faces and sharp arrises, cutting from board, resin or metal can be a strong choice. It gives you the finish that printing can struggle with and needs the least finishing. It costs more up front and does not suit deep undercuts, because the cutter must be able to reach every surface.

CAD and DFM
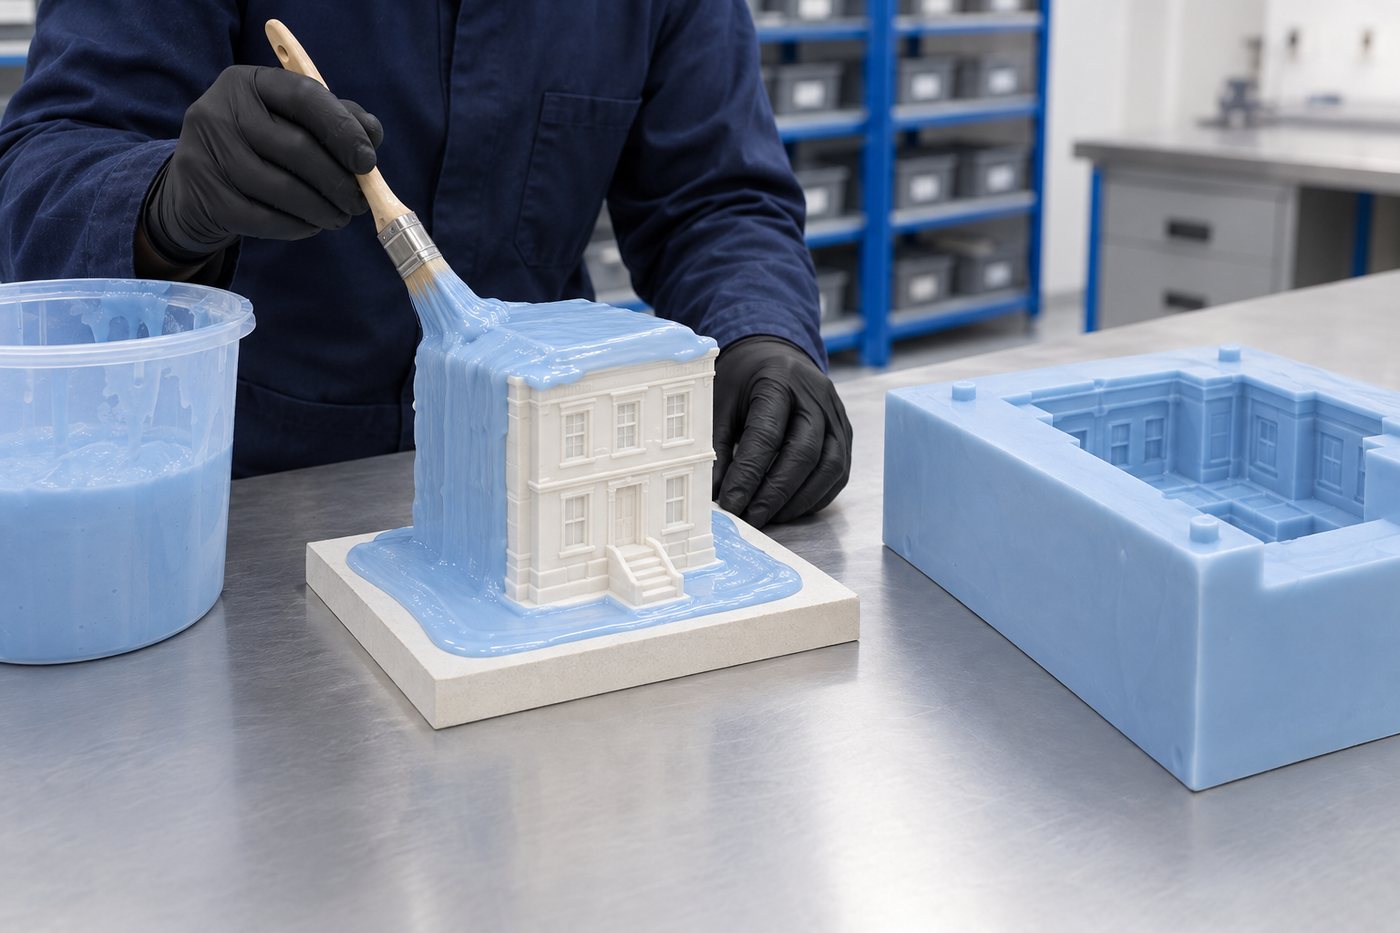
Illustrative example: Hand-brushed silicone building up around a master pattern
Organic work

Hand modelled

Sculpted, carved or built up by hand, this is the right approach for organic shapes and decorative work where the eye is the only judge. It is slow, and a damaged piece cannot be repeated exactly. That is why we treat the retained master as the valuable object.

Hand-made moulds
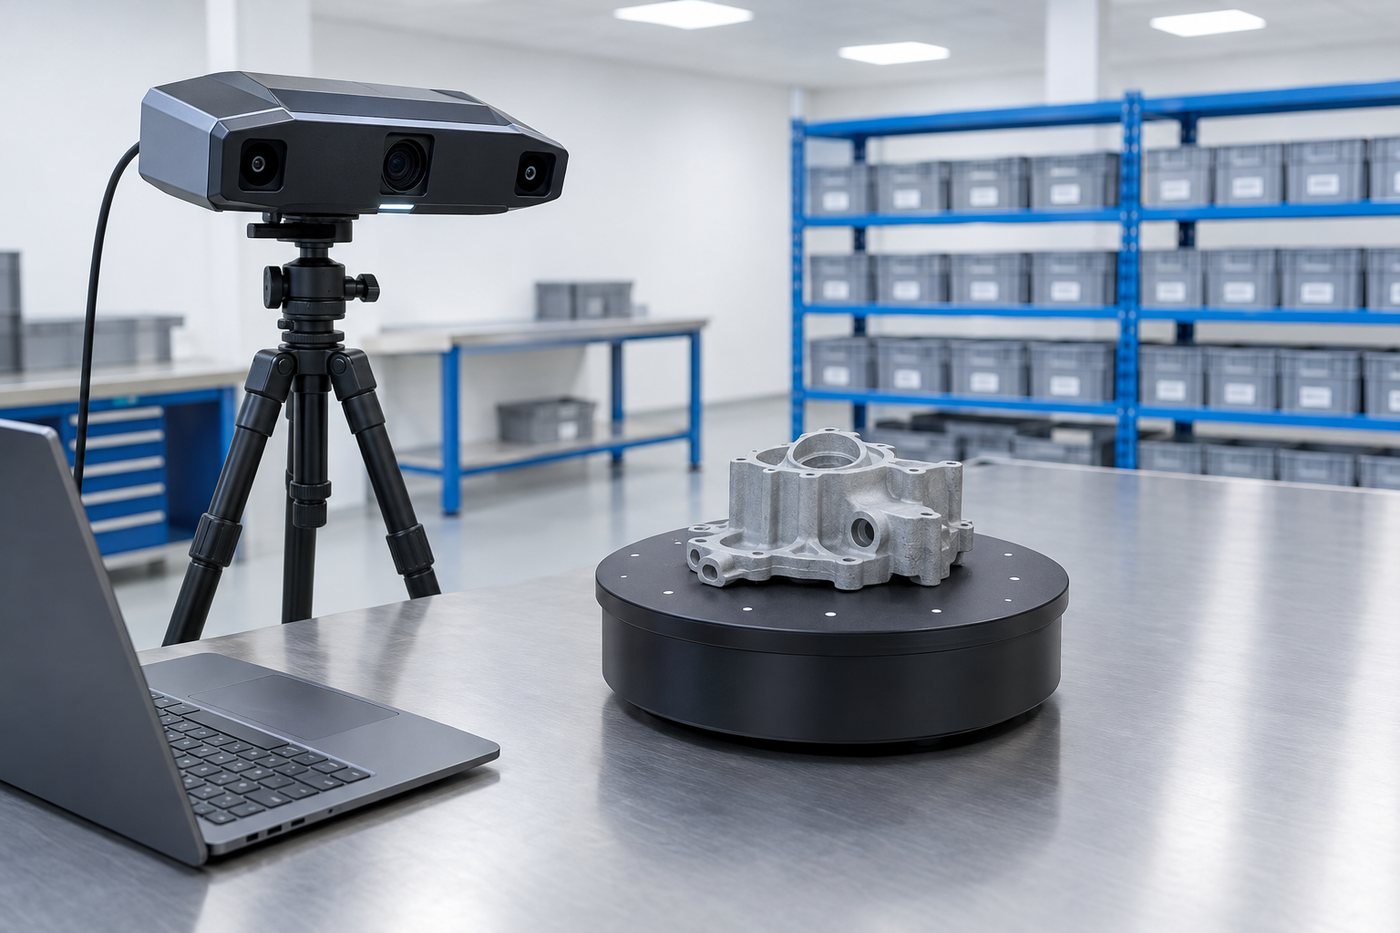
Illustrative example: 3D scanner capturing an irregular part on a workshop bench
Cheapest

Your existing part

If you already have one, use it. Just bear in mind what you are inheriting: the wear, the flash, the old repair and any shrinkage from the original process. The copy will faithfully reproduce the part you send us, not the drawing it was intended to match. Scanning is the way forward if you need the intended shape instead.

Finishing

A master is not finished when it comes off the machine.

Before silicone goes near your master, we prepare it carefully. Layer lines and tool marks are filled and sanded smooth. We check every edge, because even a hairline chip can become a permanent feature. Surfaces are sealed too, so the silicone does not key into a porous face and tear the master apart during release.

Sealing has another important job: it helps protect against cure inhibition. Sulphur in some clays, residues from certain adhesives and some fillers can stop silicone curing where they touch it, leaving a tacky patch that never sets. The solution is to prepare the master properly. Adding catalyst is not.

The right level of finishing depends entirely on what your part is judged on. For a gloss decorative face, the master needs polishing to a gloss because the mould copies the surface it is given. A matt structural part needs no such polish, so paying for one would simply add unnecessary cost.

At this stage, we also sort out the draft, keys and witness edge, along with where the mould will part. These decisions are part of a joint conversation about design for manufacture, rather than something left until the pour.
Illustrative example: A printed master part-way through finishing, half filled and sanded and half still showing raw print texture

Repeats

The master helps each repeat match the original.

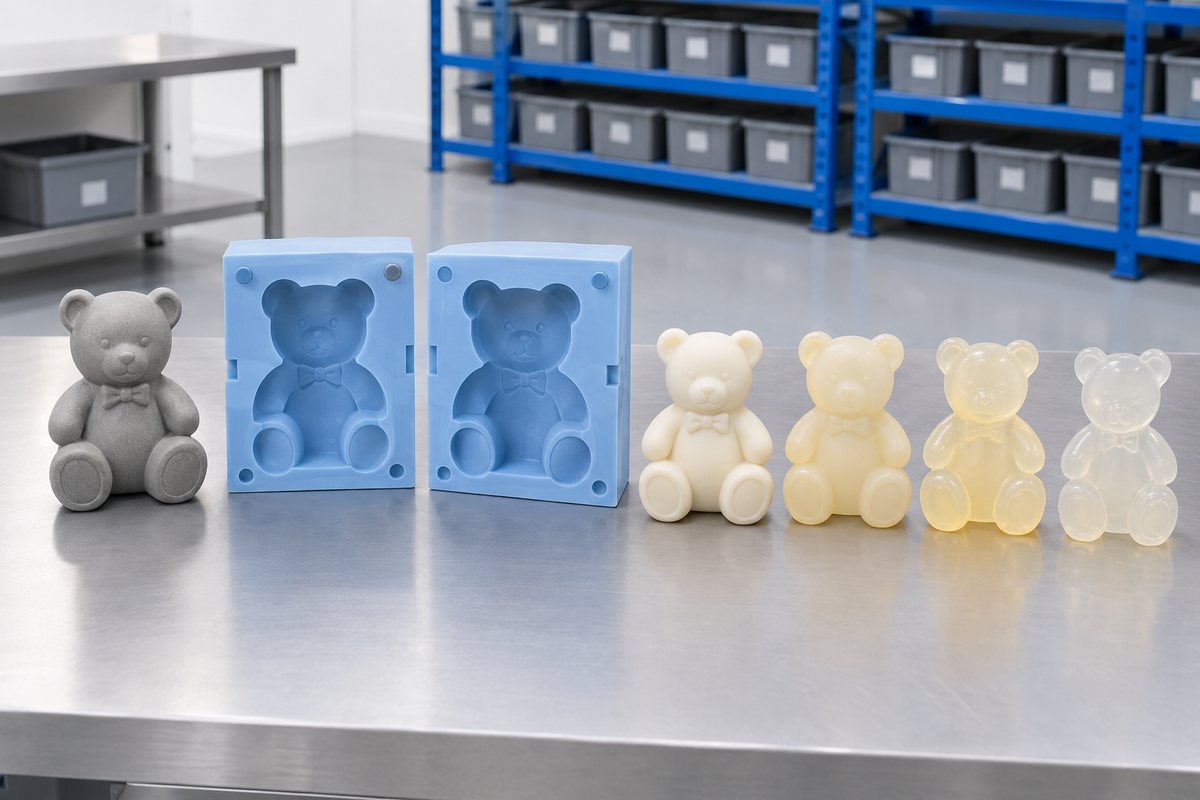
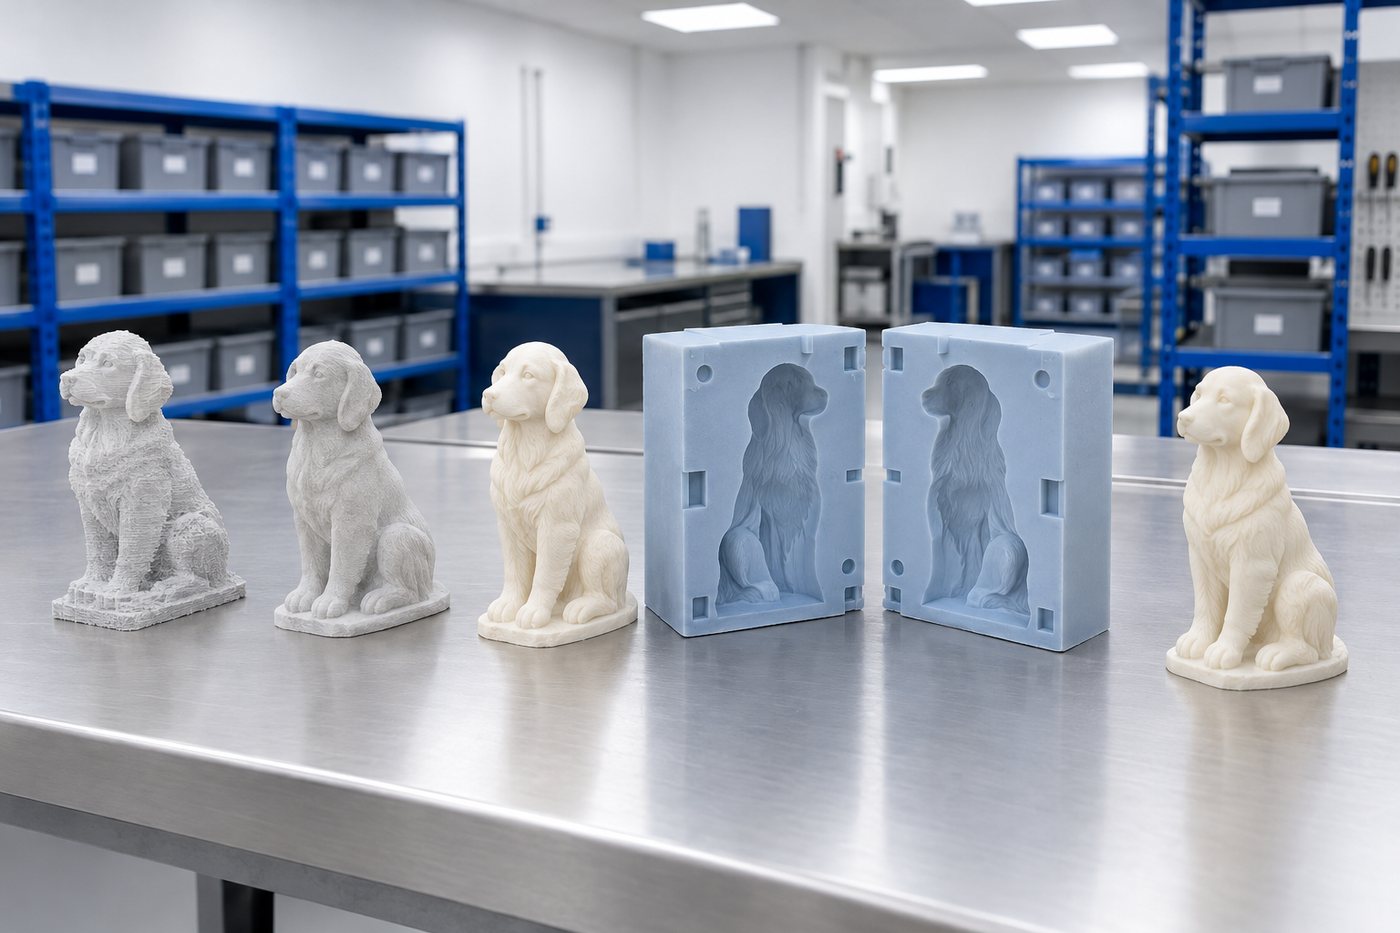
Illustrative example: Stored master pattern beside replacement moulds and progressively softer cast copies
Original master kept to maintain repeat consistency

Soft moulds wear out, and that is expected. The key to making sure your fourth mould produces the same part as your first is whether it was cast from the original master or from something that came out of the third mould.

Every time you copy a copy, you lose a little: an edge becomes slightly softer, the mould shrinks by a fraction, or a blemish appears. After three copies, the range no longer matches itself. That is why we keep the master, record the grade and take every replacement mould from the original. It is the foundation of replacement and spare moulds.

Masters are physical objects, so they can be damaged. It is worth agreeing at the start who will hold the master and what will happen if it is dropped. For high-value hand-modelled work, taking a second master from the first while it is still pristine is cheap insurance against losing the geometry entirely.

If the master is no longer available and you only have a used part, that's a reverse engineering job. It's a normal enquiry, and it starts with you sending us the part in a jiffy bag.

To quote it

Tell us how the part will be judged.

01

The finish that matters

Choose gloss, satin, matt or textured, and tell us which faces are visible and which are hidden. We'll finish the master to that standard, and no further.

02

The features that must be sharp

When marking up your part, highlight any lettering, arris or fit face. These features can influence the choice between printing and machining more than the overall shape does.

03

What you already have

CAD, a drawing, a sample or a photograph can all give us a starting point. A physical sample usually saves you the most work.

04

Where the mould goes next

Whether you need a one-off pour, a boxed cast mould, or a hard tool, the right standard depends on the job. A master used to make hard tooling needs to meet a different standard from one used for a single silicone pour. If you're not sure yet, start with the five routes.

Send what you have

Illustrative example: Sample master parts showing different finishes and marked critical faces
Finish and sharp features agreed on the master

At a glance

The idea in a picture.

From idea to finished mould

  1. 01Photo or sampleShow us what you want to cast
  2. 02Drawing agreedWe agree the shape and split
  3. 03Master madeMachined, printed or sculpted
  4. 04Proof pourA first mould to test
  5. 05Full mouldMade once you are happy
  6. 06Kept on fileFor easy reorders

Swipe to see the whole diagram

Every mould follows the same simple route, so you always know what happens next.

Ready to start?

Tell us what you need to make. We'll show you how to mould it.

Send us a drawing, a photograph or a sample, and we'll come back to you with a mould strategy, a material recommendation and a price.

Real people, a real workshop

You deal with the people who make it.

No call centre and no middlemen. When you contact TCI Mouldings, you speak to the team who design, build and check your mould.

  • A real Warwickshire workshopUnit 15, Waterloo Park, Bidford-on-Avon, Alcester B50 4JG.
  • Real people on the phoneCall the team on 01789 224228, Monday to Friday.
  • The same team on every jobDesign, production and aftercare come from the people you see here.
  • Part of TCI GroupFive specialist brands, one engineering team. Visit TCI Group.
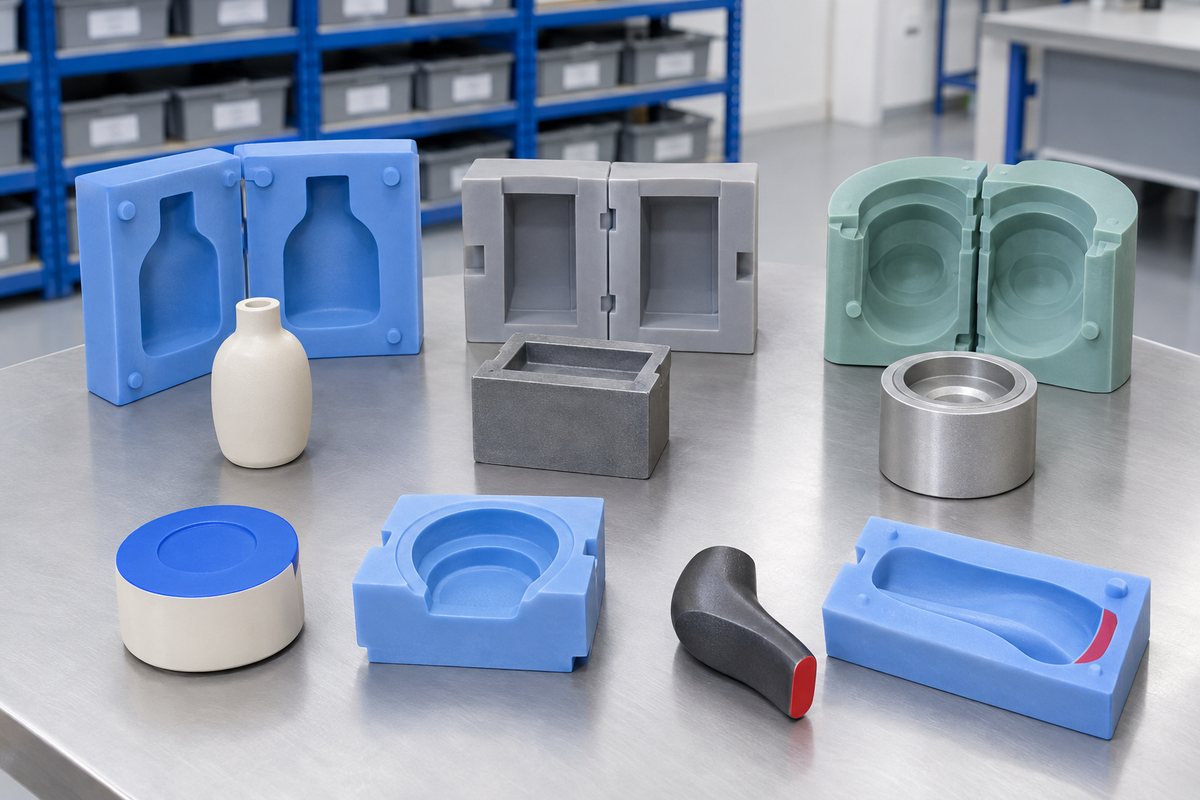
Silicone wax melt moulds made by TCI Mouldings.
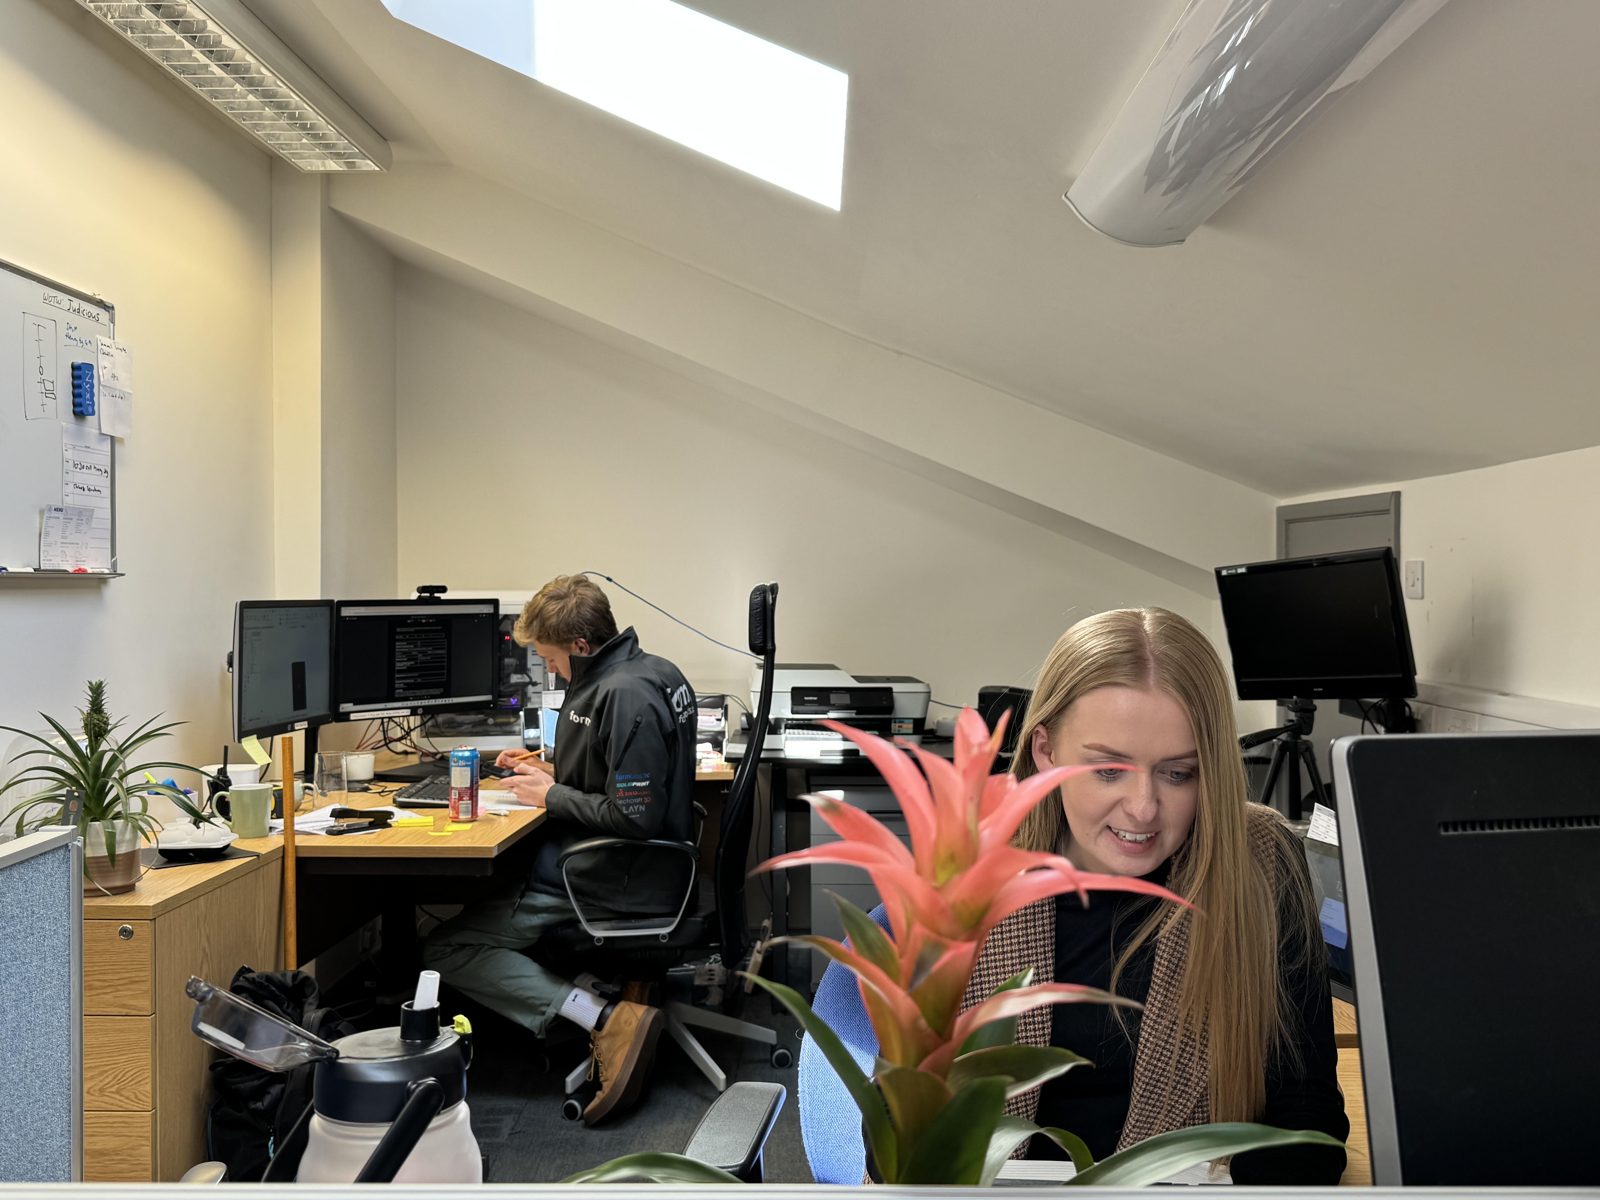
The TCI design and project office.
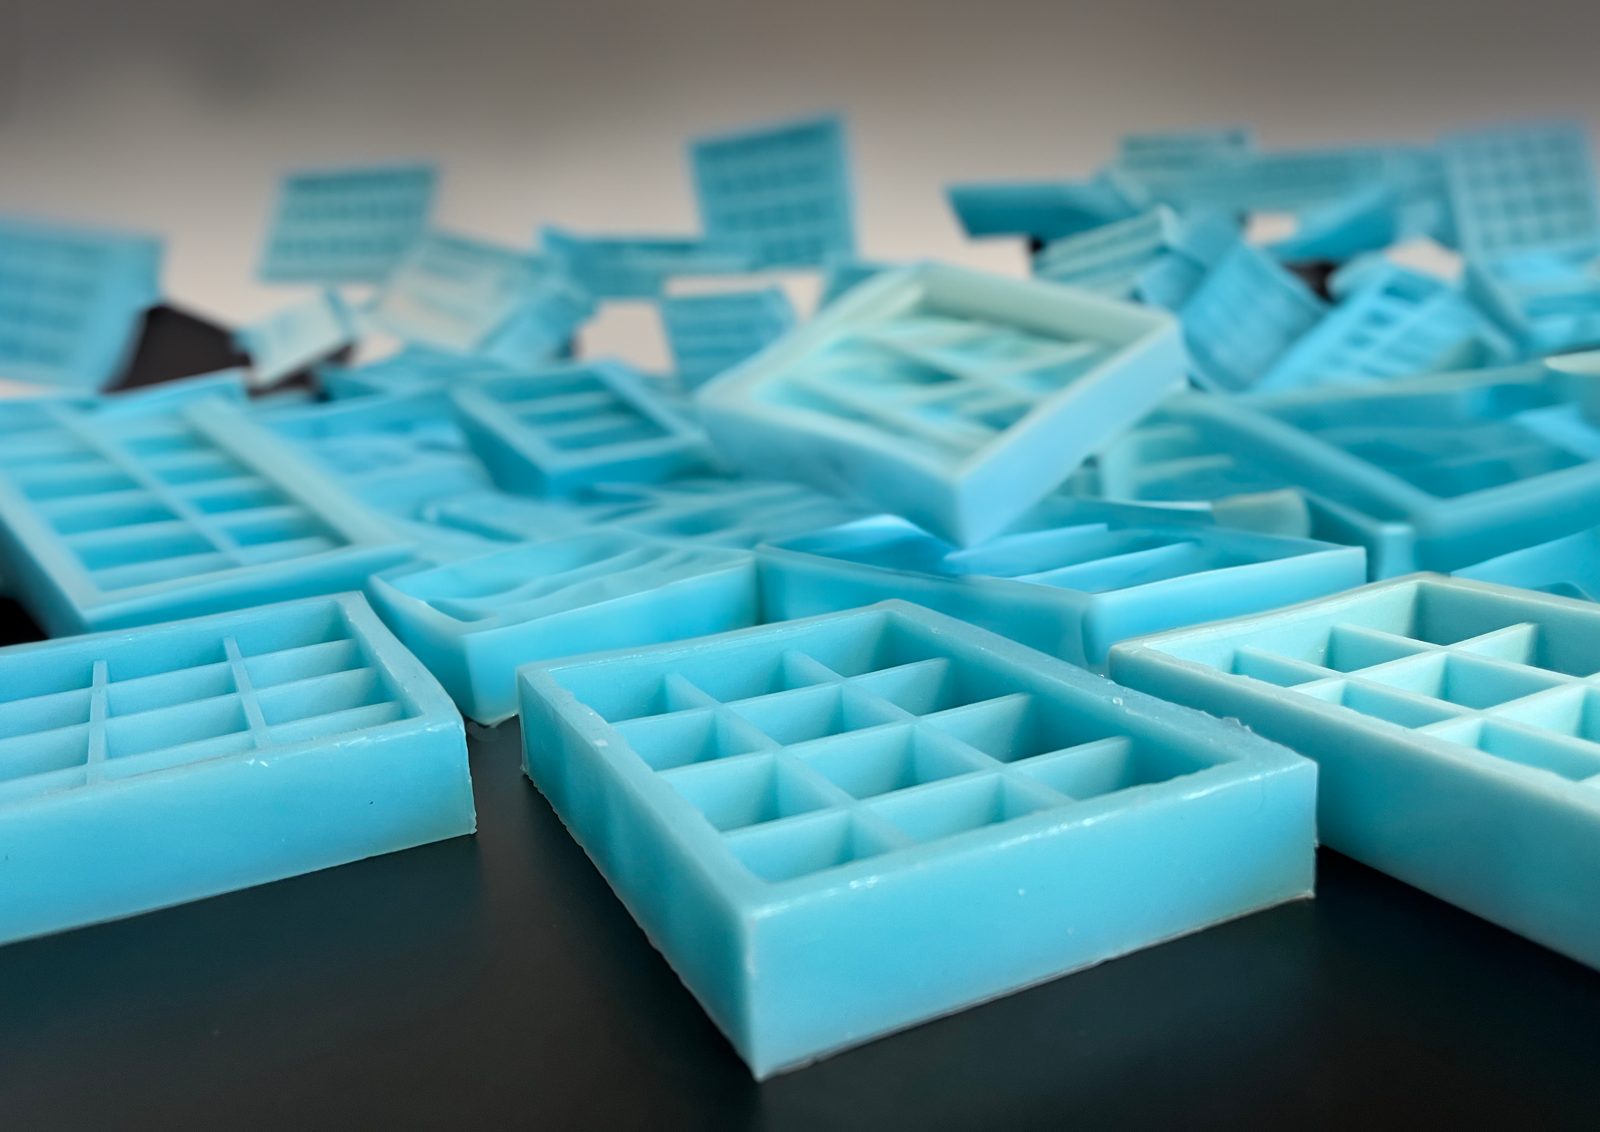
A stack of TCI silicone moulds.
  • Thomas LaneManaging Director
  • George PrestonDesign & Project Manager
  • Kelly BallingerHead of Partnerships
  • Jim AndertonProduction Manager
  • TheodoreEmployee Welfare
Meet the team