Prototype tooling
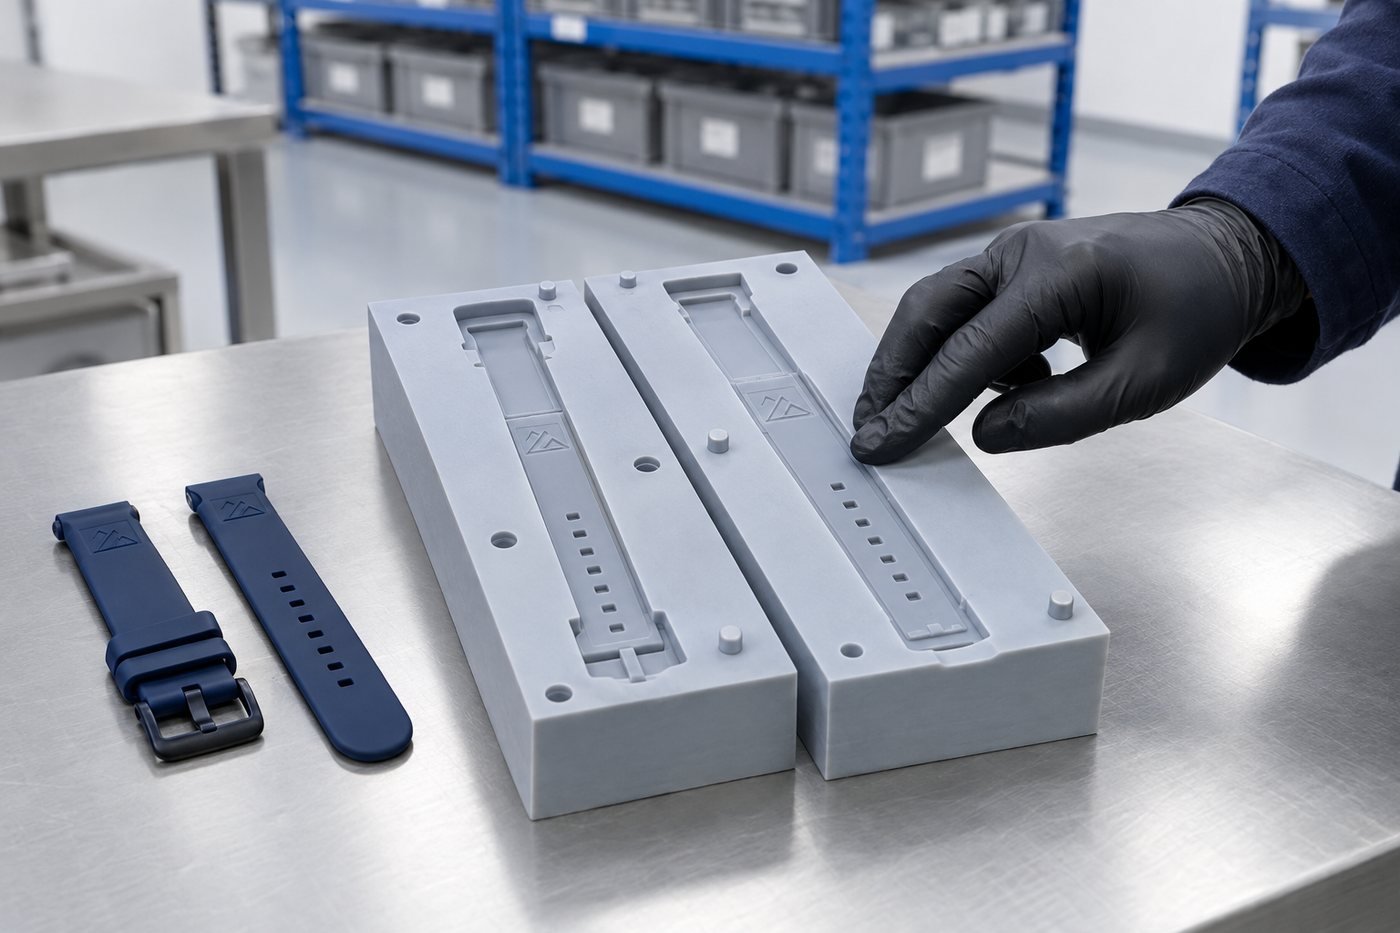
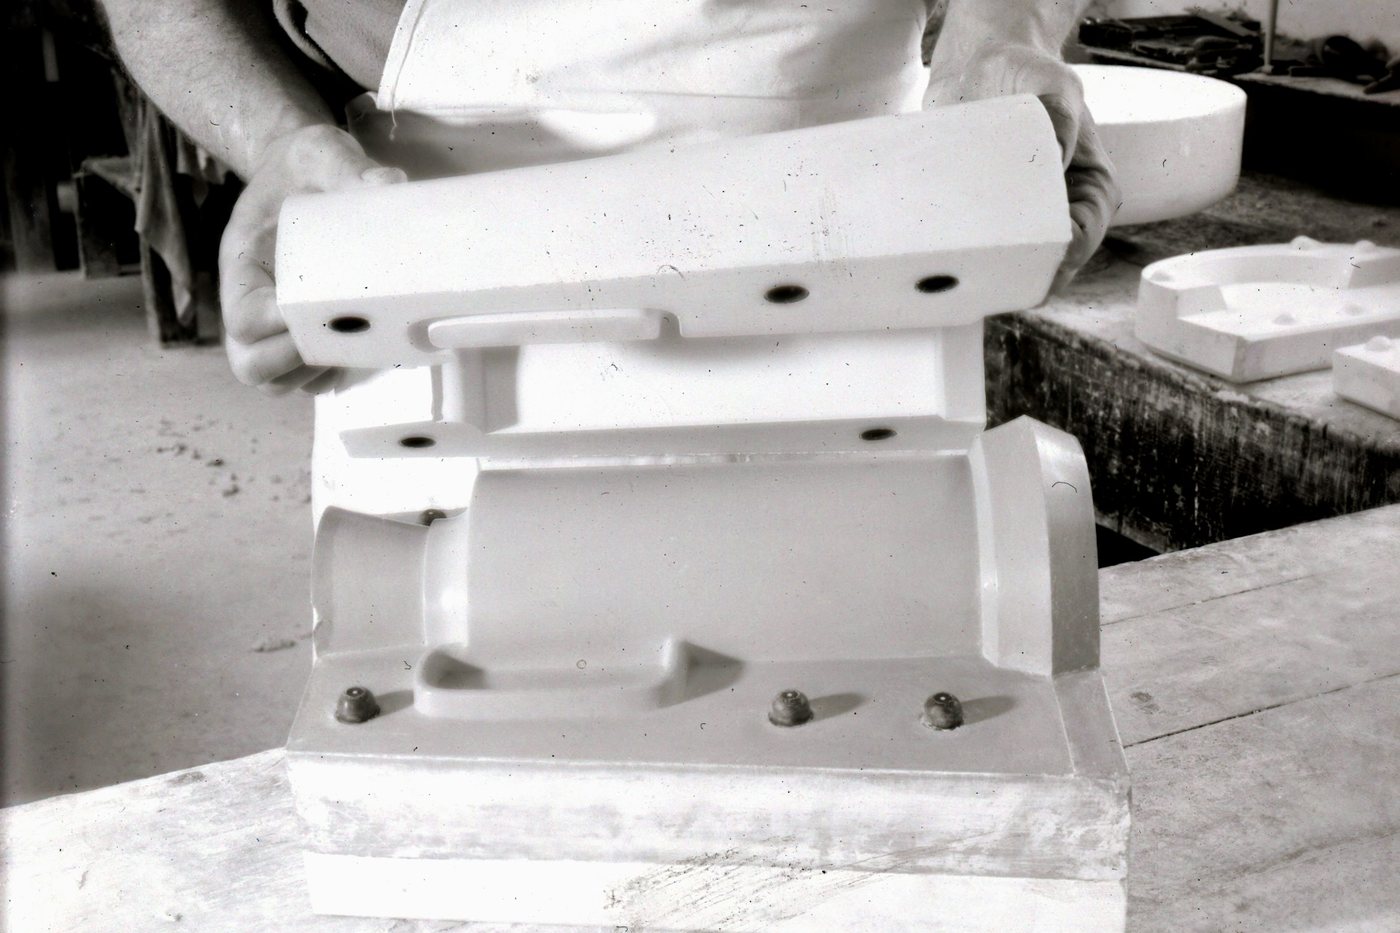
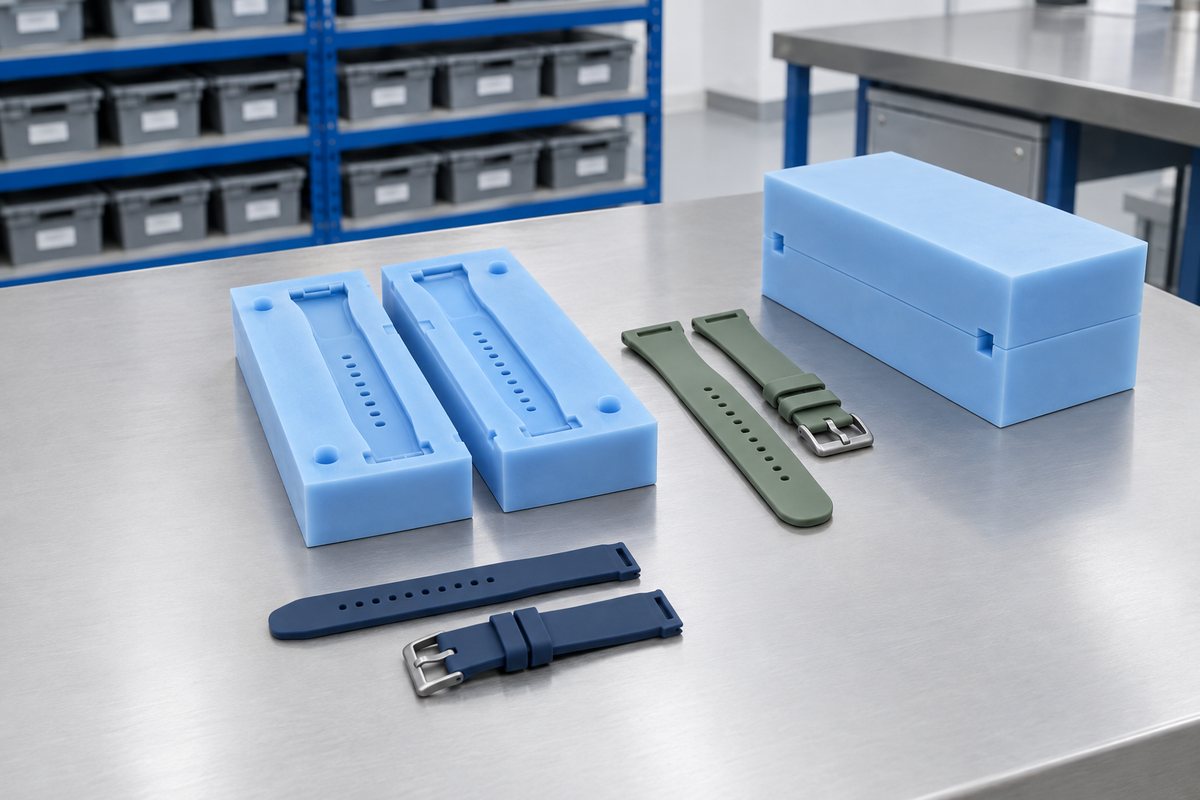
Development tooling for a design that's still evolving. It's cheap to change, deliberately not a tool you'll run for years, and lets you cut the steel just once.
Prototype toolingProject record · Wearables · Prototype tooling, then injection
A printed logo on a silicone watch strap wears off. A moulded logo cannot. Moving the mark into the moulding meant proving it in soft tooling first, then committing to steel once we knew the relief would read.
The brief
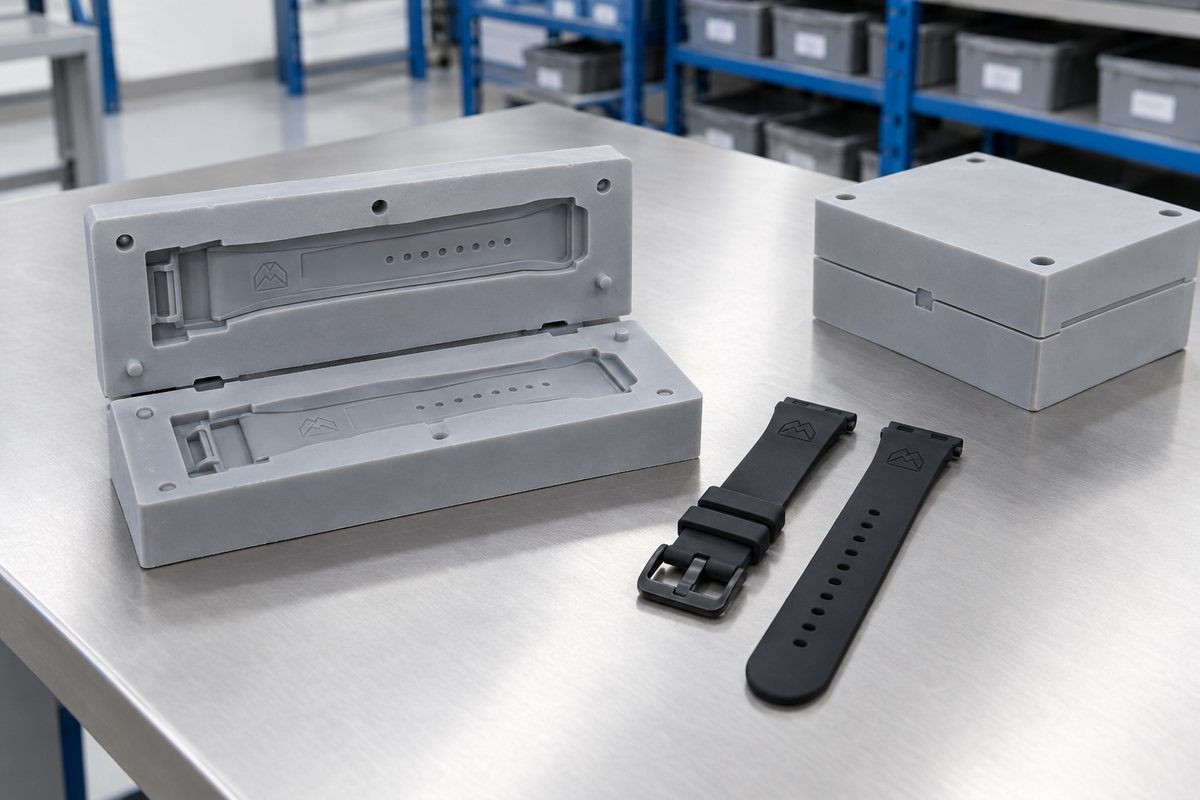
A wearables brand was printing its logo on silicone watch straps. Printing on silicone is difficult at the best of times. On a strap, the mark sits on a surface that flexes, gets sweaty, is washed and rubs against a cuff all day. Returns were coming back with the logo half gone, even though the strap itself was otherwise perfect.
The brief called for the mark to be moulded into the strap surface as a relief, rather than applied as a coating. That meant it could not wear off. Because the logo was a fine wordmark, not a chunky symbol, it also needed to stay legible on a curved face at a glance, rather than under a lens.
The volumes were already real and rising, which changed the conversation. This was not a development piece looking for a cheap mould. It was a component the brand expected to keep buying, putting hard tooling on the table from the start.
The problem
Three awkward details came together at once. The relief itself was fine, but it sat on a doubly curved surface, and the obvious place to part the tool ran straight across the strap, exactly where the logo needed to be.
Fine relief in silicone does not fail because it comes out small. It fails when it comes out soft. The corners of the letters round over, the counters inside closed letters fill in, and the mark stops being a wordmark and becomes a smudge in the right shape. Whether that happens depends on how the material reaches the detail, how the air leaves it, and how sharply the tool itself is cut.
The curved face made the problem worse: relief on a curve looks different depending on the viewing angle. A depth of relief that looks confident on a flat test plaque can disappear into a highlight when that same depth is used on a strap.
The parting line had to be repositioned. Flash across a logo is not a cosmetic quibble. It cuts through the mark, and no dressing operation can remove it without also taking away the letter edges.
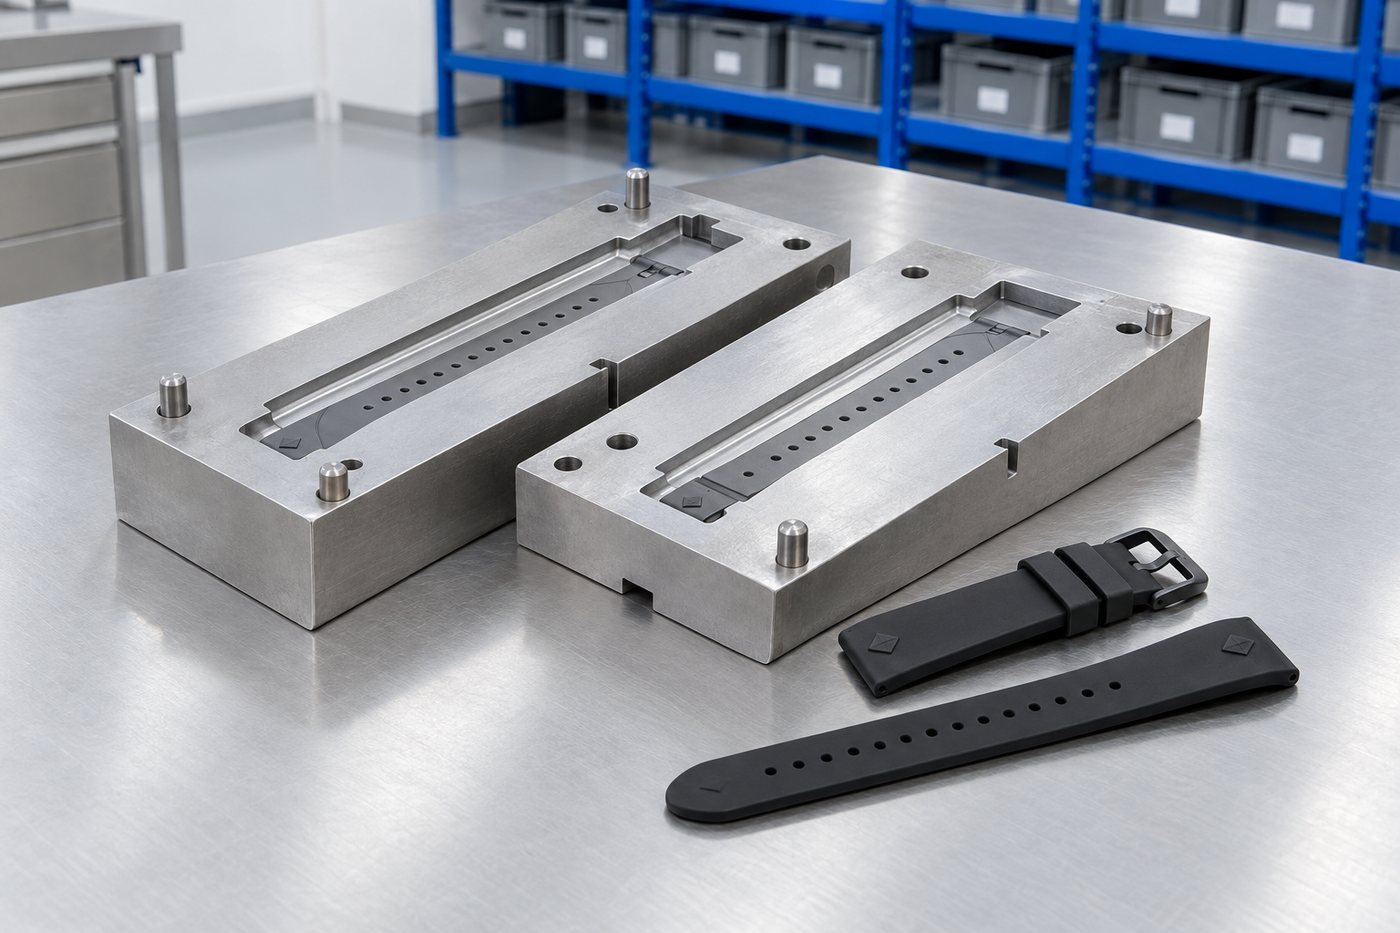
Illustrative schematic. Real tools include additional detail (runners, vents, ejector positions).
What we did
The sequence is set up so you make the expensive decision last.
The wordmark has been reworked for moulding, with strokes rationalised and counters opened where they would otherwise have filled. The relief has also been given draft, meaning a slight angle, so it releases cleanly.
It still reads as the brand mark, but it is not the print file.
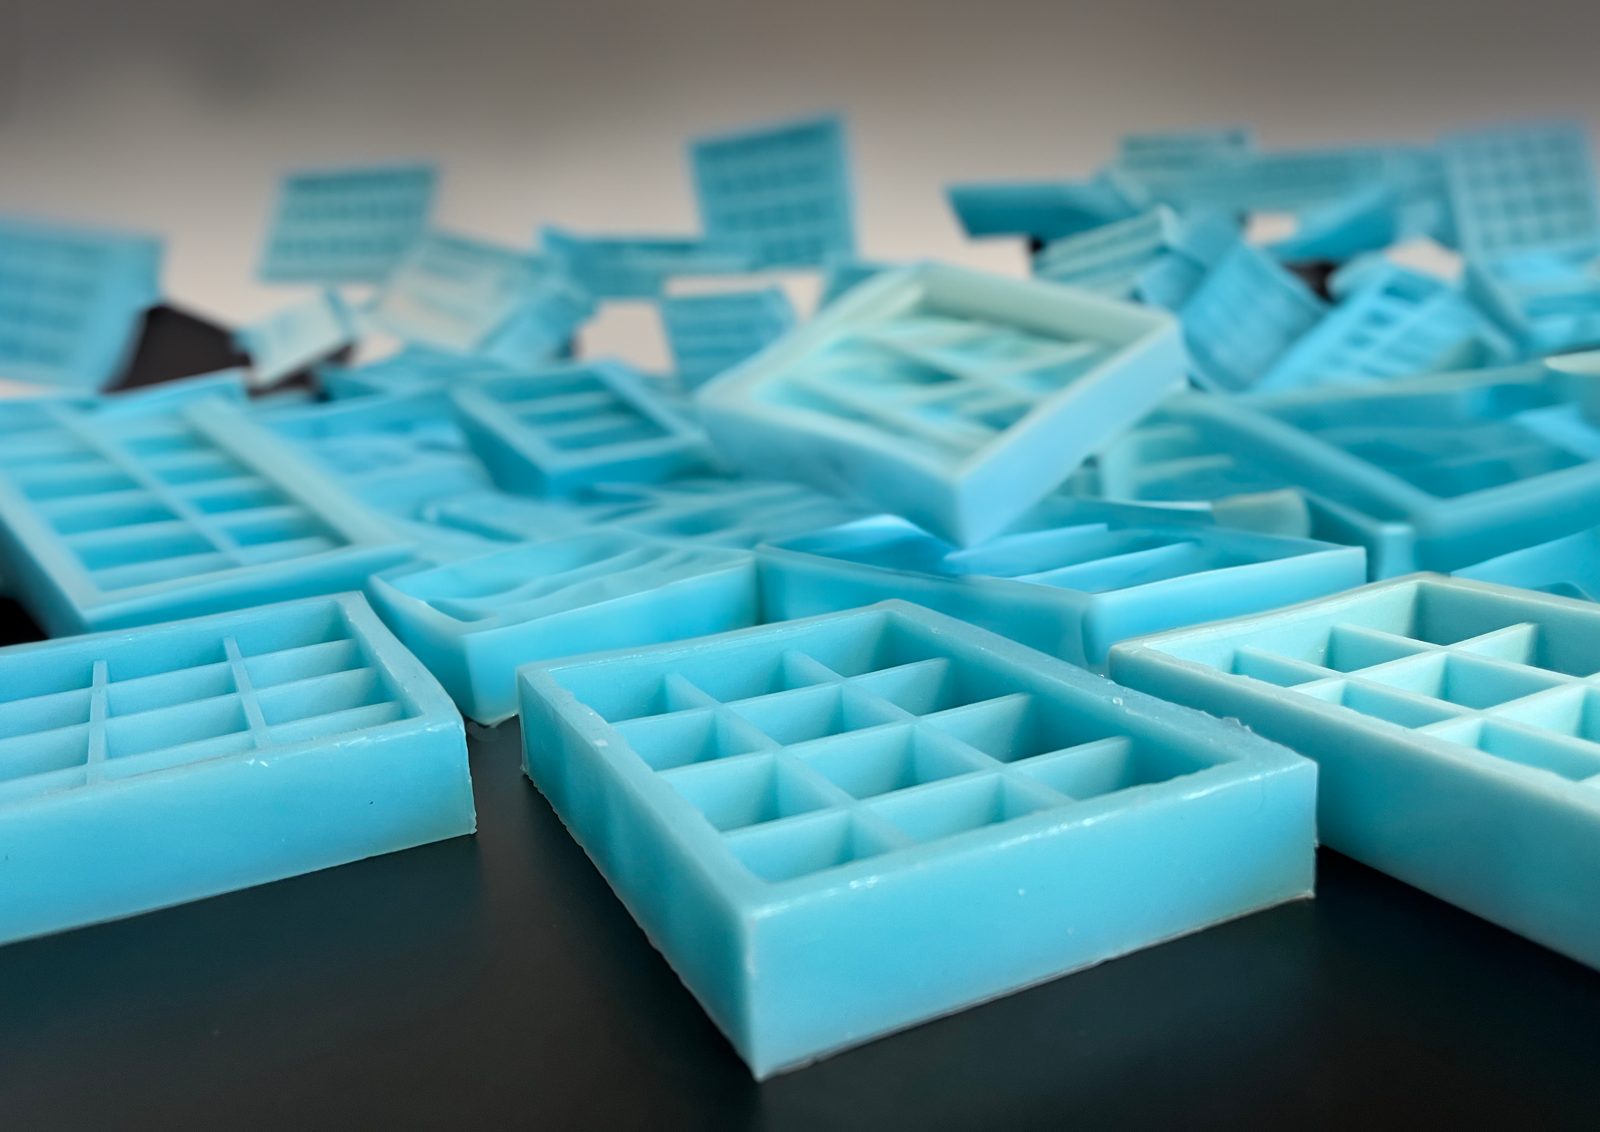
We made a vacuum cast tool, then moulded straps from it. Soft tooling is not intended to run production here. Instead, it shows you within one batch whether the relief reads correctly on the actual curve.
We moulded several relief depths and two stroke weights, then reviewed them in daylight, indoors and on a wrist. The chosen version was not the one that looked best on screen.
We take the tool split to the strap edge, so any flash forms on a line that is trimmed as part of the normal process. It never crosses a letter.
Vents are placed where air would otherwise be pushed into fine detail and trapped. On lettering, venting keeps the counters open.
Once the artwork, depth, split and venting had been settled for the moulded parts, the hardened injection tool could be cut to a fully defined geometry, with no guesswork left.
The stages
Drag the timeline left and right, or use the arrow keys. Each stage explains what happens and roughly how long it takes.
Drag · tap a stage for detail
Total working time on a job of this shape: about 8 weeks (55 working days). Lead times shift with drawing changes, sign-off pace and material availability.
The commercial bit
Rather than quote a figure that would only be right for one job, here is a worked example, based on a realistic project of this shape. Your quote follows the same shape, with your part, your volume and your material.
A wearables brand planning 10,000 straps a year over three years.
| Hardened injection tool (4 cavities) | £9,500 one-off |
|---|---|
| Tool amortised over 30,000 straps | ≈ £0.32 per strap |
| Silicone material + moulding | ≈ £0.90 per strap |
| Finish, trim, pack | ≈ £0.35 per strap |
| Landed cost per strap | ≈ £1.57 |
Numbers are indicative for a 30 mm × 240 mm strap in LSR 50 Shore A. Your quote will follow a DFM review of the artwork.
We went in for a tool quote and came out with a redrawn logo. It was the right way round, although it did not feel like it at the time.
Product designer, consumer electronics
Behind the work
Two services supported this part: a soft tool to prove the mark, and a hard tool to make it at volume.
Development tooling for a design that's still evolving. It's cheap to change, deliberately not a tool you'll run for years, and lets you cut the steel just once.
Prototype tooling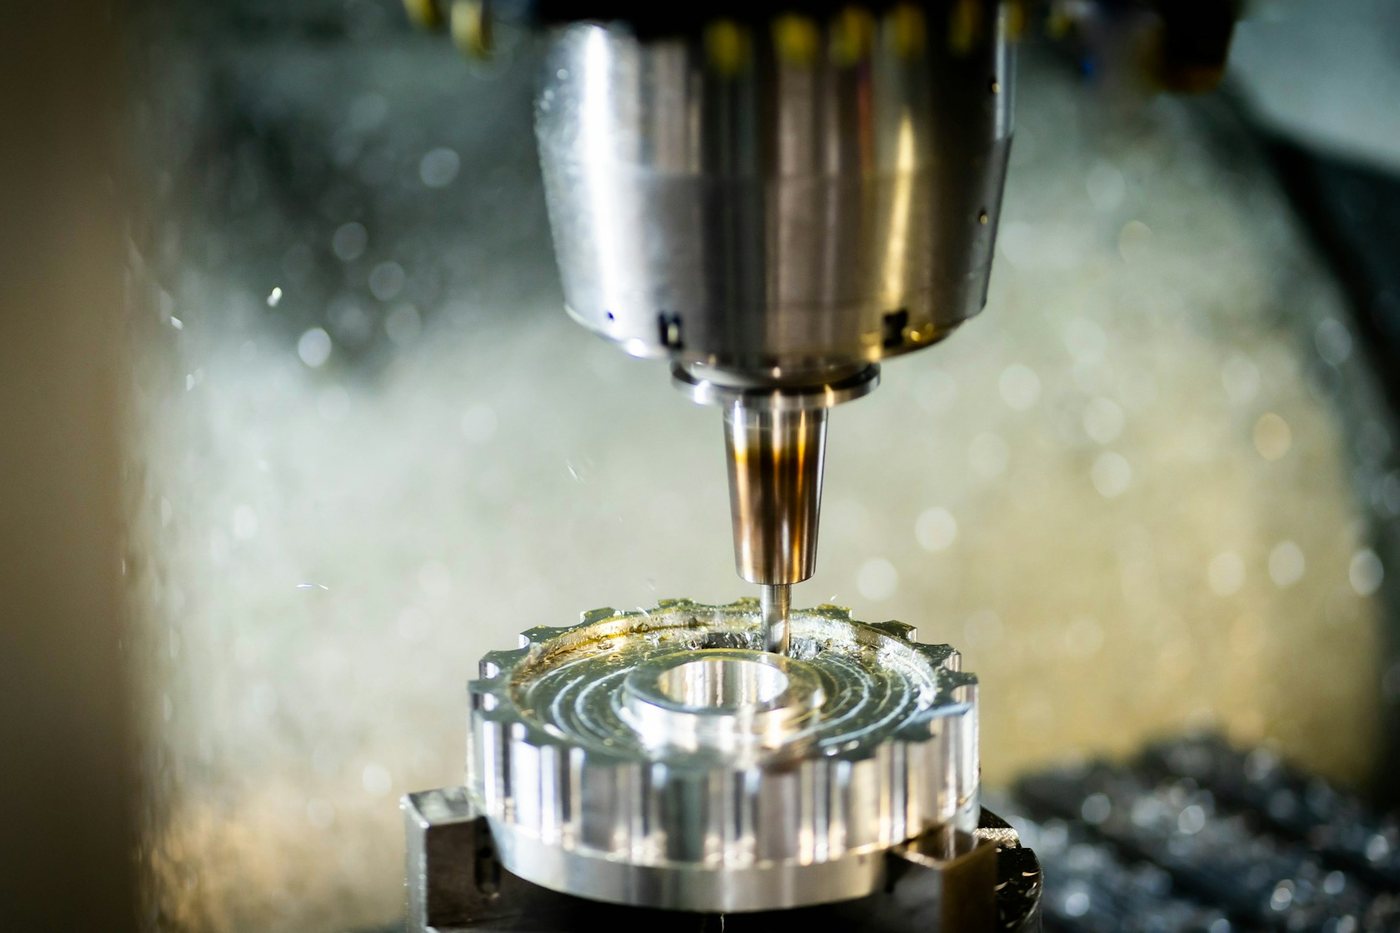
Liquid silicone injection uses a hardened tool. It involves the highest tooling investment, but gives you the lowest cost per part. Choose this route for a component you will buy for years.
Injection moulding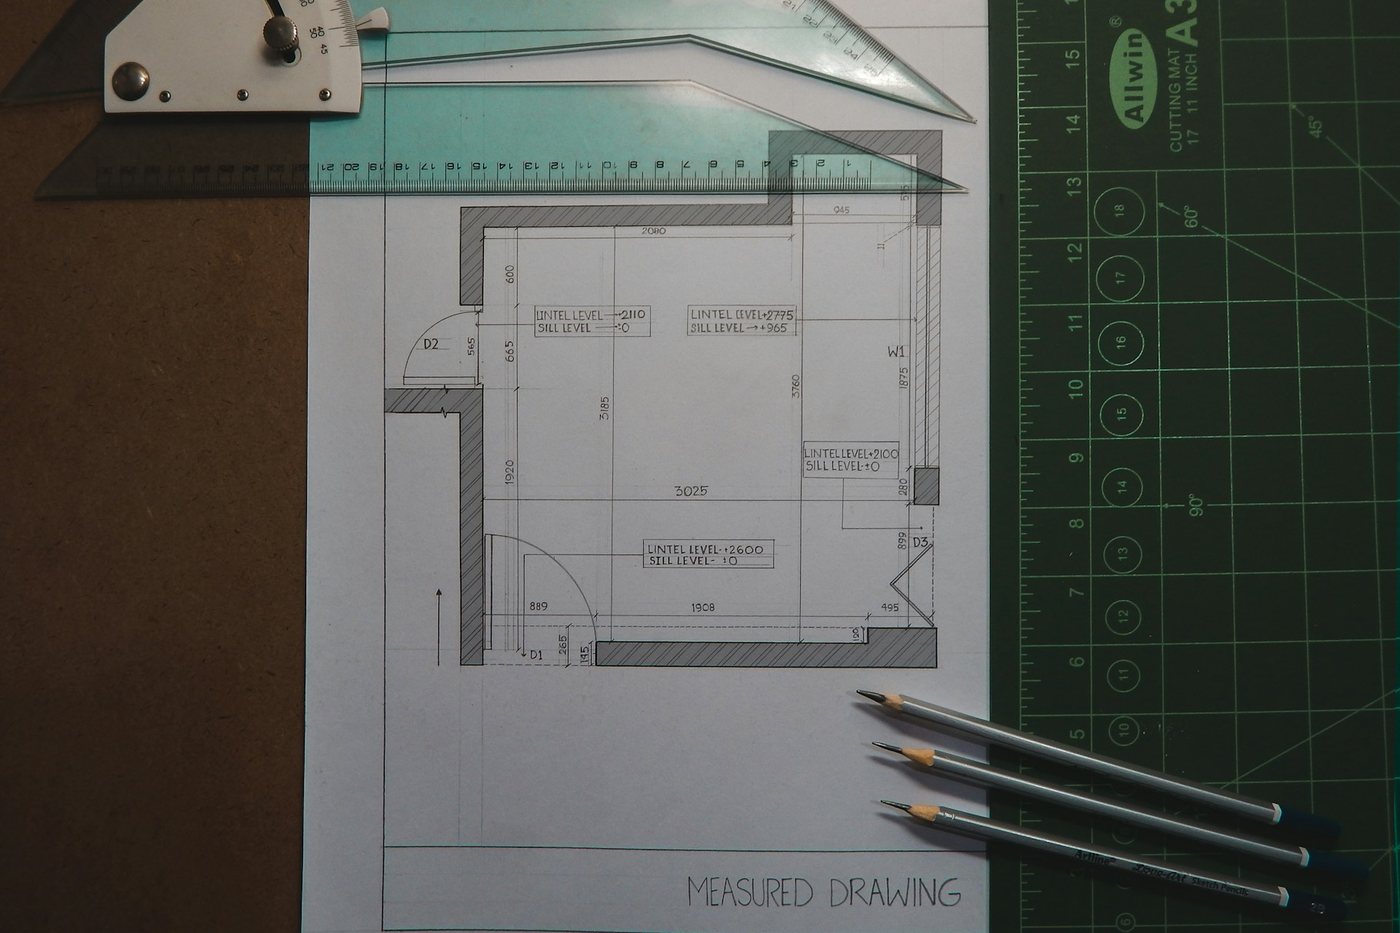
This is where your artwork becomes a moulded relief, with the parting line moved away from the feature that matters. It is the cheapest stage of the whole job.
CAD and DFMMore records
Ear pads with the parting line on the one face that needed to feel like nothing.
Silicone ear padsFine detail on an aerospace part, with repeatable filling once the air has been removed.
Aerospace componentA thin cast part curled at the corners until the mould was rebuilt on a rigid base.
Electrical patchNext step
Please send us the artwork and the part it needs to go on, then tell us how the mark is applied today. If it is printed, pad printed or laser marked, let us know what is failing, because a mark that wears off needs a different fix from one that peels off.
Your artwork may need to change. A logo drawn for print has strokes and counters (enclosed spaces) that will not survive moulding in flexible material. The sensible process is to redraw it for relief, mould it and review the result before anyone quotes a production tool.
If your volumes are not there yet, you do not need to wait. We can prove the same relief in soft tooling now, then move it to a hard tool later. The design work carries across, so it does not need to be repeated. Tell us where the mark needs to sit, and we will tell you whether it will read.
At a glance
Which route suits your quantity
Swipe to see the whole diagram
Ready to start?
Send us a drawing, photograph or sample, and we'll come back to you with a mould strategy, material recommendation and price.
Real people, a real workshop
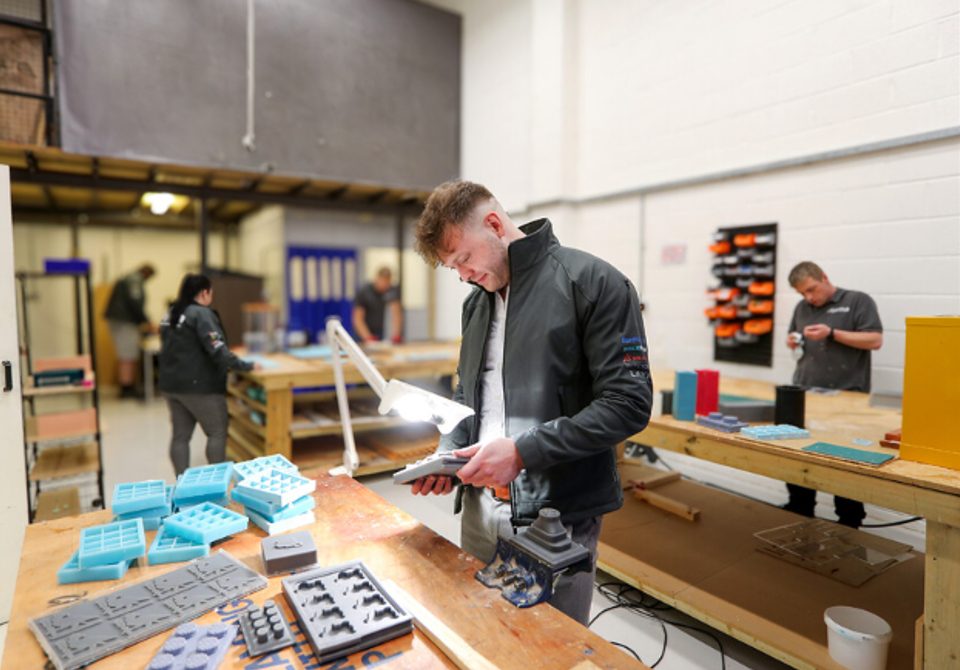
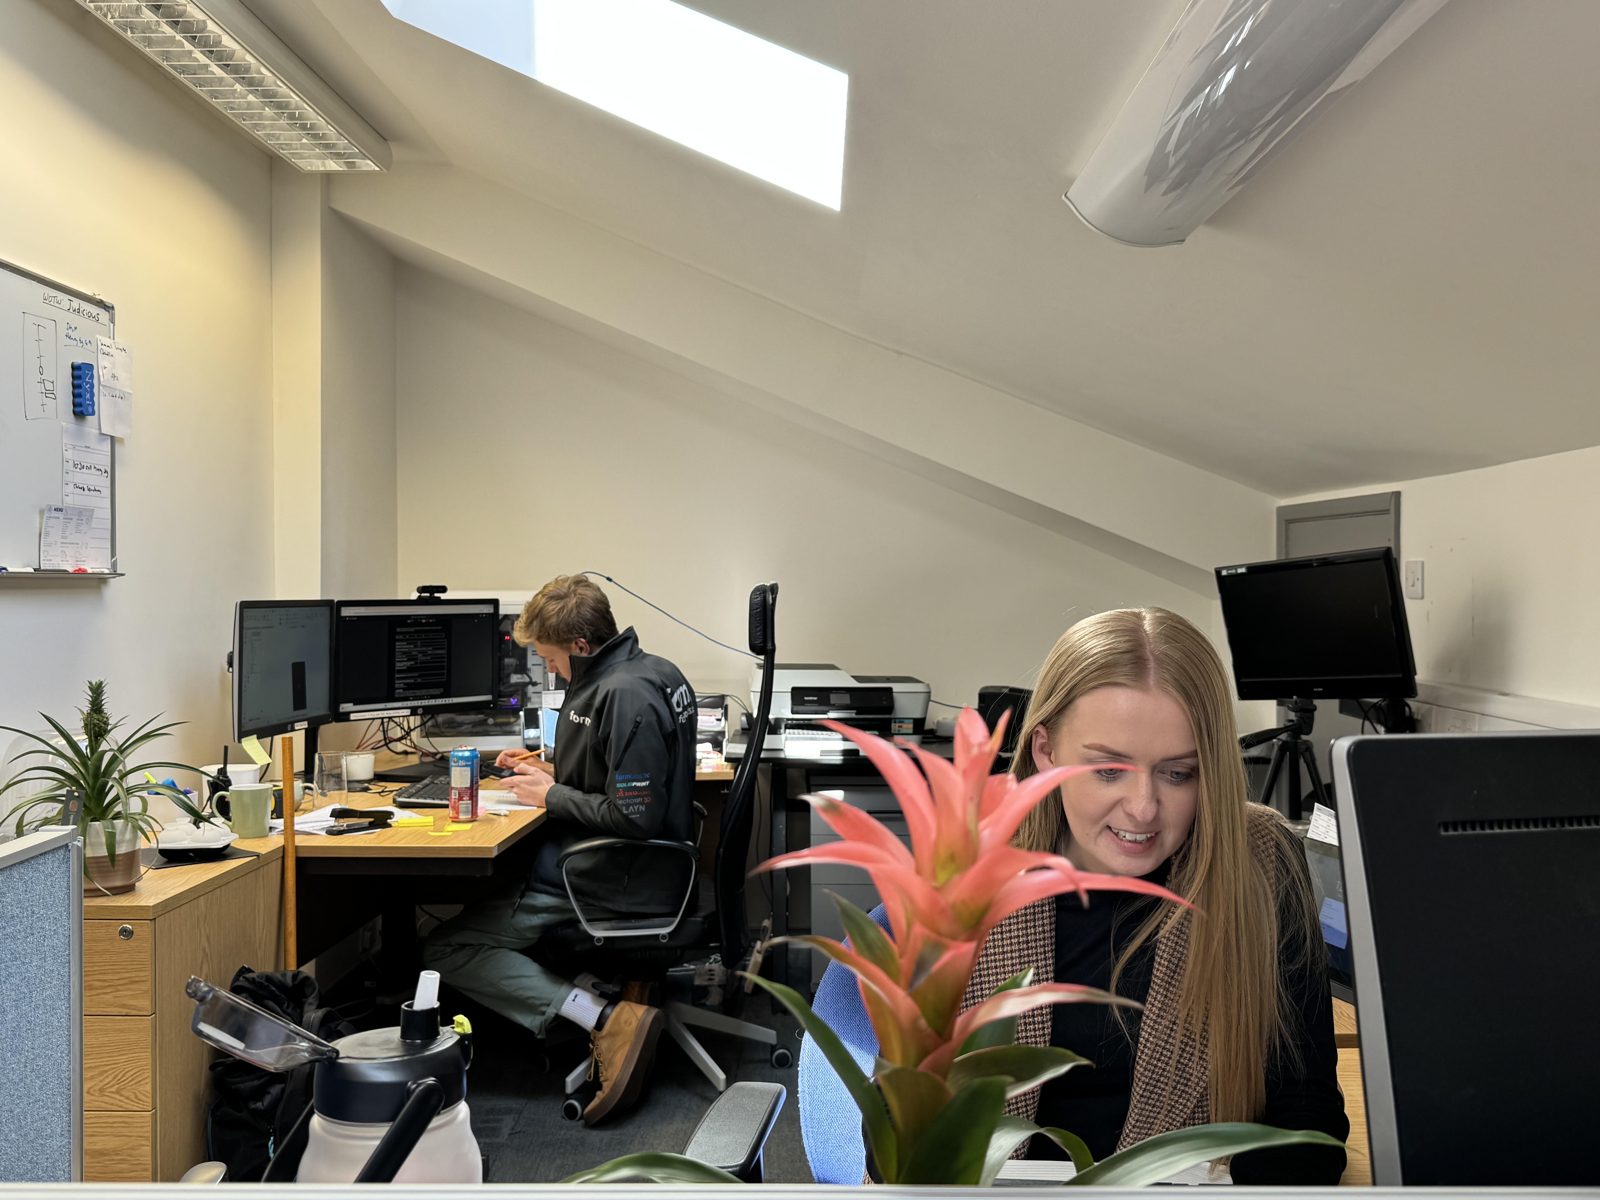
No call centre and no middlemen. When you contact TCI Mouldings, you speak to the team who design, build and check your mould.
 Thomas LaneManaging Director
 George PrestonDesign & Project Manager
 Kelly BallingerHead of Partnerships
 Jim AndertonProduction Manager
 TheodoreEmployee Welfare