Bidford-on-Avon, Warwickshire. Mon to Fri.01789 224228

Silicone mould guide

We size the silicone mould around your wax, not the other way round.

Pour temperature, cure time, shrinkage and wick spacing all leave a fingerprint on your mould. Design the mould around the wax you actually pour, and most candle faults can be prevented before they start.

5Waxes compared
4Design inputs
2Kinds of shrinkage
2019Established

The principle

The wax is fixed. The mould is the variable.

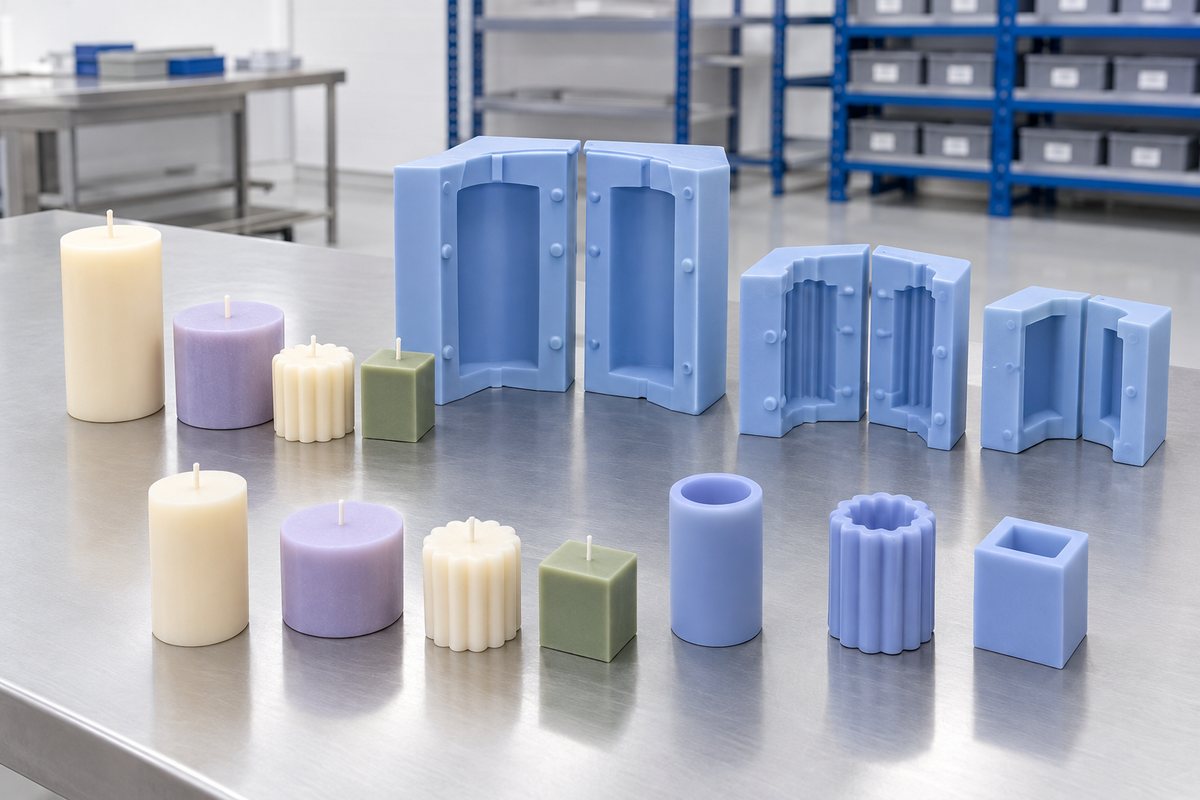
Illustrative example: Wax test candles with defects beside silicone test mould cavities
Real wax behaviour should drive the mould design

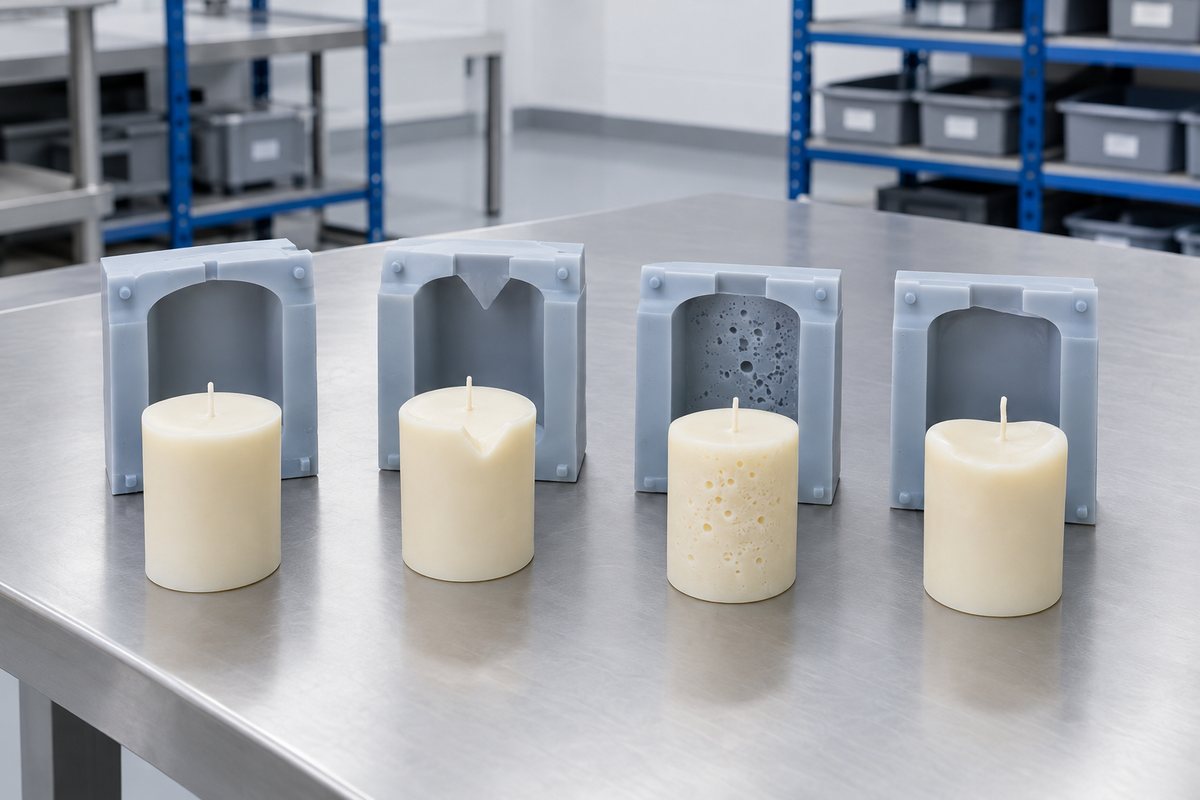
Most chandlers start with a shape in mind, then choose a wax based on price, scent throw or whatever their supplier has in stock. Later, they may wonder why the candle frosts, sinks in the middle, cracks along a rib or refuses to leave the mould. The order of those decisions is backwards.

Your wax is the one thing you are unlikely to change. It carries your fragrance, controls how your candle burns and helps define your brand story if you sell on natural credentials. Changing it also means retesting everything. Your mould, on the other hand, is made to order. It should therefore be designed around the wax, rather than forcing the wax to work around the mould.

Here is how pour temperature, cure time, shrinkage and wick spacing change the geometry of a tool. It is the reasoning we use when a candle brief reaches our bench, and it explains why we ask about the wax before we ask about the shape.

The candle mould buyer's guide

Four inputs

What the wax dictates.

Each of the four properties leaves its fingerprint on the tool. Once the wax is chosen, none of them is negotiable.

01

Pour temperature

The temperature of the wax as it enters determines how hard the tool must work. Hotter pours put the silicone through more thermal cycling, ageing it faster. That can push you towards a grade specified for heat, rather than the lowest-cost option that will hold its shape.

02

Cure and cooling time

When a wax takes hours to set fully, it keeps the mould occupied. Slower setting means you need more moulds or more cavities to achieve the same output. It also affects whether a tray or a set of singles is the right purchase for you.

03

Shrinkage

All wax contracts as it solidifies. How much it contracts, and how evenly, determines whether your candle releases cleanly, sinks at the top, pulls away from a rib or needs a second top-up pour. Shrinkage also determines whether the cavity needs to be cut slightly generously.

04

Wick spacing

The wick and the wall are linked. Wick size depends on diameter, and diameter depends on the melt pool you need. For a multi-wick candle, the spacing between wicks sets a minimum footprint. Geometry follows these requirements, not the other way round.

Design for manufacture

Illustrative example: Wax samples and silicone test pieces used to judge mould specification
Wax behaviour samples guiding mould specification

Temperature

Approximate pour temperatures and how they affect the tool

The figures below show the broad ranges in which these waxes are usually worked. Treat them as a starting point and check your own supplier's data sheet, as blends can vary greatly and additive packages can change the numbers. The key thing here is the pattern, rather than the precise value.

Indicative working ranges. Always check these against your wax supplier's data sheet.

WaxTypical pour rangeWhat it means for the mould
SoyAround 50 to 60°CGentle on silicone. Softer set and modest shrinkage, so it clings. Favours a smooth cavity finish and a slightly firmer wall to help release.
ParaffinAround 65 to 80°CWarmer cycles, so heat behaviour of the grade matters more. Shrinks away cleanly, which makes it the most forgiving wax to demould and the kindest to detail.
Coconut and coconut blendsAround 50 to 60°CSoft, oily and low melting. Easy release, poor at holding crisp edges. Simplify fine detail rather than fighting it, and expect a longer cooling wait.
BeeswaxAround 70 to 75°CHot and tacky. It grips silicone more than most, so draft and wall thickness earn their keep. High-relief shapes in beeswax need a softer tool that can be peeled right back.
PalmAround 85 to 95°CThe hottest of the group and the hardest on tooling. Crystallisation is temperature-sensitive, so cooling has to be controlled, and a grade specified for heat is worth the money here.

The difference between a soy pour and a palm pour can be wide enough, on its own, to change the material specification. A tool designed for one is not automatically suitable for the other.

Material choice

Pour temperature determines the grade, not the price list.

It can be tempting to choose the cheapest silicone that will take the shape and hope for the best. That approach works for a while. A tool poured in a general-purpose grade will handle soy pours happily over a long run, because soy is barely warm by silicone standards.

Move the same tool into palm or hot paraffin territory, and cycle it several times a day, and the picture changes. The silicone gradually stiffens, thin corners can become brittle, and a mould that lasted a year with soy may be finished within a season. That is not a defect; it is the result of its duty. You can either choose a grade specified for the heat, or accept that the tool will be a shorter-life consumable and price your candles accordingly.

We prefer to have that conversation before we quote. Tell us the wax, the pour temperature and how many pours you make each day. We will propose a grade and explain what we traded away to get there. The reasoning behind heat-specified work is set out on high-temperature moulds, while the material families are covered on materials and compliance.

Platinum cure compared with tin cure for chandlers

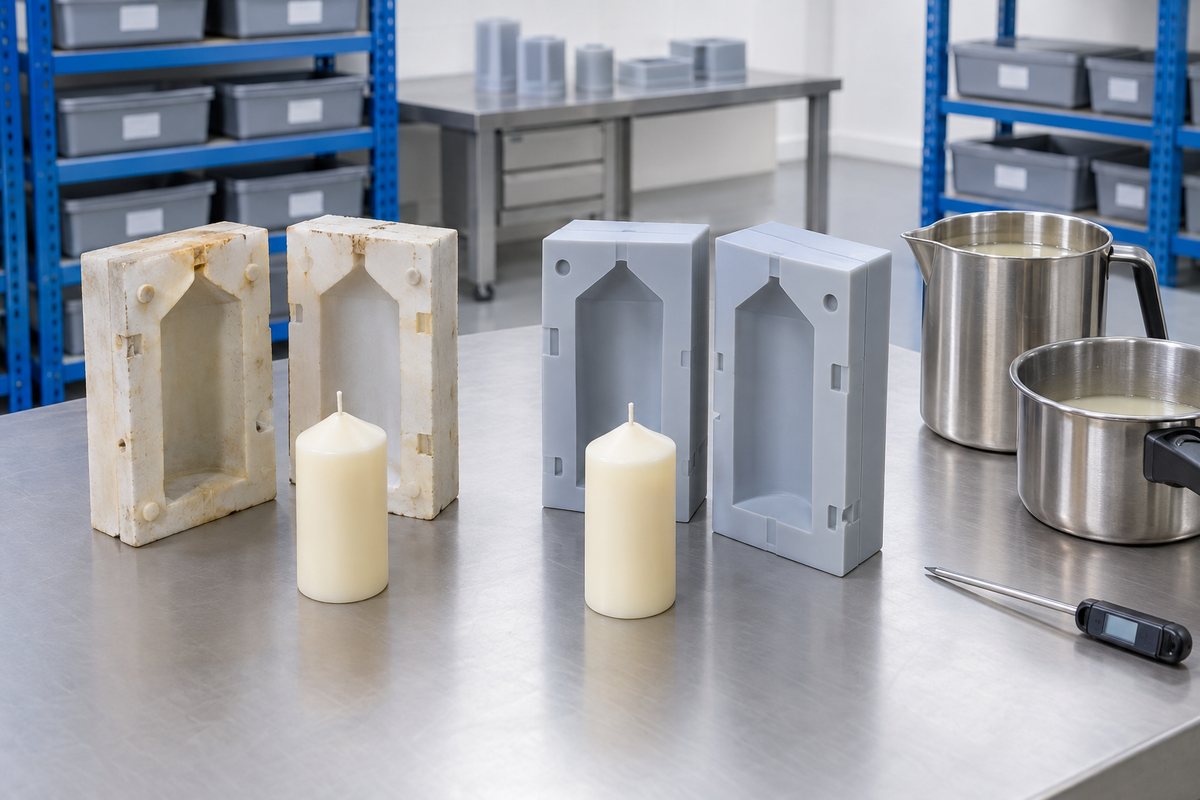
Illustrative example: Worn and newer silicone mould sections beside candle wax pouring tools

Shrinkage

Shrinkage happens twice, and the effects add up.

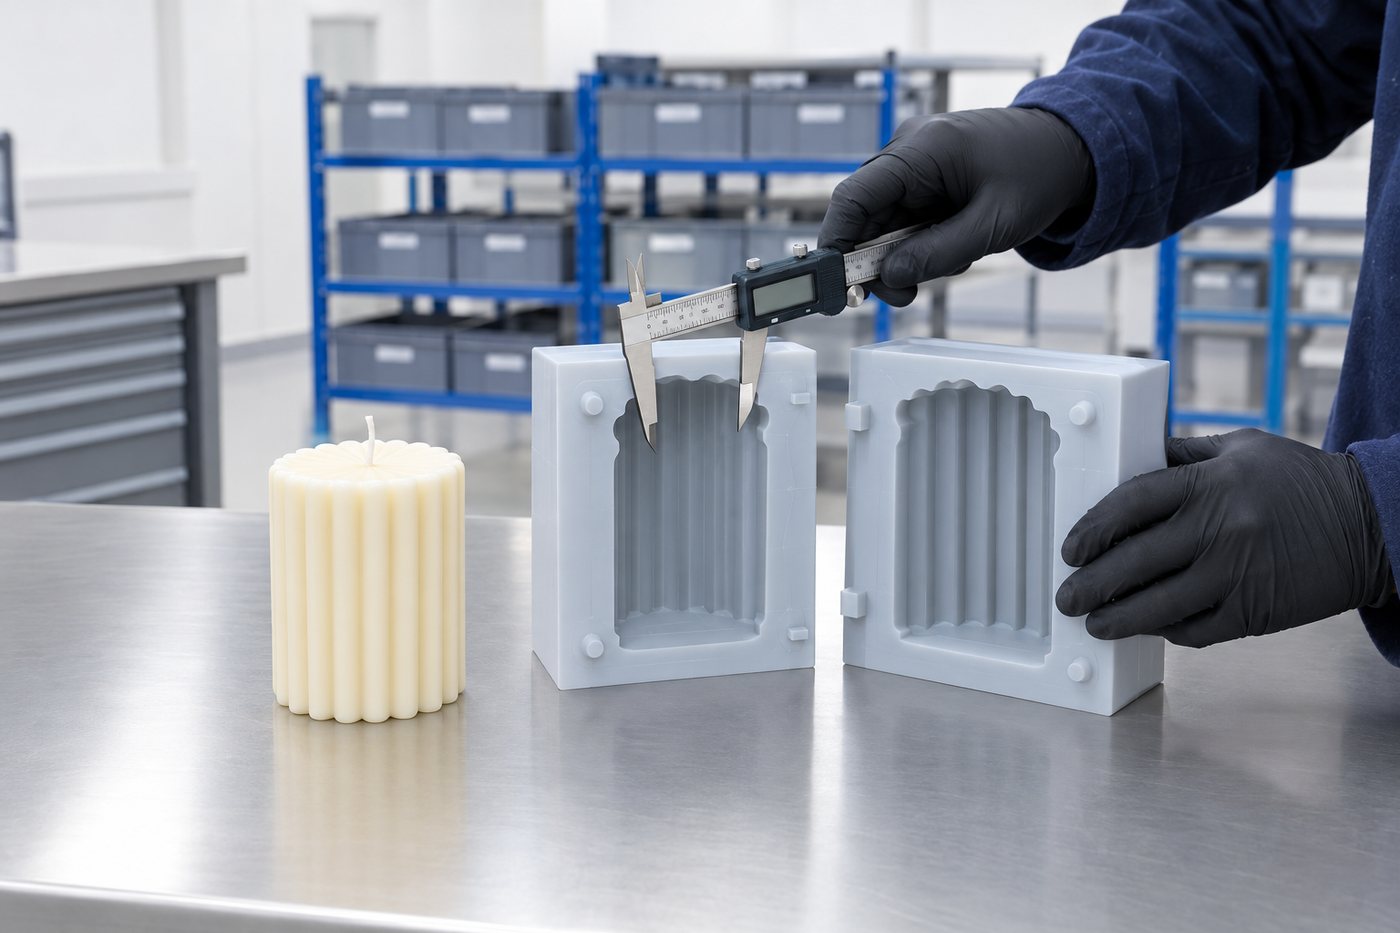
Two separate contractions are involved, and telling them apart can make the process much less frustrating. Silicone shrinks slightly as it cures, so a mould taken from a master is never a perfect one-to-one copy. Wax then shrinks as it cools, so the candle is never a perfect copy of the cavity. Both changes are small and both happen in the same direction. On a tight-tolerance shape, such as a pillar designed to drop into a bought-in holder, they can add up to a visible fit problem.

This is where cure chemistry really matters. Platinum-cure silicone shrinks very little, so we rely on it when your candle needs to meet a precise dimension rather than simply look right. Tin-cure shrinks more and continues to move slowly as it ages. For a decorative pillar that nobody measures, this rarely matters. For a wax insert that needs to sit in a specific vessel, it matters a great deal.

Wax shrinkage shows up in behaviour, not just dimensions. If the wax pulls away sharply from the wall, you get easy release and a slight sink at the top. A second top-up pour usually fixes this. If the wax barely shrinks, it stays in intimate contact with the cavity. That gives you better surface definition, but makes the pull harder. Neither option is better. They simply need different draft, and we'll design for whichever wax you have.

If your candle needs to fit something, tell us and send us the item. Designing to a measured object is straightforward. Designing to a number quoted from a website can build fit problems into the tooling.
Geometry

Where wick spacing sets the shape.

  1. Start with the melt pool

    First, decide how you want the candle to burn. That determines the wick size, which in turn sets the diameter the candle can support. If you design the shape first and choose the wick afterwards, the candle will probably tunnel or drown.

  2. Set the wall thickness

    Your pillar candle needs enough wax between the melt pool and the outside to stay standing as it burns. Make the wall too thin for elegance, and the candle may weep down one side. This is a burn-testing question, not a mould question, but it still affects the mould.

  3. Space multiple wicks properly

    Two or three wicks in one candle need enough room between them. Without it, the wax pools can merge and run hot in the middle. That minimum spacing determines the minimum footprint, which then determines the cavity size and tray layout.

    For multi-wick briefs, the wick often decides the geometry before the designer does.

  4. Position the pin, then the split line

    Your cast-in wick pin needs to sit dead centre and stay there. Place the split line through the pin seat and wax will leak within a few dozen pulls. That is why the pin usually determines where the split can go. If your brief puts the two in conflict, we will flag it.

  5. Only then draw the outside

    Flutes, ribs, facets and texture come last, once the burn geometry is settled. This is the opposite of how most candle designs arrive, so we often send a brief back with proposed changes rather than a price.

Six jobs, and what was hard

In practice

Tell us the wax first.

If you start your candle brief with the wax, pour temperature, fragrance load and throughput, we can price it accurately in one pass. If it starts with a photograph and a diameter, it usually takes three emails to reach the same point.

If you haven't settled on a wax yet, that's useful to know too. We'll design the tool with a little more margin and recommend a grade that can cope with a range of temperatures, rather than just one point. We'll also tell you how the specification would change if you choose something hotter. Building in that flexibility at the design stage costs almost nothing. Retrofitting it costs a mould.

Send us the wax data sheet

At a glance

The idea in a picture.

Silicone hardness in everyday terms

00-30Gel insoleA10Jelly sweetA20Elastic bandA30Pencil rubberA40Shoe heelA60Tyre treadSofter: peels from undercutsFirmer: holds its shape

Swipe to see the whole diagram

A rough guide. We choose the grade for your shape, material and number of pours.

Ready to start?

Tell us about the wax you pour, and we'll design the mould around it.

Send us your wax data sheet, pour temperature and a sketch or sample. We'll come back with a mould strategy, a material recommendation and a price.

Real people, a real workshop

You deal with the people who make it.

No call centre and no middlemen. When you contact TCI Mouldings, you speak to the team who design, build and check your mould.

  • A real Warwickshire workshopUnit 15, Waterloo Park, Bidford-on-Avon, Alcester B50 4JG.
  • Real people on the phoneCall the team on 01789 224228, Monday to Friday.
  • The same team on every jobDesign, production and aftercare come from the people you see here.
  • Part of TCI GroupFive specialist brands, one engineering team. Visit TCI Group.
Silicone wax melt moulds made by TCI Mouldings.
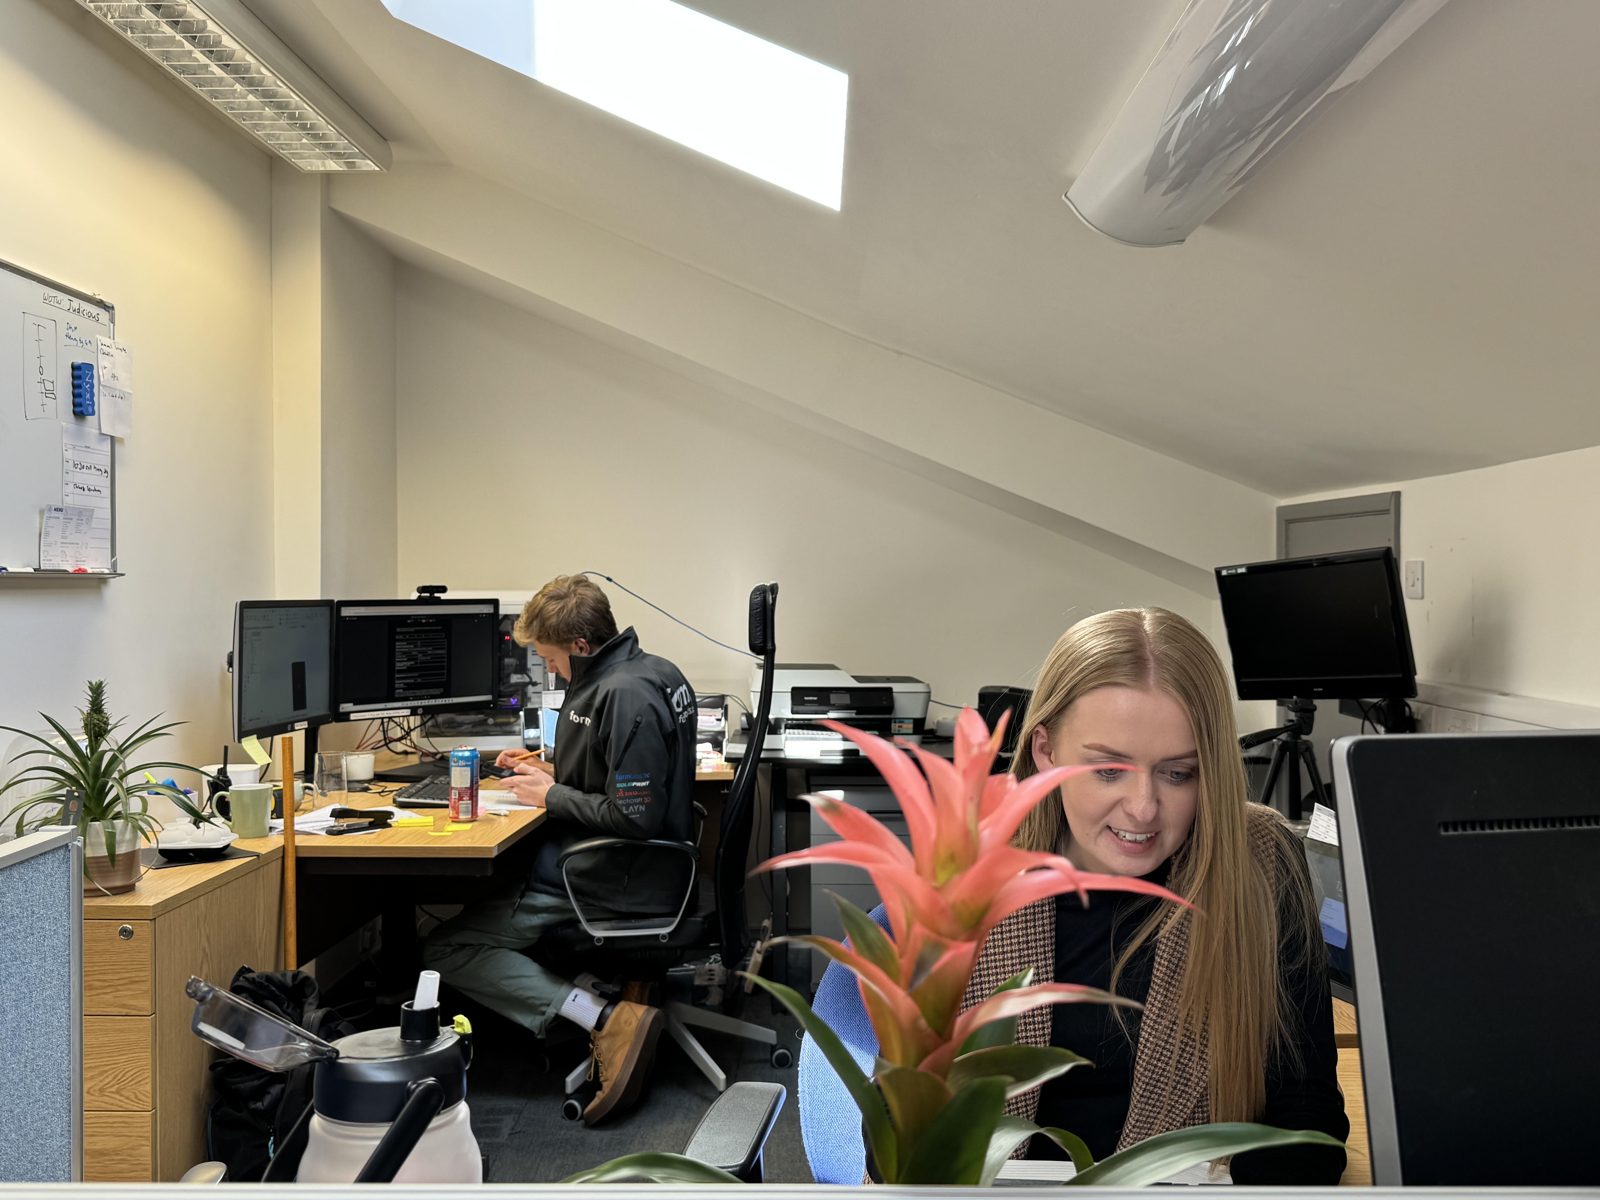
The TCI design and project office.
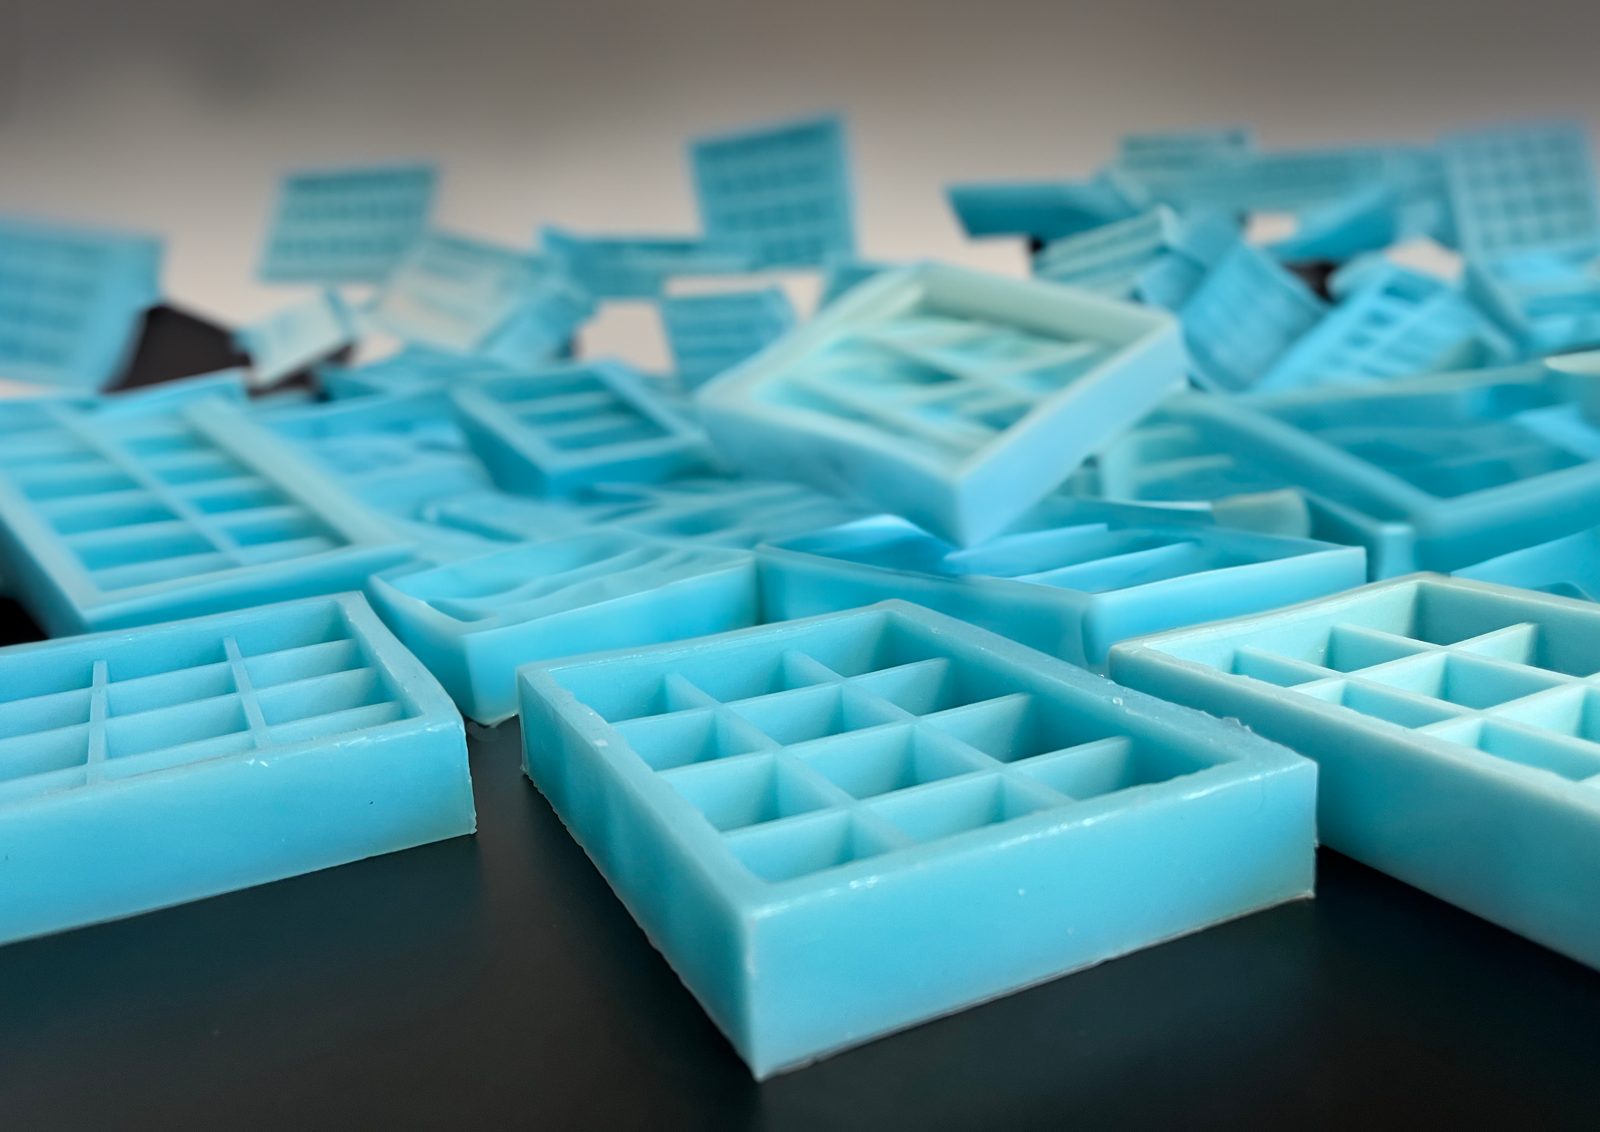
A stack of TCI silicone moulds.
  • Thomas LaneManaging Director
  • George PrestonDesign & Project Manager
  • Kelly BallingerHead of Partnerships
  • Jim AndertonProduction Manager
  • TheodoreEmployee Welfare
Meet the team