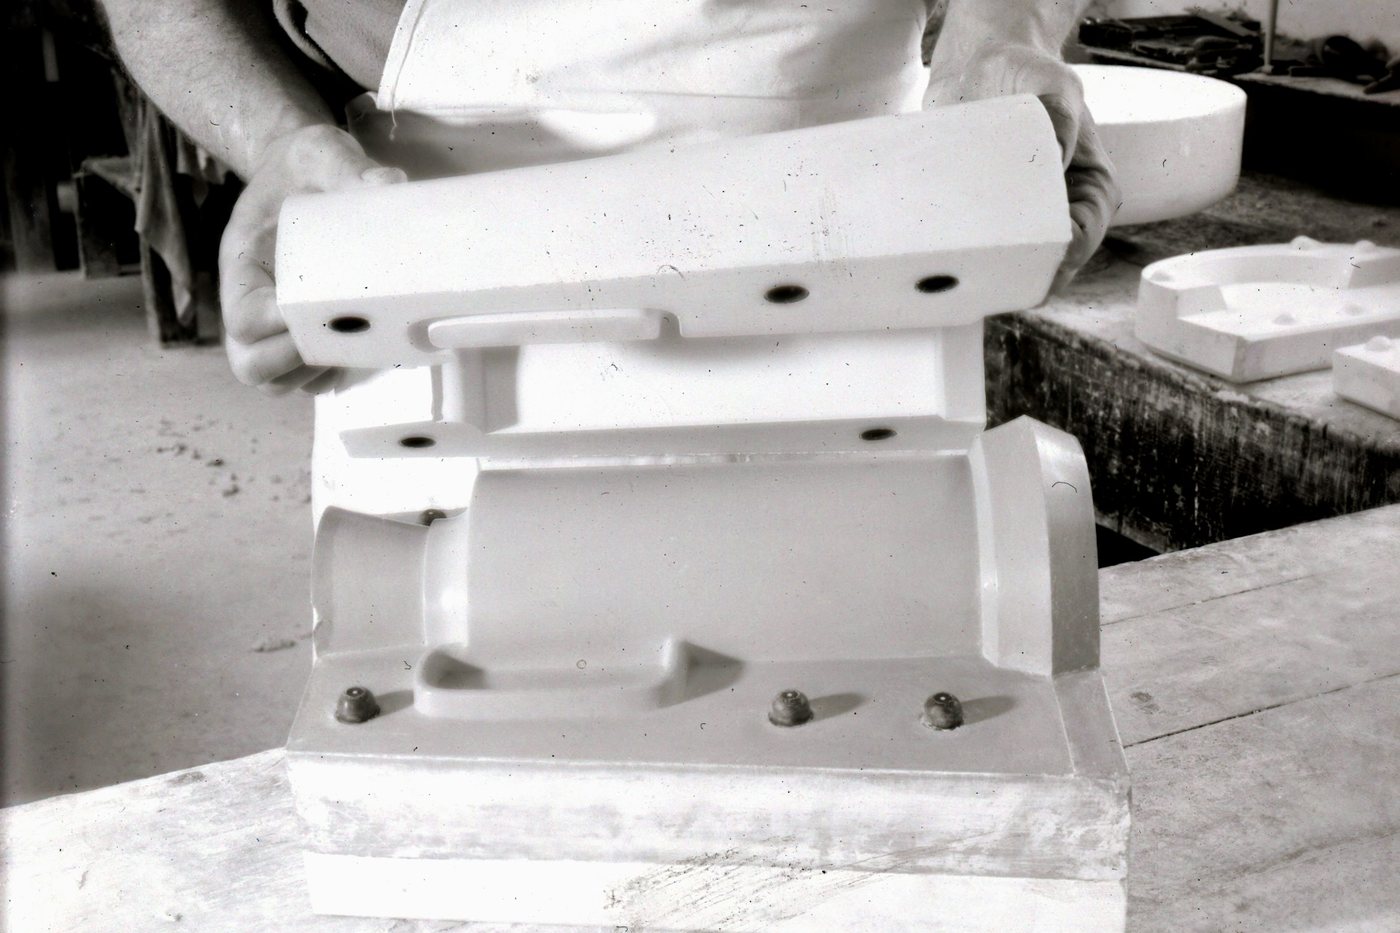
Do not over-build it
For a prototype, a tool engineered to last can mean paying now for a lifespan you do not need. Build it to make enough parts to learn from, then accept that it will be scrapped.
Tooling meant to be replaced
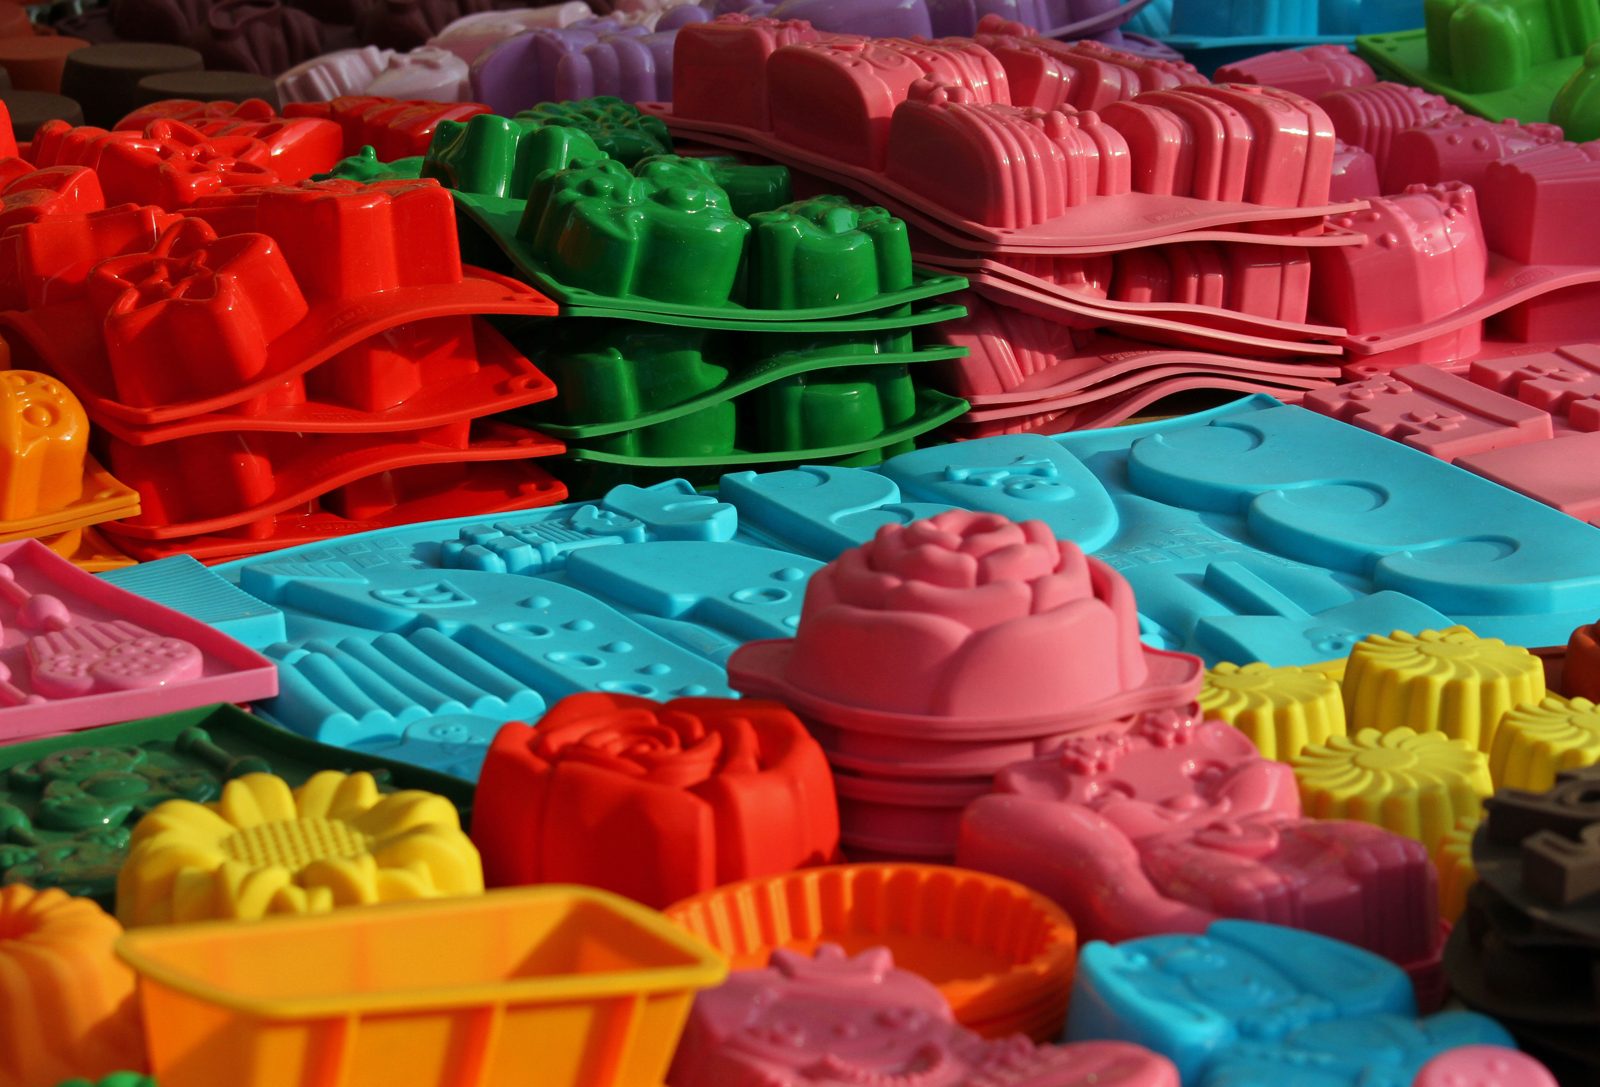
A tool built to prove your part, not run it forever. It's cheap enough to throw away, yet real enough to make parts you can put in front of a customer. Every production programme we've seen would have been cheaper if it had started here.
Why bother
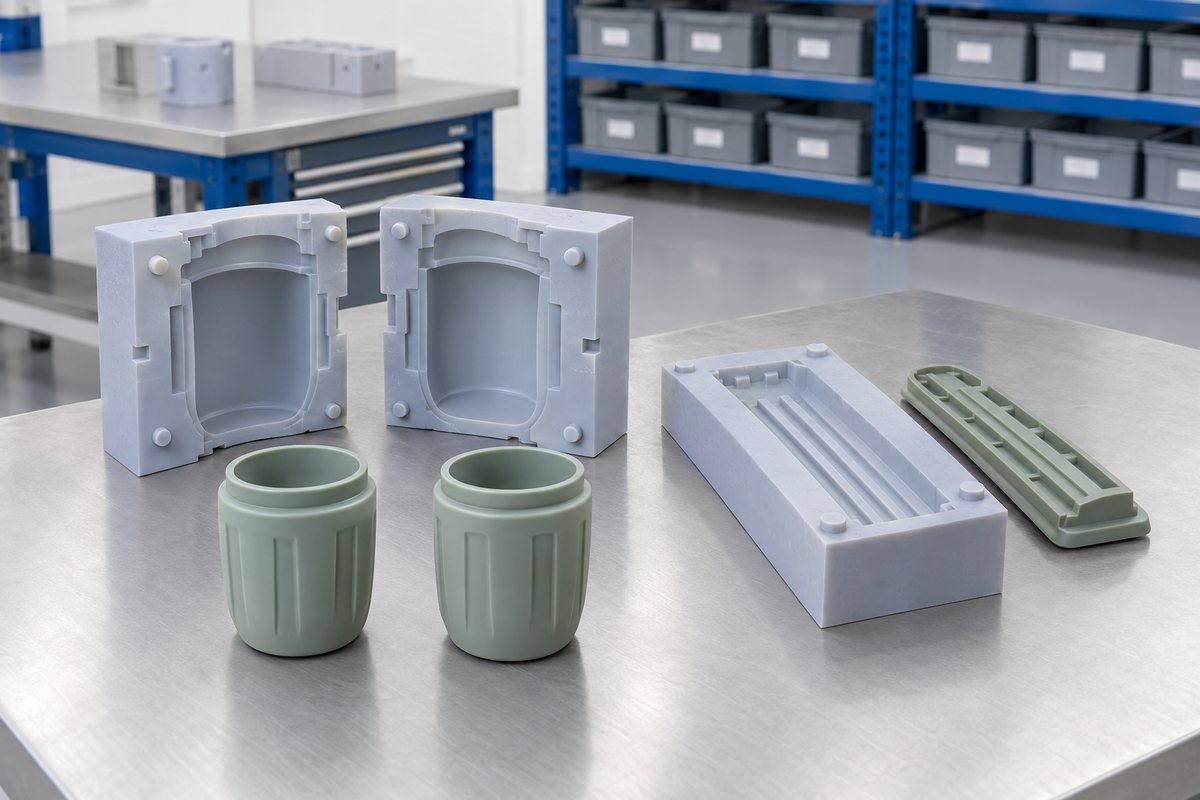
A model on a screen is always the right size, always releases, never traps air and never feels wrong in the hand. A moulded part in the real grade does all the things the model cannot show you, before you've spent money on hardened steel.
Some details only show up in the physical part, and there are usually more of them than people expect. You can see how the parting line looks on the face that will be visible. You can find out whether a rib telegraphs through to the outside, or whether a wall that seemed fine becomes floppy in the actual grade. You also discover whether the operator can remove it from the mould without swearing, and whether the fit you calculated is a fit or an interference.
Then there are the details your customer notices, even when you don't: grip, weight, how the surface takes a fingerprint, and whether the moulded logo reads at arm's length. You cannot sign off any of these from a rendering. They are all inexpensive to change now, but costly to change later.
A prototype tool also gives you an honest test of a design for manufacture review. If we told you a feature would fight the mould, this is where you can find out whether we were right.
Bridge tooling
Bridge tooling uses the same idea for a different purpose. While your production tool is being made, it gives you the parts you need in the meantime: for a launch, a trade show, a customer trial or the first orders you've already taken.
A bridge run gives you two useful advantages. You have parts in hand, made from the real material, while the hard tool is being made. It also gives you a final chance to catch a design problem before the expensive tool is committed. More than one programme has been quietly rescued when a bridge run revealed an issue at part fifty.
The trade-off is straightforward. Bridge parts cost more per part than production parts because you are paying for labour rather than amortised tooling costs. The finish may also differ slightly from what a hard tool will produce. If the parts are going to a customer, agree what is acceptable before they are shipped.
When the bridge quantity turns out to be your full requirement, it is no longer a bridge. It becomes low-volume production. This happens often enough to make it worth asking whether you need the hard tool at all.
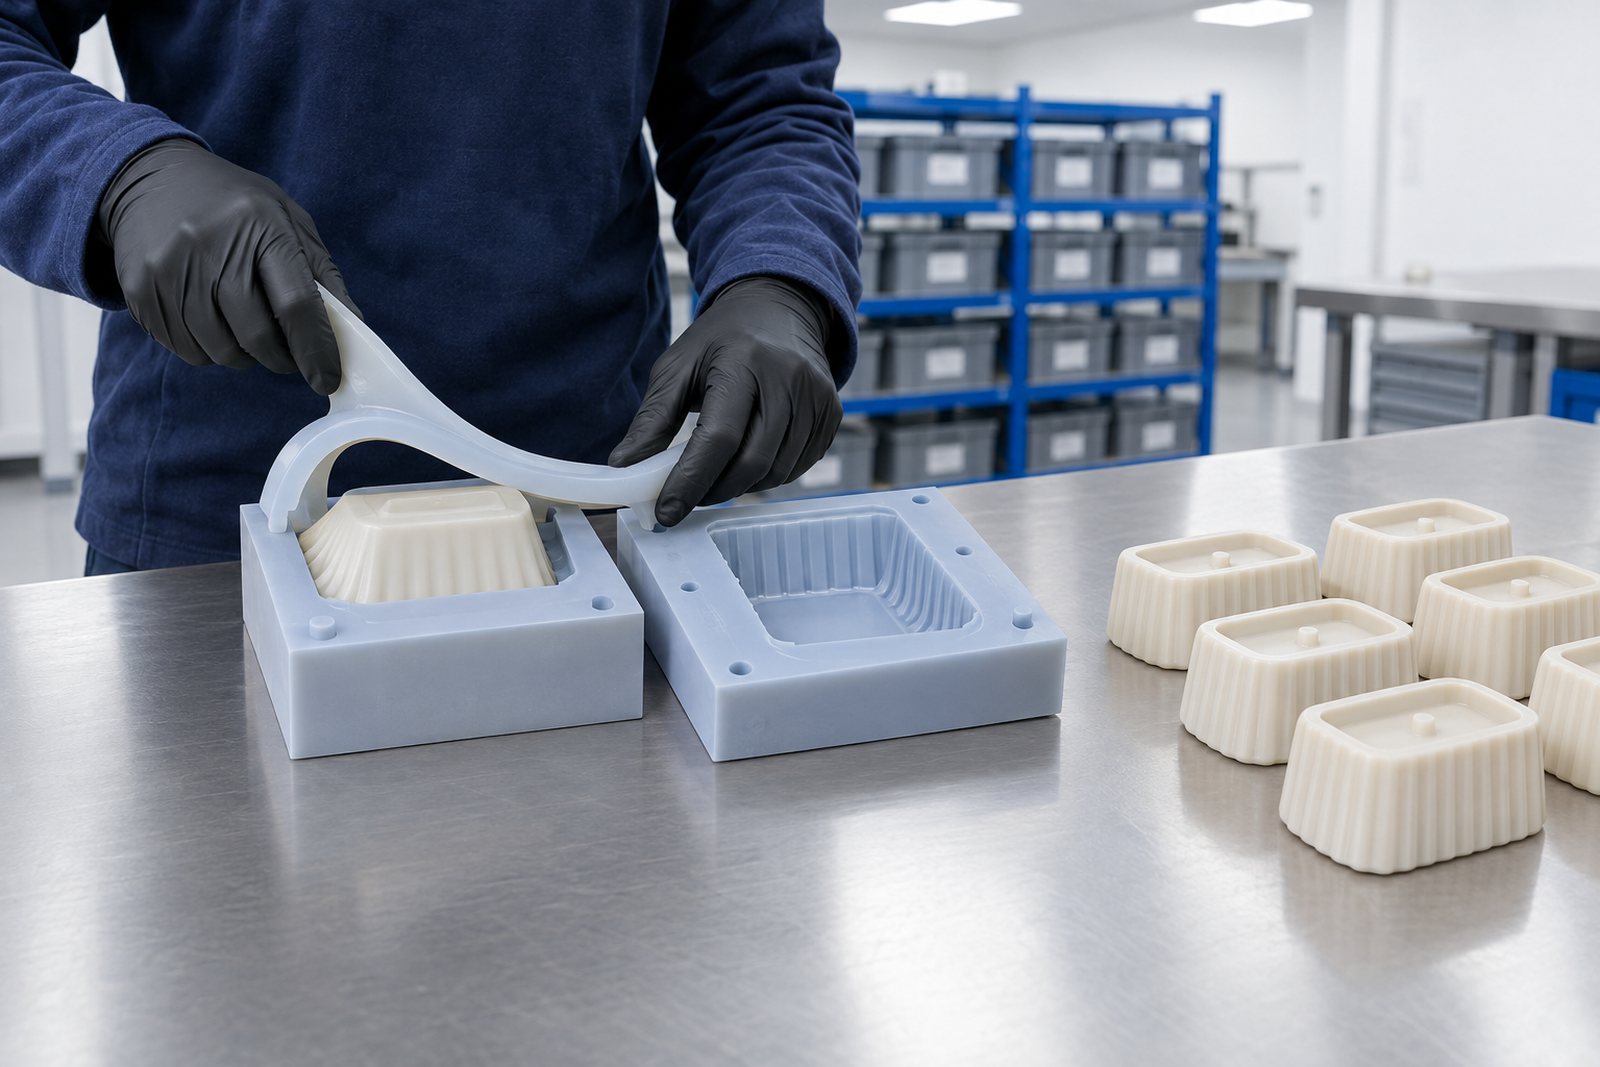
How to do it properly
Four rules for keeping a prototype affordable and making every lesson count.
For a prototype, a tool engineered to last can mean paying now for a lifespan you do not need. Build it to make enough parts to learn from, then accept that it will be scrapped.
Test your design in the same material as the production part. A prototype made from a convenient substitute can answer the wrong question, particularly when it comes to hardness, feel and heat behaviour.
The tool is disposable, but the master pattern is not. Every revision should update the master pattern, so the geometry you approve is the geometry used to cut the production tool.
Revisions made at the prototype stage are the cheapest engineering you will ever buy. They are worthless, though, if nobody records them before the hard tool is ordered.
At a glance
Which route suits your quantity
Swipe to see the whole diagram
From idea to finished mould
Swipe to see the whole diagram
Ready to start?
Send us a drawing, photograph or sample. We'll come back with a mould strategy, a material recommendation and a price.
Real people, a real workshop
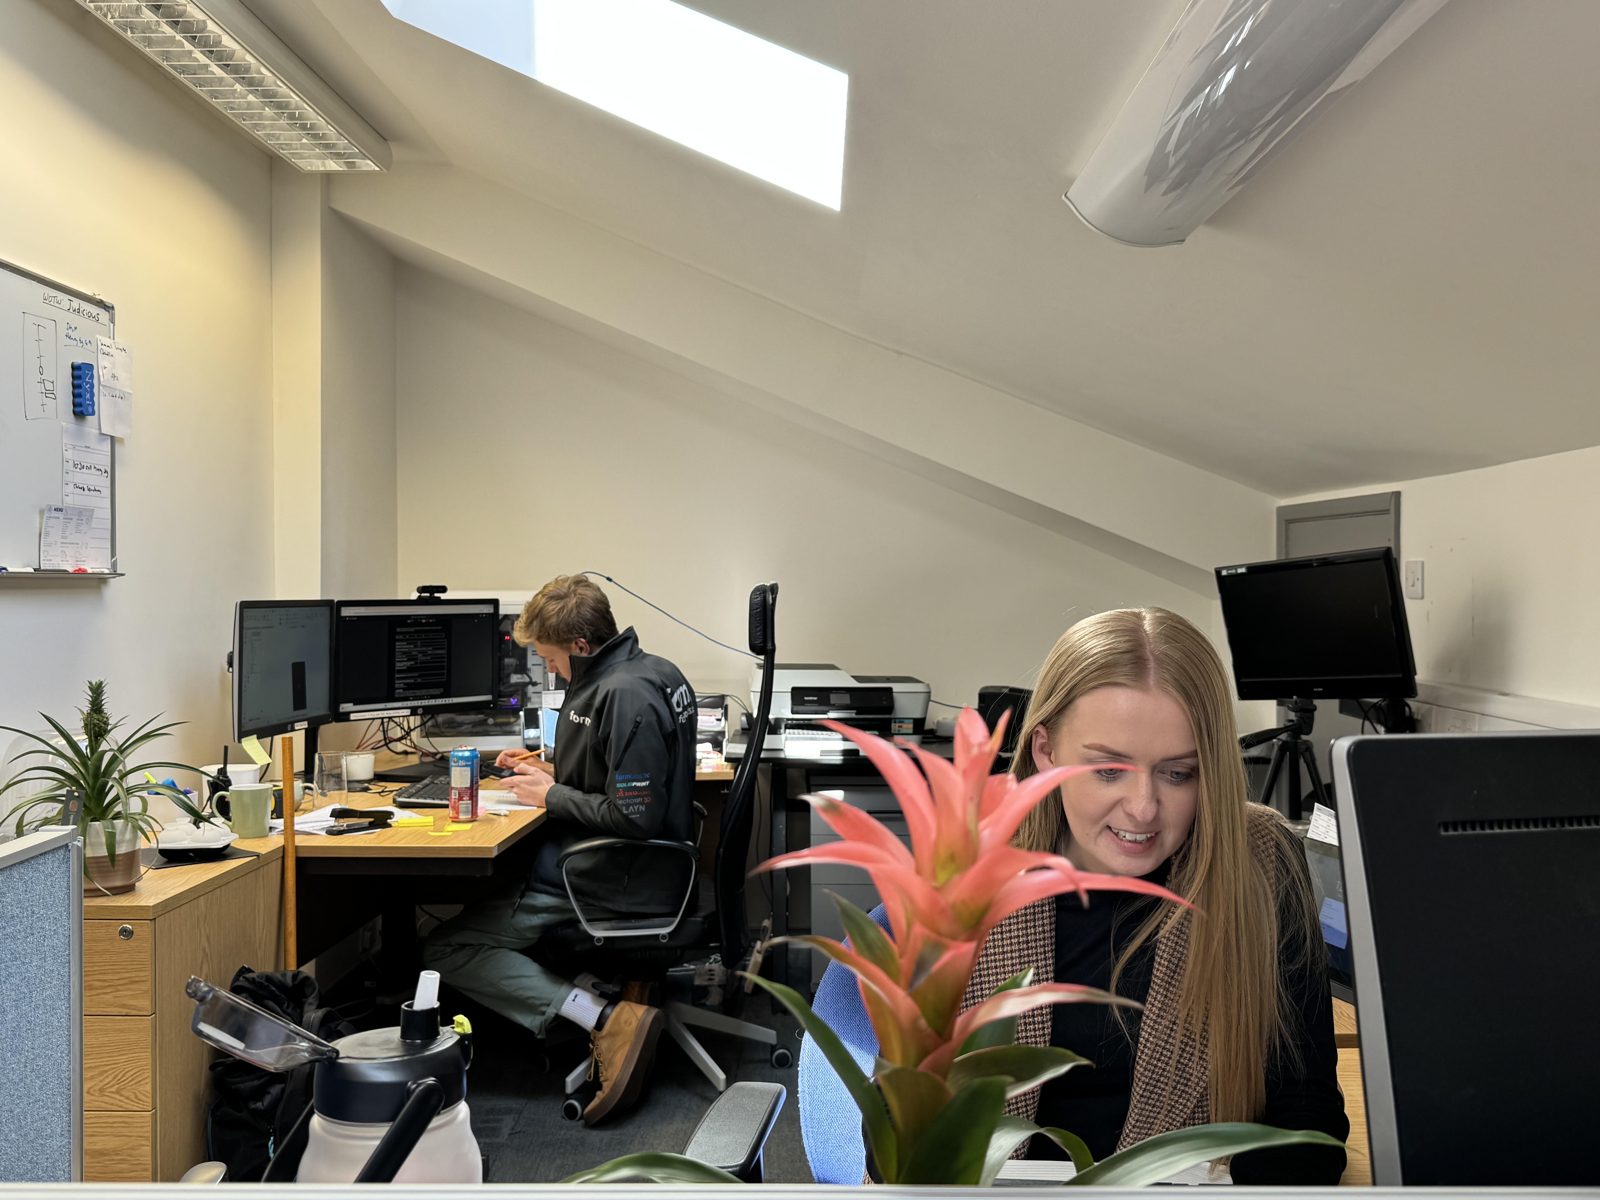
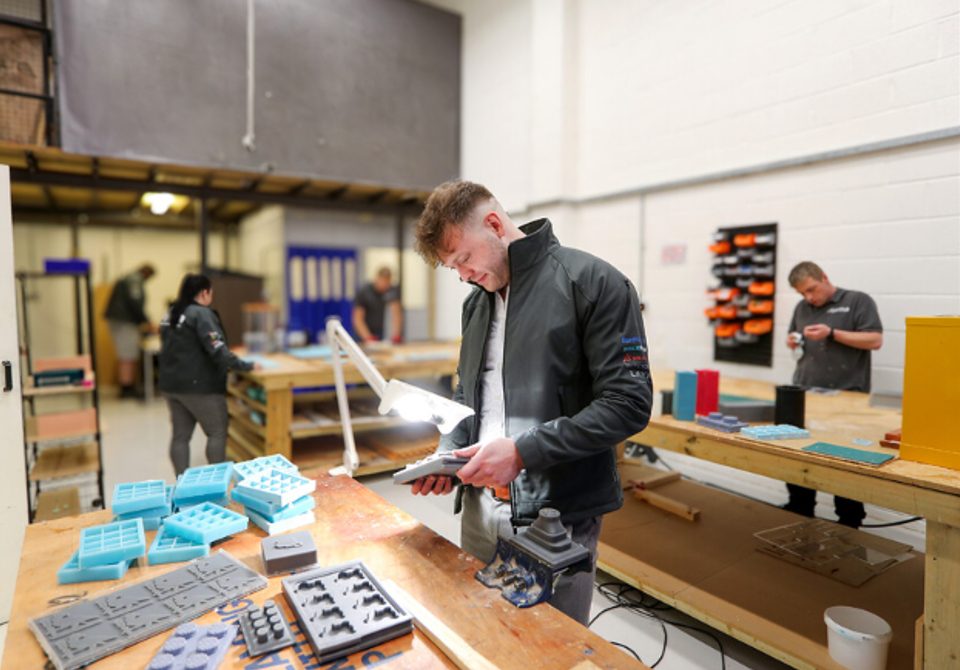
No call centre and no middlemen. When you contact TCI Mouldings, you speak to the team who design, build and check your mould.
 Thomas LaneManaging Director
 George PrestonDesign & Project Manager
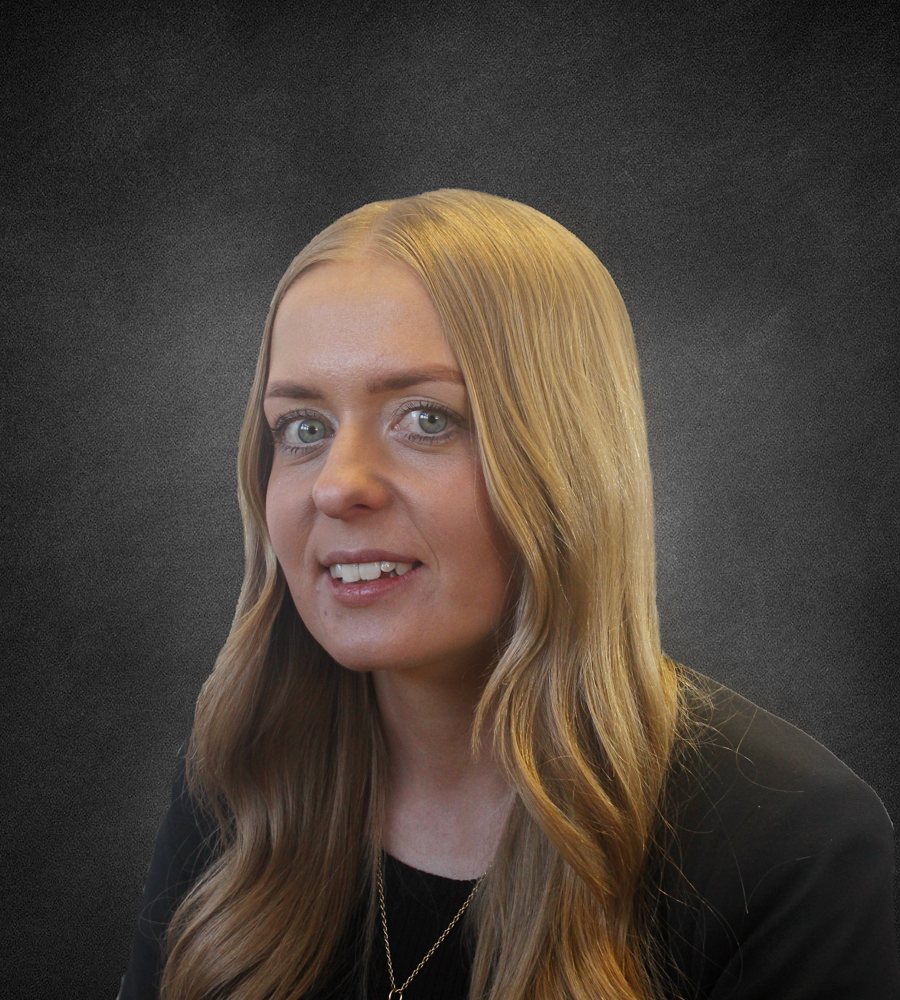 Kelly BallingerHead of Partnerships
 Jim AndertonProduction Manager
 TheodoreEmployee Welfare