Project record · Home fragrance · Cast silicone tool
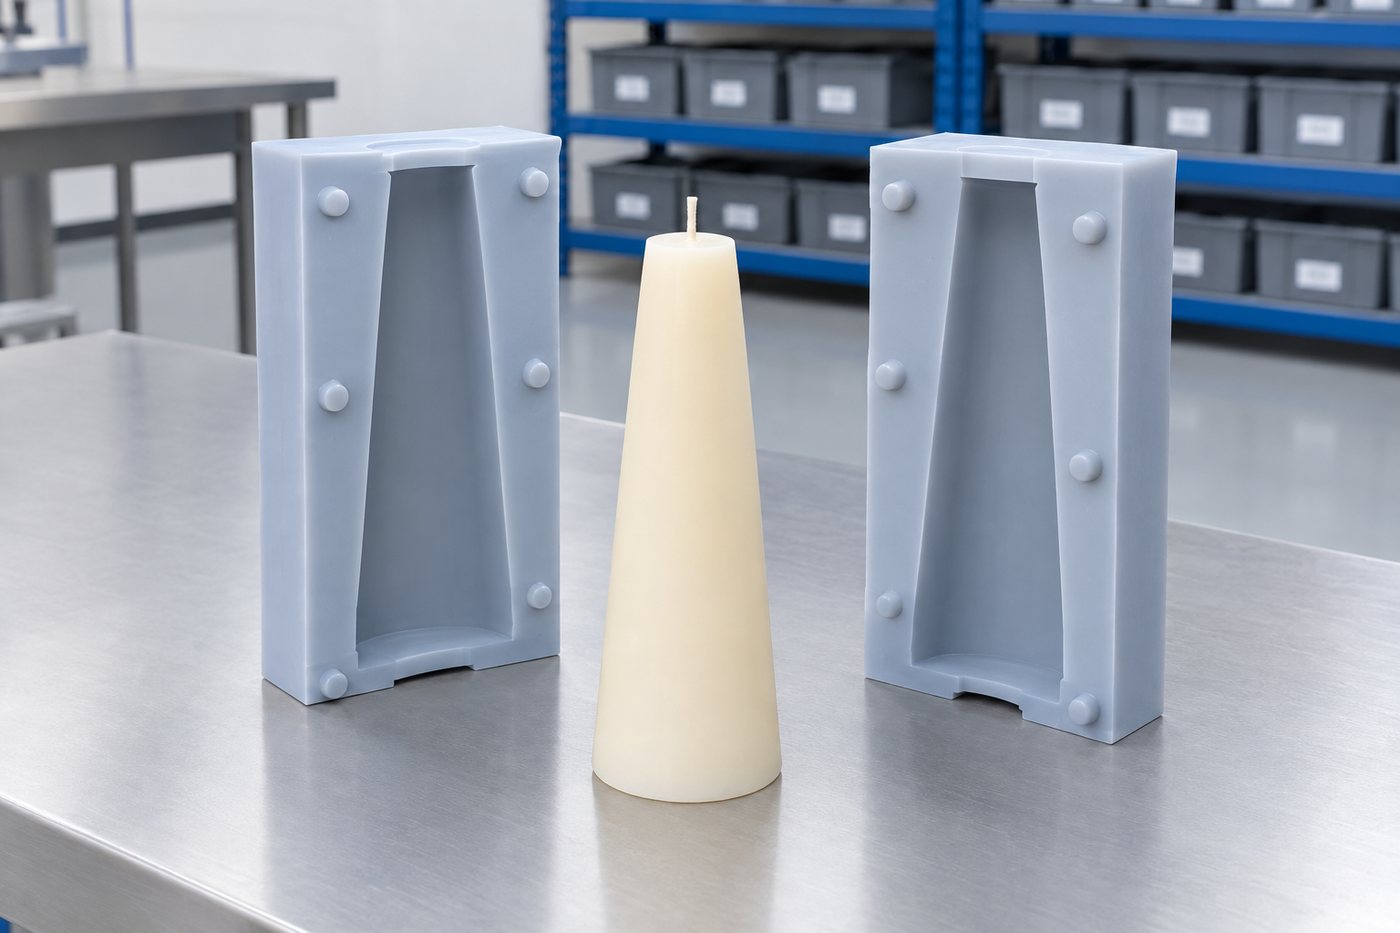
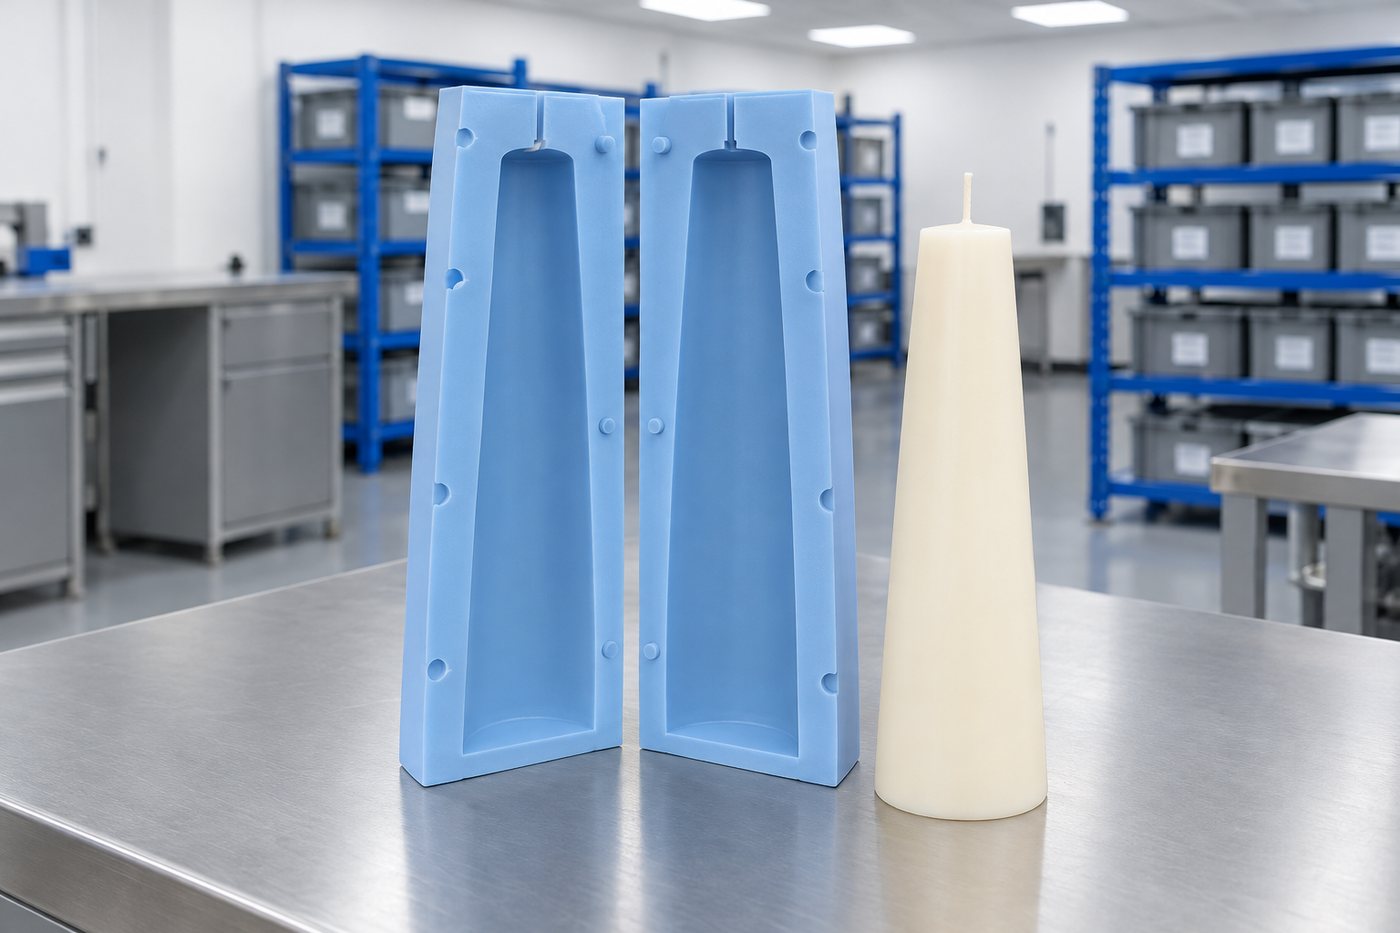
A pillar candle mould that released a tapered wall cleanly, every pour.
A brand poured tall tapered pillar candles from a stack of hand-built cardboard formers. Every candle came out looking hand-built. They wanted a reusable mould that gave a clean face, a straight taper and a level base.
The brief
One-shot cardboard is not a way to run a candle line.
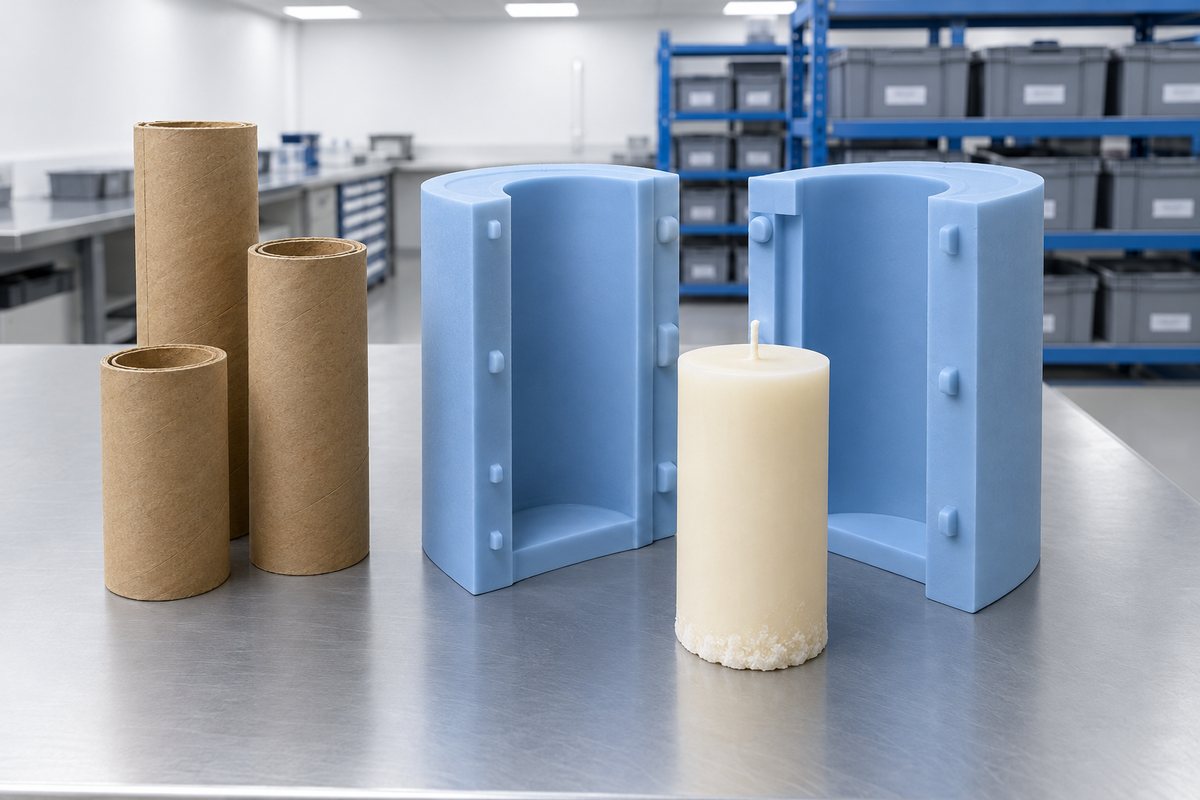
The brand was already selling out of a hand-poured pillar range. They were pouring the candles into hand-rolled cardboard cylinders coated in mould release, breaking the cardboard away after cool, then filing the base flat.
It worked. It was also slow, wasteful and impossible to keep consistent. Every pillar looked slightly different because every former was slightly different. The finished candles were being sold as artisan, but the brand knew the inconsistency was going to cost them at wholesale.
They wanted a reusable mould that gave a straight taper, a smooth outer face, and a level base, so the candle range could be photographed and sold in retail multiples without variation being noticeable.
The problem
A tapered wall wants to stick. Silicone is the fix.
A tapered wall is the classic sticking problem in candle moulding. As the wax cools, it shrinks radially inward. On a straight-walled candle, the shrinkage pulls the candle away from the wall. On a tapered wall, the shrinkage pulls the candle into the wall, and every millimetre of taper works against release.
Rigid moulds — polycarbonate, aluminium, steel — solve this only by demanding a taper so shallow it barely counts as a taper. Silicone solves it differently. A silicone mould can be flexed to release, so the taper can be whatever the brand wants it to be.
The trade-off is that silicone moulds for pillars have to be supported through the pour, or the walls will barrel. So the design is again a two-part system: silicone inner, rigid outer sleeve that comes off when the candle is set.
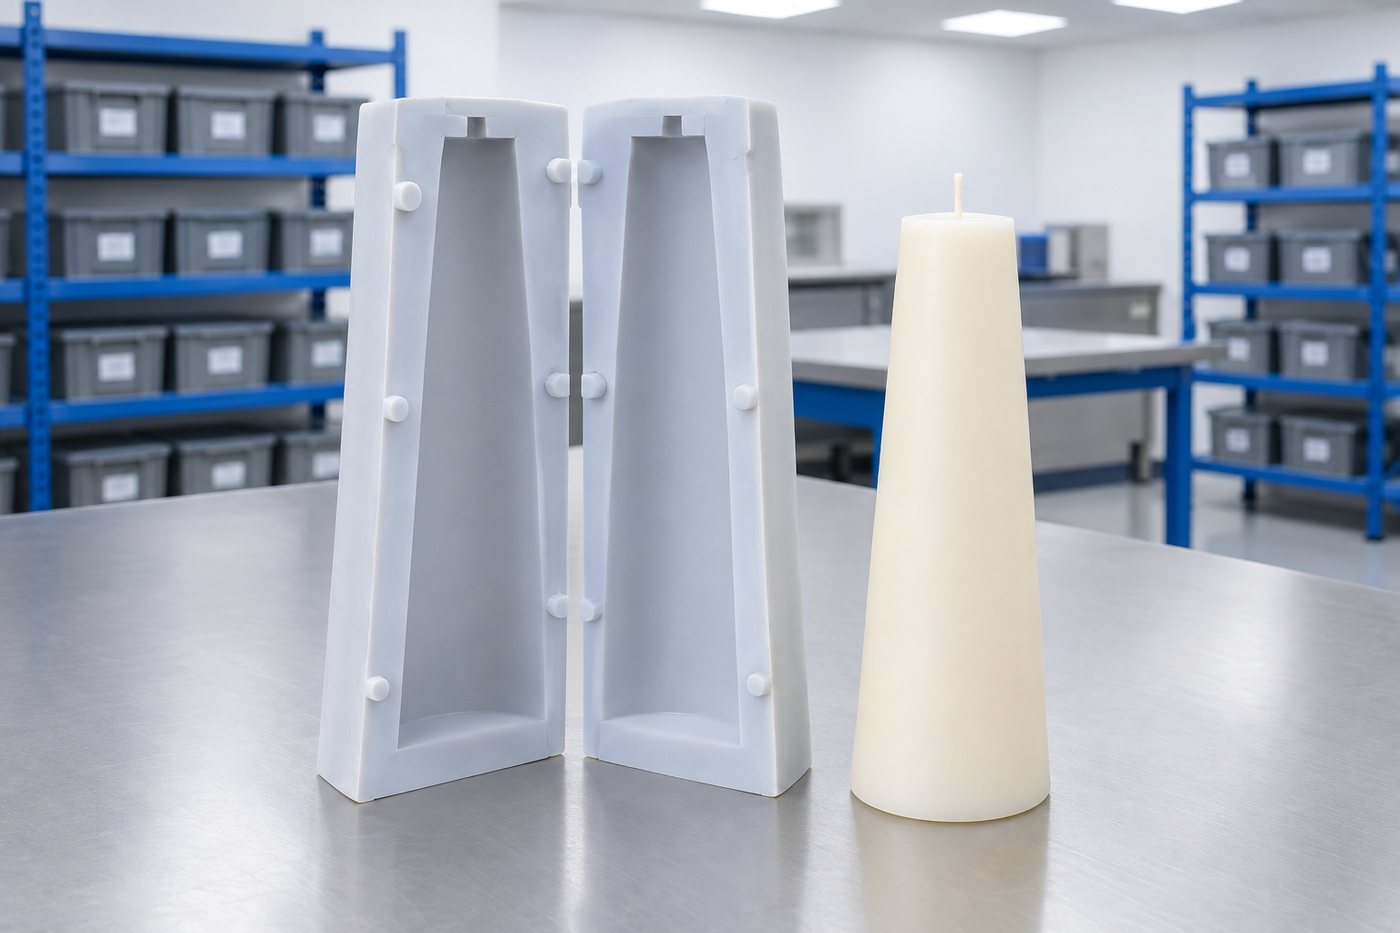
Silicone inner, hinged sleeve, level base plate.
Illustrative schematic. Real tools include additional detail (runners, vents, ejector positions).
What we did
Flexible where release matters, rigid where shape matters.
The candle takes its shape from the silicone; the silicone takes its shape from the sleeve.
CAD the pillar with the intended taper
Taper was set to 5 mm across the 200 mm height — enough to give the pillar the intended silhouette, not so much that the wick alignment fought it during pouring.
CNC the pillar master in food-safe polymer
The master was machined vertically in a single setup, so the surface is turned rather than layered. A turned master gives a smoother silicone surface than a printed master.
Cast the silicone inner
Platinum-cure silicone was poured over the master inside a rigid former, giving a 6 mm wall thickness on the inner. This is enough to flex for release without slumping under load.
Cut the rigid sleeve
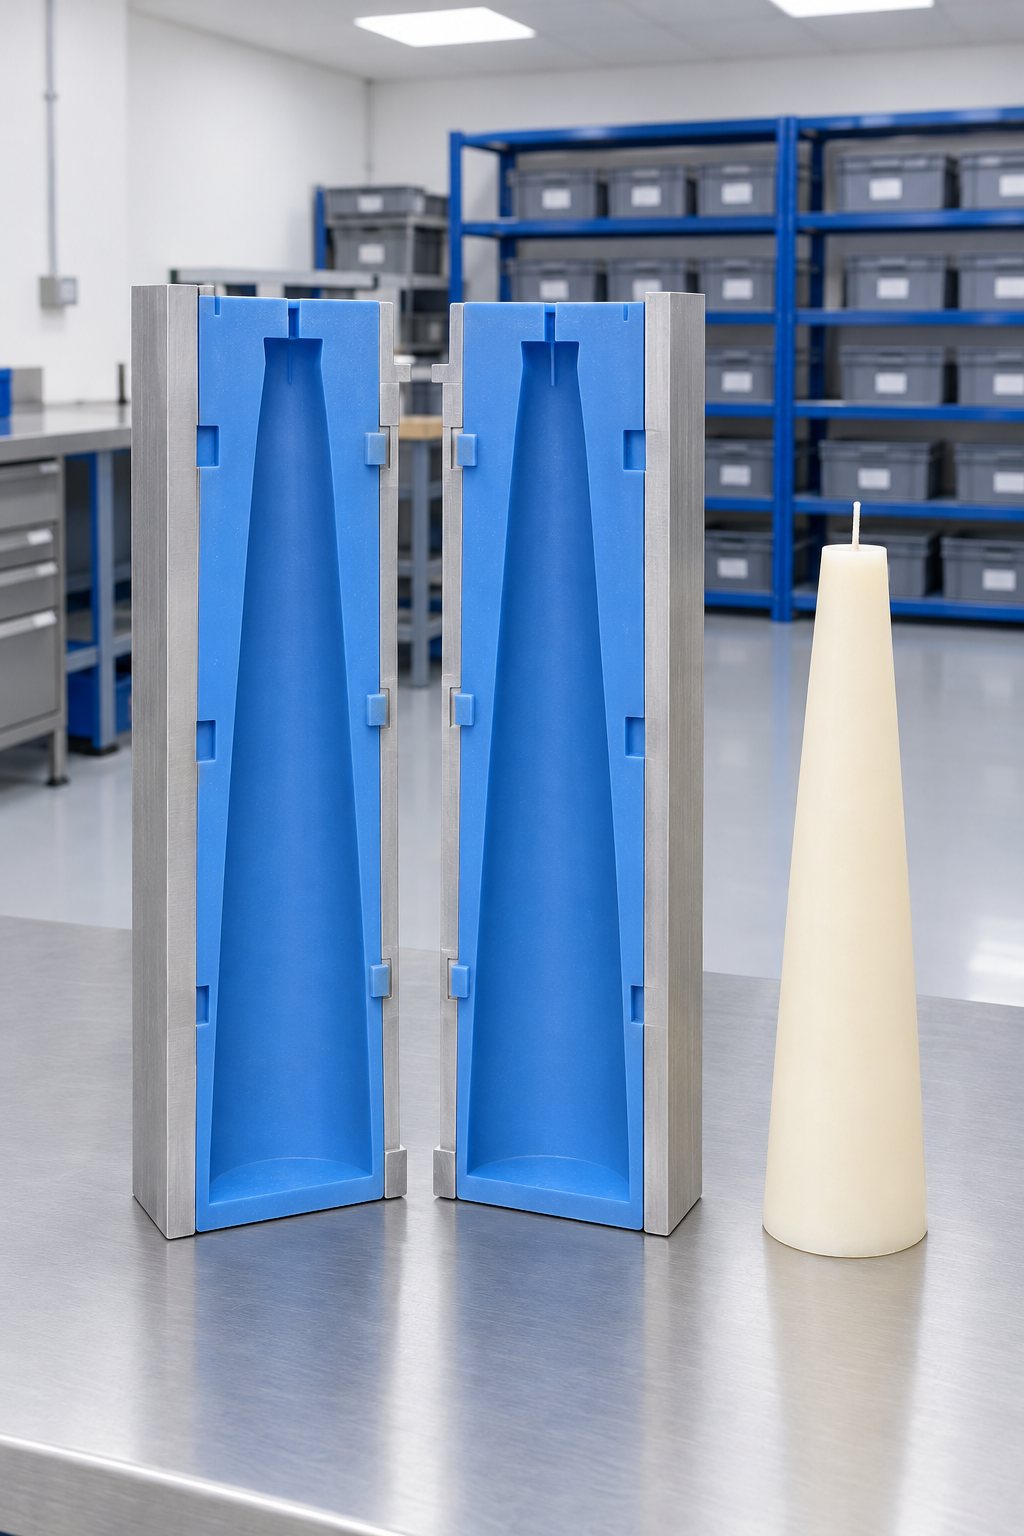
A two-part aluminium sleeve was cut to fit over the silicone inner during pouring. The sleeve is hinged on one side and clipped on the other, so it opens once the candle has set.
Wick guide + level base plate
A wick guide with a centring cross was fitted to the base plate. The base plate sits square to the sleeve and gives every candle a level base out of the mould, saving the file-flat step.
Prove with the brand's own wax
First pillars were poured with the brand's own wax and fragrance load. Release was clean at 24 hours, base was level, no cardboard needed. The pouring team ran a full production shift with the tool before we signed it off.
The stages
A typical run, drawn out on a timeline.
Drag the timeline left and right, or use the arrow keys. Each stage explains what happens and roughly how long it takes.
Drag · tap a stage for detail
Total working time on a job of this shape: about 3 weeks (23 working days). Lead times shift with drawing changes, sign-off pace and material availability.
The commercial bit
The numbers, out in the open.
Rather than quote a figure that would only be right for one job, here is a worked example based on a realistic project of this shape. Your quote follows the same shape, with your part, your volume and your material.
A brand pouring 30 pillars a day, five days a week, over a 12-month mould-life cycle.
| Master pattern + CAD | £1,250 one-off |
|---|---|
| Silicone inner | £380 one-off |
| Aluminium sleeve + base plate | £950 one-off |
| Tool amortised over 7,800 pillars | ≈ £0.33 per pillar |
| Wax, wick, fragrance | your existing cost |
Numbers are indicative for a single 200 mm × 60 mm pillar mould. A second identical mould brings the per-pillar cost down by around 30% because the sleeve tooling is amortised across both.
Where the job ended up.
We threw the cardboard tubes out the day the mould landed. The candles look like a product now, not a craft.
Founder, home fragrance brand
Where it landed
The finished piece, in context.
Every project record on this site is a real piece of work delivered to a real client, with the tooling and the numbers to back it up. This one is no exception.
If you have a similar problem, please send a drawing or a photograph. We will come back with a route, a lead time, and an indicative cost.
More records
Other work of this kind.
Next step
Pouring pillars into anything you shouldn't be?
Send us the pillar geometry — height, base diameter, top diameter, wick spec — and the wax you use. We will tell you whether the taper needs adjusting for pour, and what a mould set with a sleeve will cost.
If you're currently pouring into cardboard, aluminium seamed tubes, or polycarbonate, and losing pillars to sticking, seam lines or bases that need filing flat, silicone changes all three at once.
Ready to start?
Tell us what you need to make, and we'll explain how to mould it.
Send us a drawing, photograph or sample, and we'll come back with a route, a material recommendation and a price.
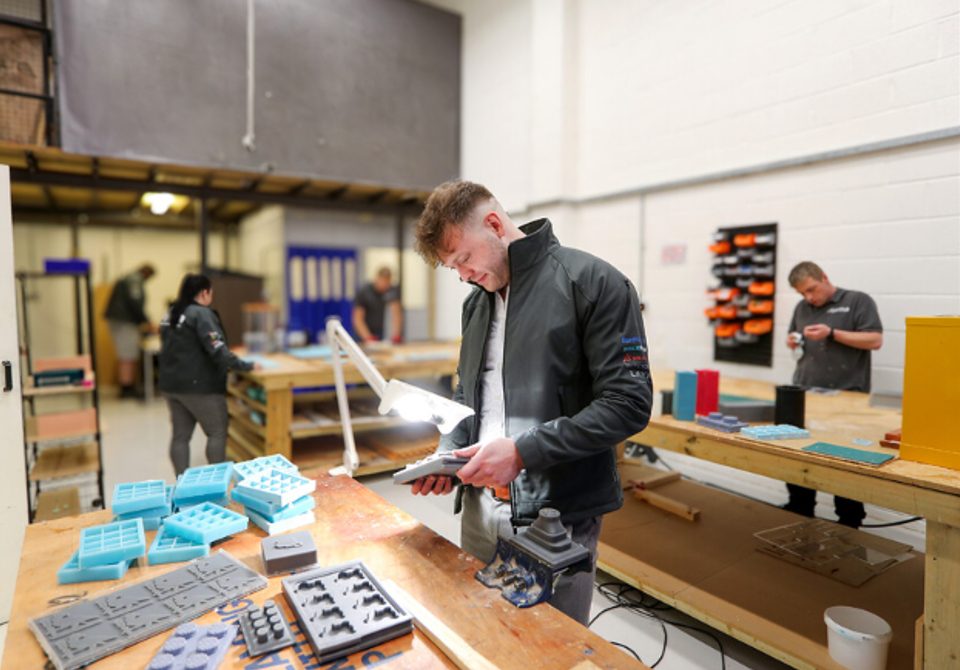
Real people, a real workshop
You deal with the people who make it.
No call centre and no middlemen. When you contact TCI Mouldings, you speak to the team who design, build and check your mould.
- A real Warwickshire workshopUnit 15, Waterloo Park, Bidford-on-Avon, Alcester B50 4JG.
- Real people on the phoneCall the team on 01789 224228, Monday to Friday.
- The same team on every jobDesign, production and aftercare come from the people you see here.
- Part of TCI GroupFive specialist brands, one engineering team. Visit TCI Group.

 Thomas LaneManaging Director
 George PrestonDesign & Project Manager
 Kelly BallingerHead of Partnerships
 Jim AndertonProduction Manager
 TheodoreEmployee Welfare