Bidford-on-Avon, Warwickshire. Mon to Fri.01789 224228

Silicone mould guide

The candle mould buyer's guide.

If you're choosing a silicone candle mould, this guide explains what one actually is, which construction suits which candle, how hardness and wax type affect the specification, and when a proper tool starts paying for itself. It's written by the people who cut the split lines.

3Mould constructions
5Waxes covered
6Briefing questions
2019Established

Start here

A candle mould is a negative you can peel, not one you draw a candle out of.

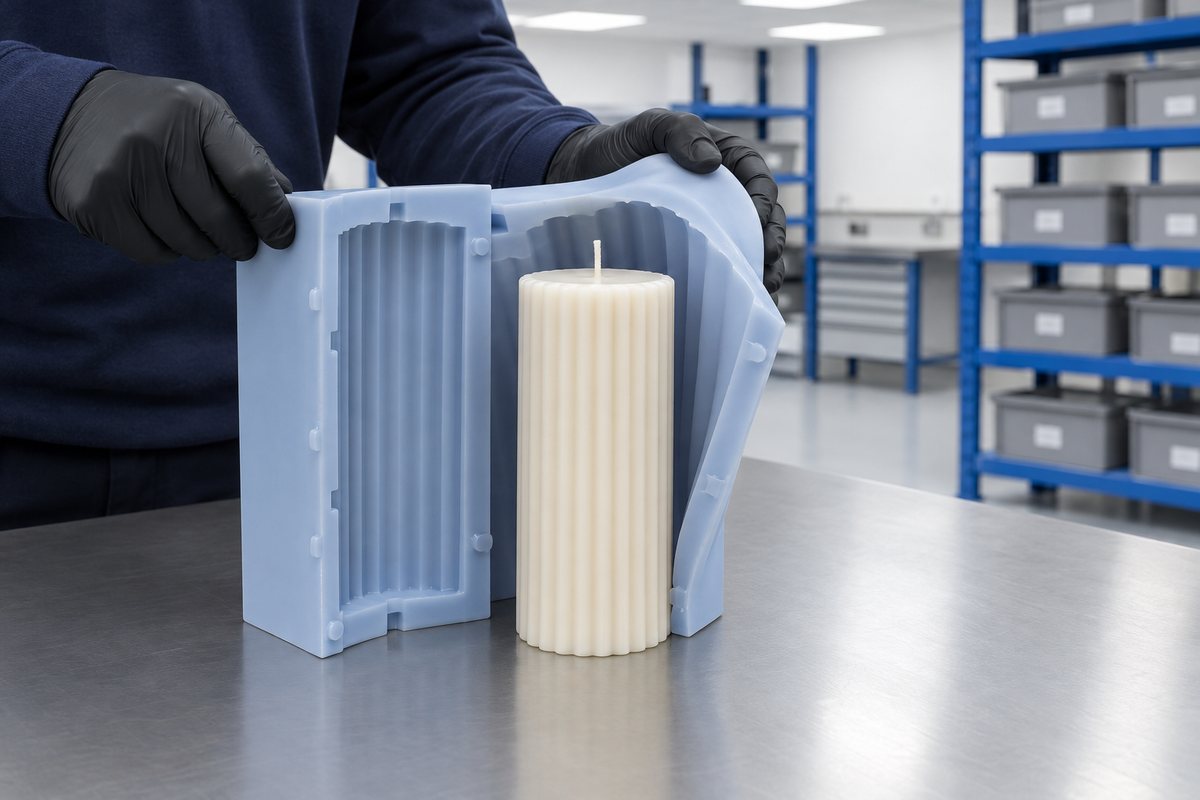
Illustrative example: Flexible silicone mould peeled back from a ribbed pillar candle
Silicone peels away from shapes rigid moulds cannot release

That distinction is why silicone is so useful in this trade. A metal or polycarbonate mould must release the candle in a straight line, which limits the shape to whatever will slide out. Silicone moulds flex, invert and peel away, giving you more freedom to create flutes, ribs, a moulded base mark or a shape that is wider in the middle than at either end. Everything else follows from that.

We make candle tooling for chandlers across the UK, from market-stall makers with one product to brands running trays through a warm room every day. If you're getting in touch for the first time, this guide will help you know what to expect before your first email. The questions usually come in the same order, and the mistakes are often the same too. So we've written this guide as we'd explain it on the phone, to help you get started with confidence.

See where candle tooling fits in what we make

Mould families

Three constructions, each with its own role.

Almost every candle mould we quote is one of these types, or a hybrid of two. Knowing which type you need can save a week of back-and-forth.

01

Two-part moulds

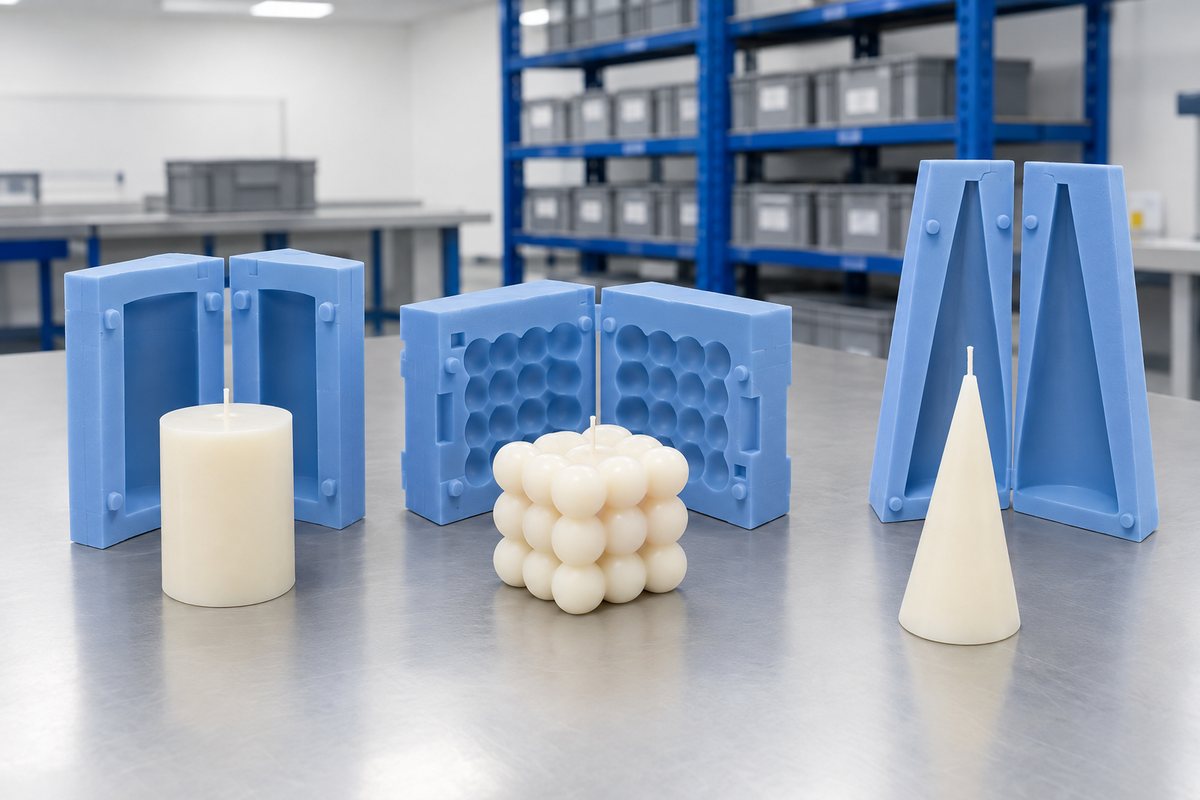
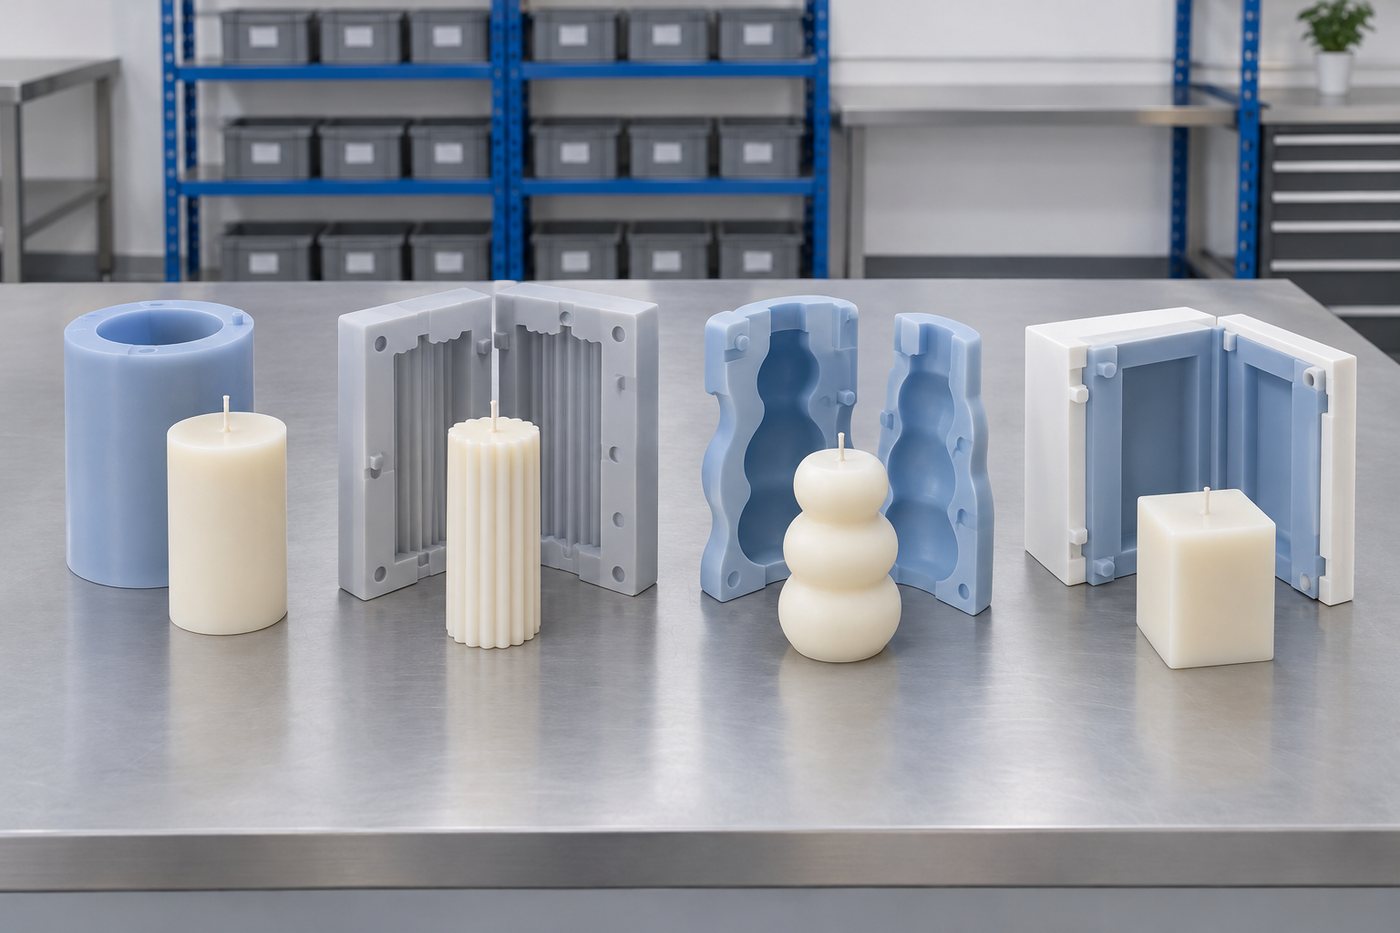
A two-part mould uses two halves, registration keys and a designed split line. It is the right choice for pillars with detail all the way round, figurative shapes and anything with an undercut. Because the parting mark lands where you put it, the split line becomes a design decision rather than an accident.

02

Block and open moulds

This solid silicone block has the cavity opening at the top. It is simple and quick to pour, and you can learn to use it in five minutes. It is well suited to tapers, cylinders, geometric pillars and wax melts. To release the candle, flex the walls and peel it out, so wall thickness matters more than you might expect.

03

Vessel and former moulds

In this application, silicone is not making the candle. It makes the container, plinth, concrete or plaster vessel that the wax goes into. That means a different duty, hardness and service life, with the wax never touching the silicone tool. Miss this distinction and you could specify the wrong product entirely.

Pillar or vessel: the full comparison

Illustrative example: Three candle mould constructions arranged on a worn workshop bench
Three common mould builds for different candle shapes

Product types

Pillar, container and wax melt tooling are three different jobs.

Pillar tooling must release a finished, visible object. Because the mould surface becomes the product surface, every tool mark, bubble and seam will show on the shop shelf. Pillars also need a wick route through the middle. This can be made with a pin cast into the tool or by creating a hole afterwards. Pin geometry is the most common detail left out of a brief.

Container tooling is a softer problem in one sense and a harder one in another. You won't see the mould surface because the wax sits inside a jar. But when you mould the vessel itself in concrete, jesmonite or plaster, the tool takes an abrasive cast, so the wear is different. It's worth reading the processes page before assuming the two can be quoted in the same way.

Wax melts change the logic again. Each pour produces dozens of identical small parts, so cavity count and tray rigidity determine whether the mould performs well. A twenty-cavity tray that sags when full is worse than a ten-cavity tray that stays rigid.

Hardness

Shore hardness for wax, in plain terms.

Wax is a gentle casting material. It goes into the mould warm, shrinks as it sets and weighs very little compared with concrete or resin. That puts candle work at the softer end of the hardness range. The key consideration is how the candle comes out, rather than how well the mould holds its shape.

Deep flutes, moulded textures and shapes with a waist usually need a softer silicone, so you can roll the wall back from the detail. A plain cylinder or generous taper can use something firmer. It holds its geometry over a longer run and stands up to rougher handling. If you are demoulding at speed every week, firmer silicone usually gives you a lower cost per candle, even though each pull takes more effort.

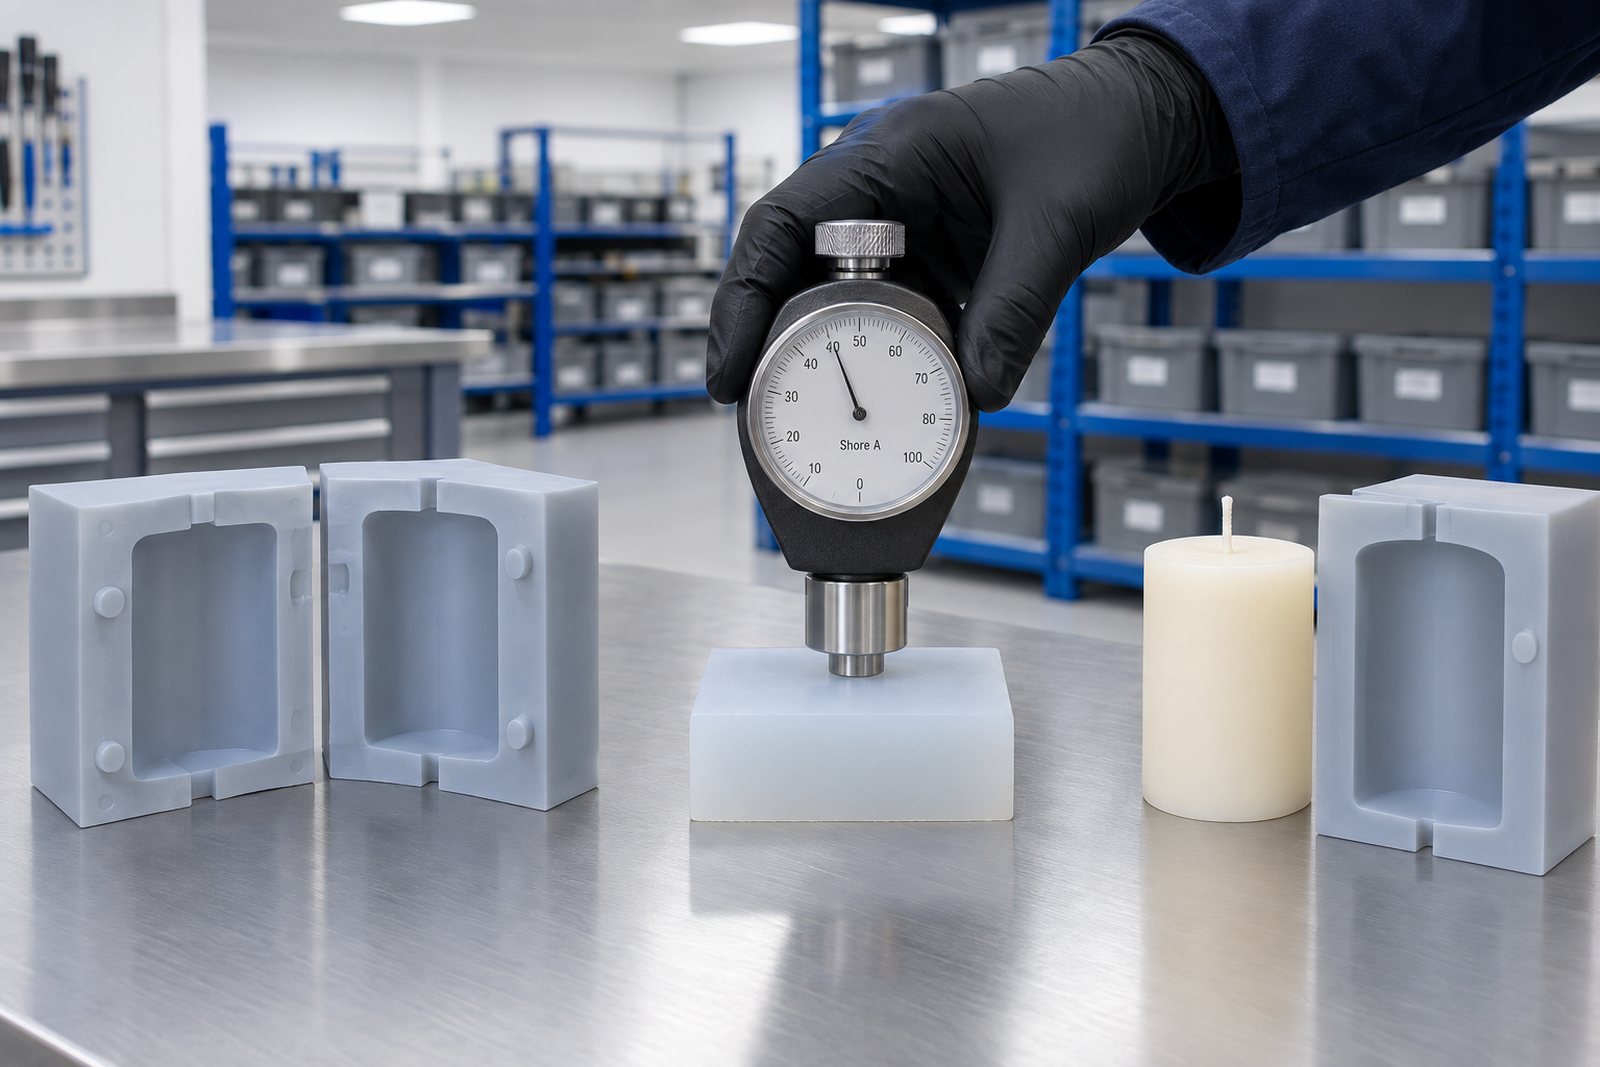
We won't simply give you a hardness figure copied from a web page. The right number depends on the wall thickness we build, the geometry, the tear strength of the grade and the person demoulding. Two moulds with the same durometer reading can behave completely differently. You can find the reasoning in Shore hardness selection.

Materials and compliance

Illustrative example: A durometer pressed against a cured silicone test piece to read Shore A hardness before a candle mould is specified

Release

Soy, paraffin and coconut do not all release in the same way.

Chandlers often blame the mould when a release problem actually comes from the wax. Separate the two before ordering another tool.

Paraffin is one of the easiest materials to demould. As it cools, it shrinks cleanly and pulls away from the wall. With a well-made tool, you should be able to release a paraffin pillar with a firm squeeze, without any release agent. If you're struggling with paraffin, the issue is likely to be the geometry or wall thickness.

Soy is softer and stickier, with less predictable shrinkage. It can cling to a matte surface, and in a warm workshop, a soy pillar may be too soft to demould without marking. Cooling matters more than the mould in this case, although firmer silicone and a smoother cavity can both help.

Coconut blends are softer still and often oilier. That makes release easier, but definition harder, so fine detail can round off. If you want crisp edges on a coconut blend, you are fighting the wax. The honest answer is to simplify the shape rather than keep buying moulds.

Beeswax and palm are covered separately in sizing a mould around your wax, along with approximate pour temperatures. Whatever you pour, tell your mould maker the exact wax and additive load.
Tool life

What actually wears out a candle mould?

Silicone moulds are consumable tooling. Wax is gentler on a mould than most materials you could pour into it, but mould life can still vary enormously between two chandlers using the same tool.

Wax temperature

Pouring hotter than you need to

Repeated hot pours are the main cause of ageing in a candle mould. Each cycle heats the silicone and then cools it again. Over a long run, this can stiffen the material and make thin corners brittle. Many chandlers pour hotter than the wax requires because it flows more easily. Reducing the temperature to the level specified on the data sheet is one of the lowest-cost ways to extend tool life, and it will usually improve the finish too.

High-temperature moulds
Wick pin

The pin and how it is pulled

A wick pin is a small, hard object that is pushed into and pulled out of soft silicone hundreds of times. Get the taper, seat and tolerance right and it will last. Get them wrong and the pin can tear the same spot on every pull, until the tool leaks wax down the side of the tray. That is why pin design belongs in the first conversation. How you remove the candle matters just as much as the tool itself. Peeling a mould back from the shape is fine. Levering it out with a knife is not. If a mould fails at the same corner every time, it is describing a repeated habit rather than a defect.

Replacement and spares

Cost

Curious what a candle mould costs? We'll give you an honest answer.

We do not publish a price list because a candle mould is not a standard product with a fixed price. It is priced by the hours involved, which depend on the master, the split line, the cavity count and how much finishing the cavity needs. A plain block mould made from a shape you already own sits at the cheap end. A multi-cavity tray with cast-in pins is a different order of work, especially when we need to model and print the master first.

We can help you understand how the money behaves. Tooling is a one-off cost, and the number of cavities is the main lever on cost per candle. Doubling the cavity count does not double the tooling cost because the mould box, pour and setup are shared. It also roughly halves the labour per candle. So the useful question is not simply, "What does a mould cost?" It is, "How many candles will you make before the cheaper tool becomes the more expensive one?" If you have a budget, tell us in your first email and we will design to it. If it will not stretch, we will tell you plainly.

Six jobs, and the challenges we tackled

Timing

When to stop hand-pouring and buy a proper mould.

  1. You have sold the shape twice

    One order can be a favour. Two orders from different people show there's a market, and tooling starts to look like an investment rather than a gamble. Until then, keep improvising.

  2. The candles are not identical

    Hand-pouring into found containers or hobby moulds can lead to variation in weight, height and burn behaviour. That may be manageable when you're making one for a friend, but selling to a shop can turn that variation into a returns problem.

  3. You are turning work away

    This is the clearest signal of all. If a wholesale enquiry arrives and you have to say no because you cannot make the volume, the tooling has already paid for itself in lost margin. The same goes for an evening spent freeing candles instead of pouring them.

  4. Then, and only then, go multi-cavity

    Move to a tray when you are pouring the same shape in batches, the design is settled, and your hotplate or oven can handle the tray size. It is easy to overlook the design being settled, but getting that wrong can be expensive.

Scaling to a production run

Briefing

How to brief a mould maker properly.

What should I send with the first enquiry?

Send us the shape in whatever form you have it. A sample candle is best, followed by a prototype, photographs with a rule in shot, or a sketch with dimensions. CAD is welcome, but not required. If the geometry does not exist yet, scanning or reverse engineering can create it.

What do you need to know about the wax?

The exact wax, fragrance load and pouring temperature all matter. These three factors determine the cavity finish, the hardness we recommend and how long the tool will last. If we have to guess, you could end up with a mould specified for a candle you are not making.

How many do I say I want to make?

Please give us a realistic weekly or monthly figure, rather than an optimistic estimate. Your throughput determines the cavity count, tray size and construction. If you expect the number to grow, let us know. A tool for a rolling programme is built differently from one for a one-off.

Does the split line matter to me?

Yes, the choice is yours more than ours. Every two-part mould leaves a faint line on the candle, so tell us where you would mind seeing it least. We will design around that, rather than placing it wherever is most convenient to manufacture.

Do I need a master, or will you make one?

Either works. A candle or object you are happy with can become the master. If you do not have one, we can model and produce it for you. The quality of the master sets the ceiling for every candle you will ever pour, so it is not a step worth economising on. See master patterns.

My product is sold alongside something edible. Does that change things?

It can. For food-contact work, we specify a declared grade and back it with paperwork, rather than giving a general assurance. It goes through TCI Culinary rather than being improvised.

At a glance

The idea in a picture.

Silicone hardness in everyday terms

00-30Gel insoleA10Jelly sweetA20Elastic bandA30Pencil rubberA40Shoe heelA60Tyre treadSofter: peels from undercutsFirmer: holds its shape

Swipe to see the whole diagram

A rough guide. We choose the grade for your shape, material and number of pours.

Ready to start?

Tell us which candle you'd like to make, and we'll show you how to mould it.

Send us a sample candle, photograph or sketch. We'll come back to you with a mould strategy, a hardness recommendation and a price.

Real people, a real workshop

You deal with the people who make it.

No call centre and no middlemen. When you contact TCI Mouldings, you speak to the team who design, build and check your mould.

  • A real Warwickshire workshopUnit 15, Waterloo Park, Bidford-on-Avon, Alcester B50 4JG.
  • Real people on the phoneCall the team on 01789 224228, Monday to Friday.
  • The same team on every jobDesign, production and aftercare come from the people you see here.
  • Part of TCI GroupFive specialist brands, one engineering team. Visit TCI Group.
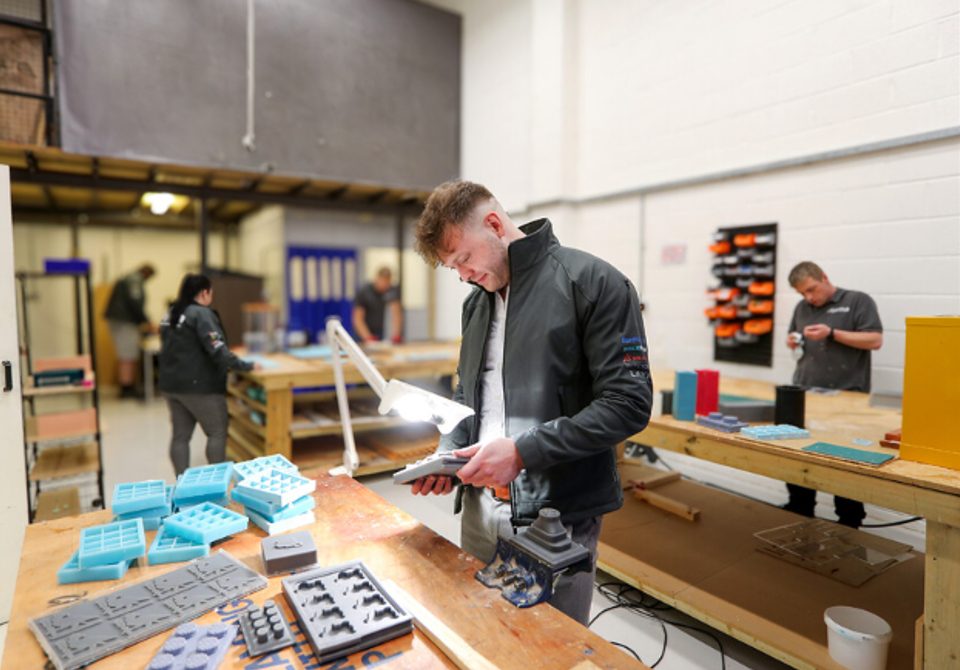
The TCI workshop, with moulds on the bench mid-build.
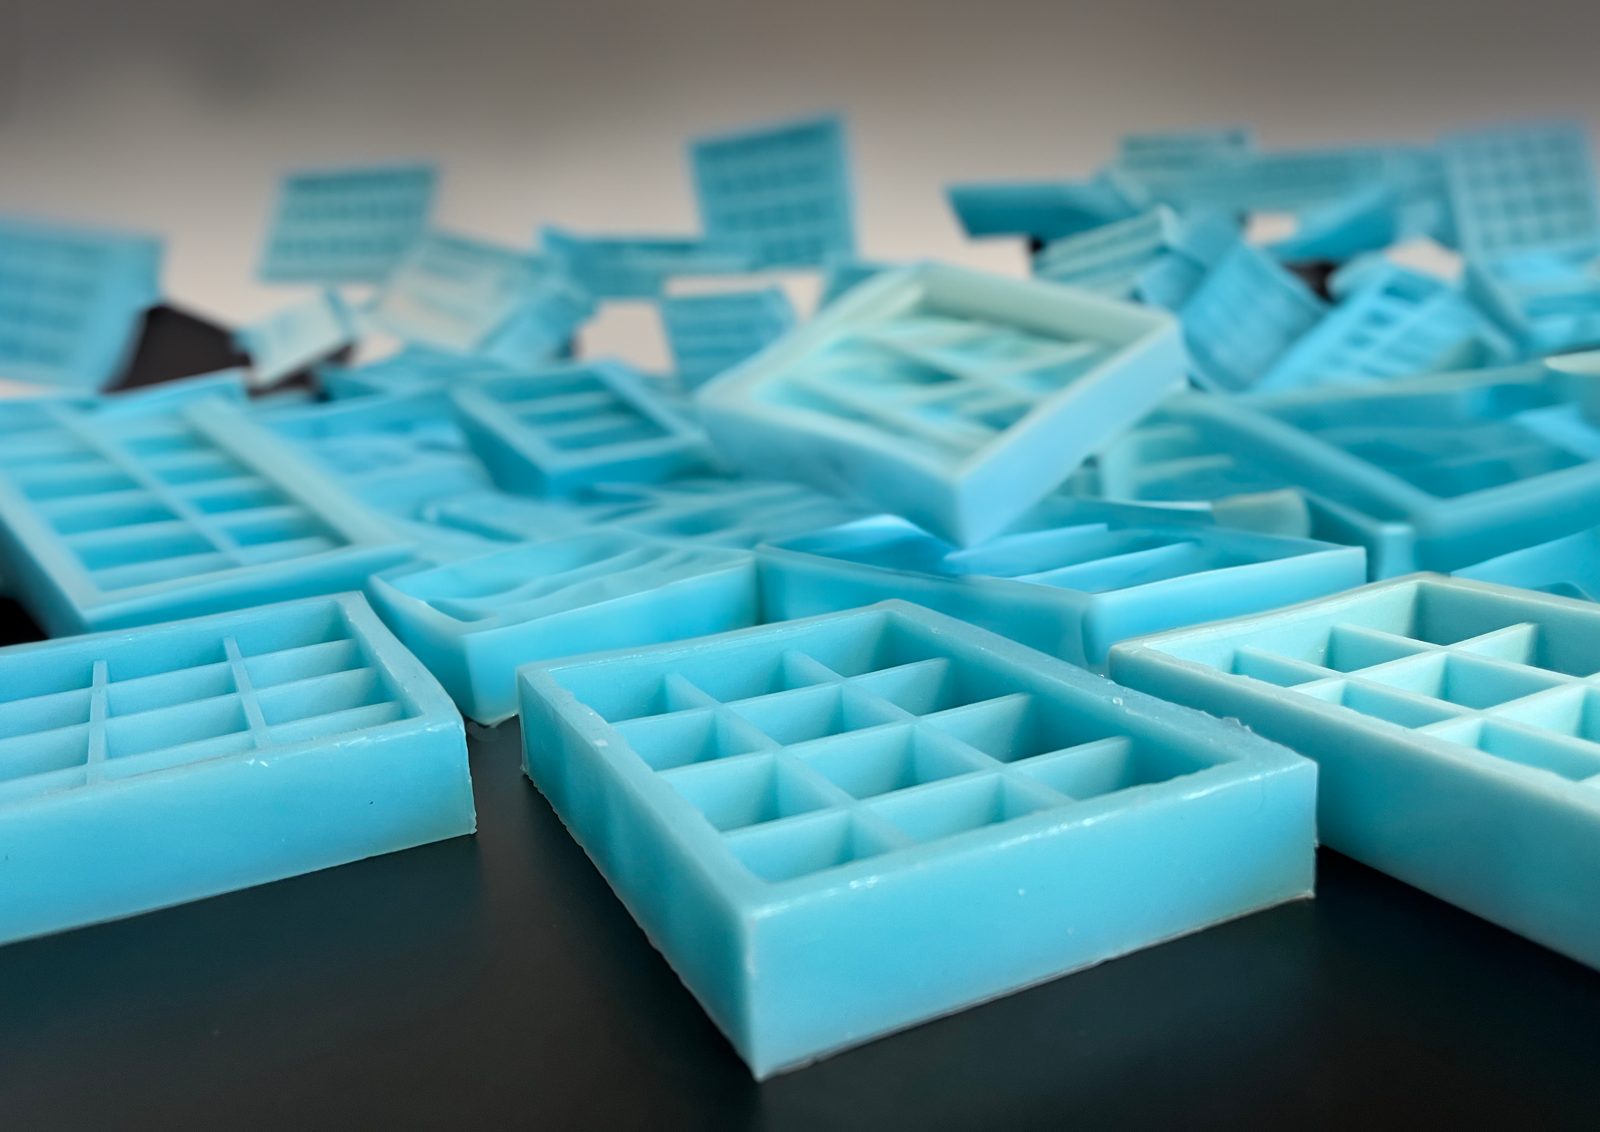
Silicone wax melt moulds made by TCI Mouldings.
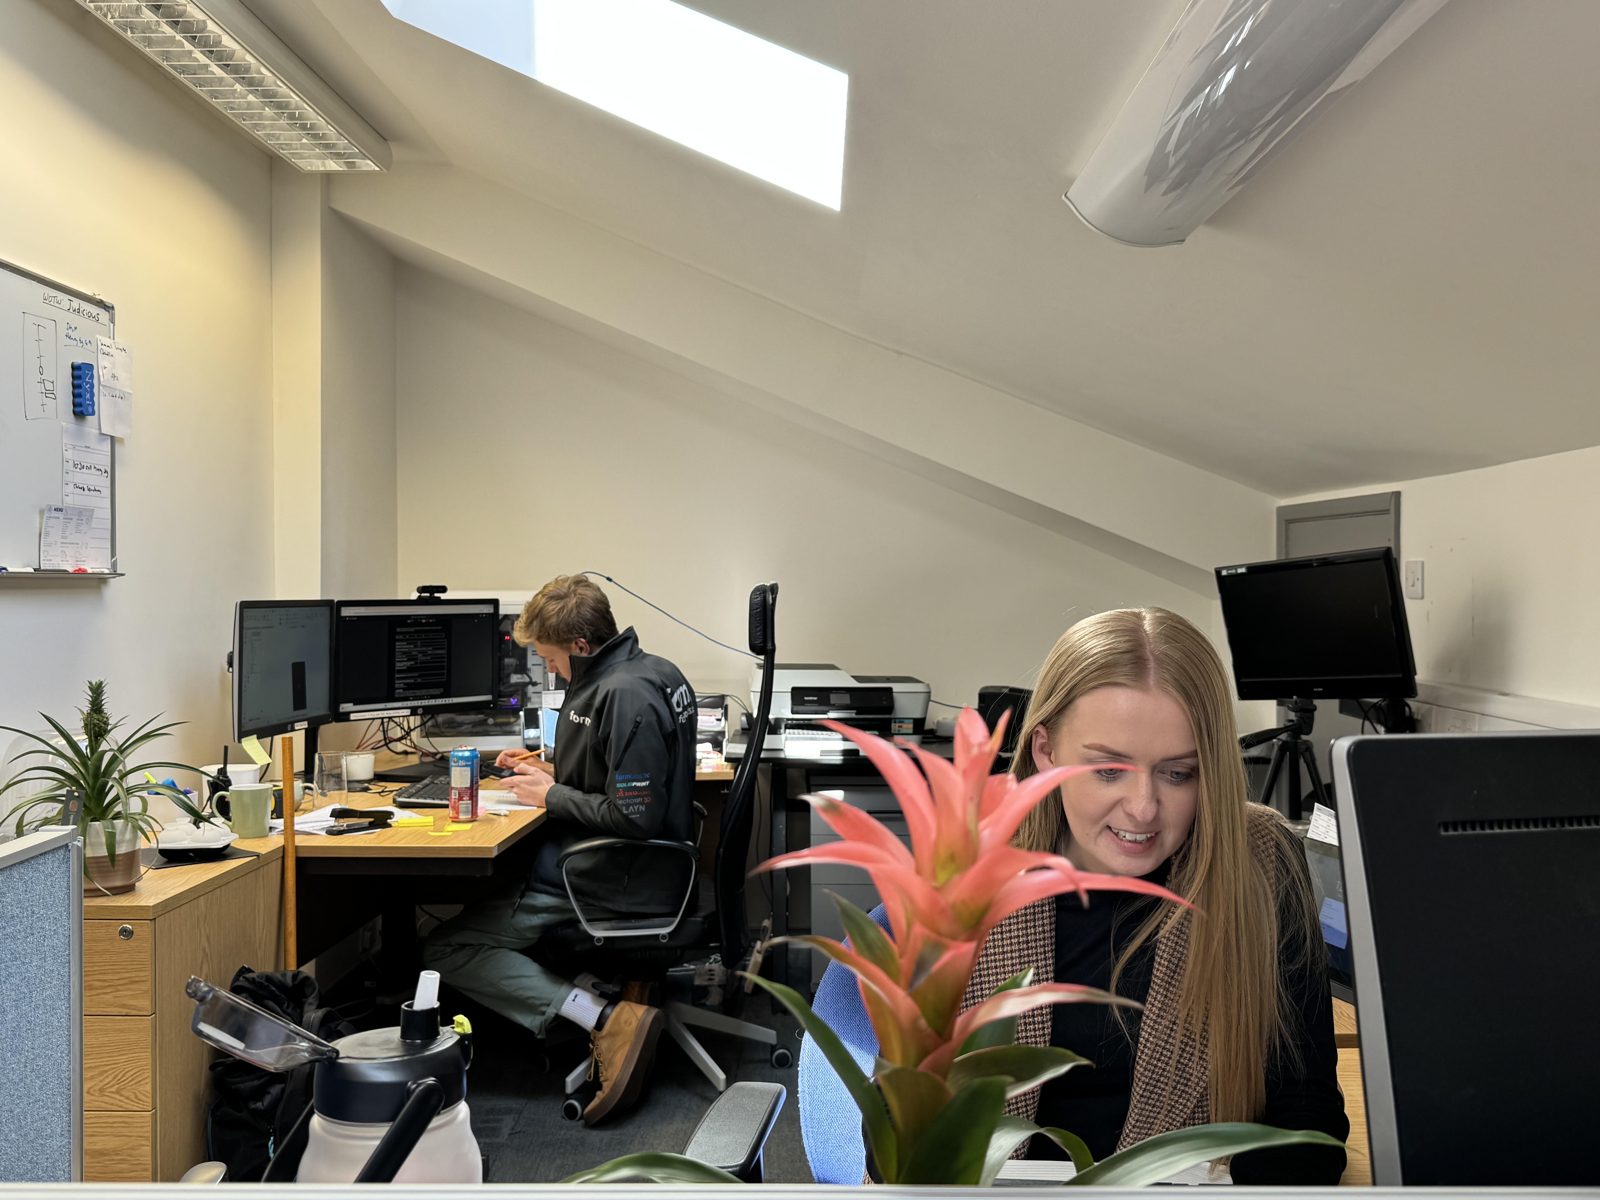
The TCI design and project office.
  • Thomas LaneManaging Director
  • George PrestonDesign & Project Manager
  • Kelly BallingerHead of Partnerships
  • Jim AndertonProduction Manager
  • TheodoreEmployee Welfare
Meet the team