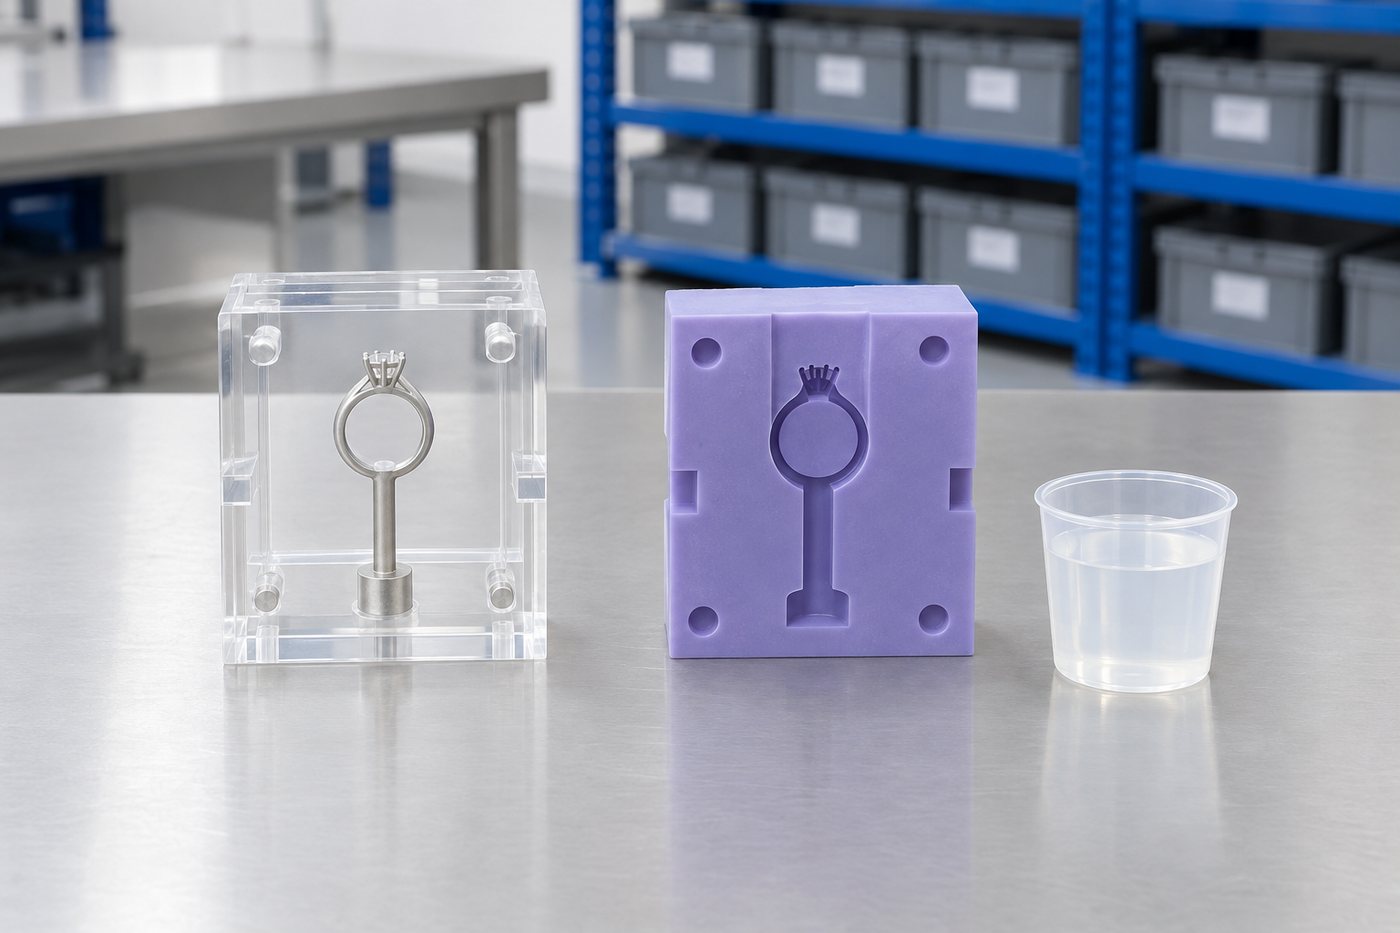
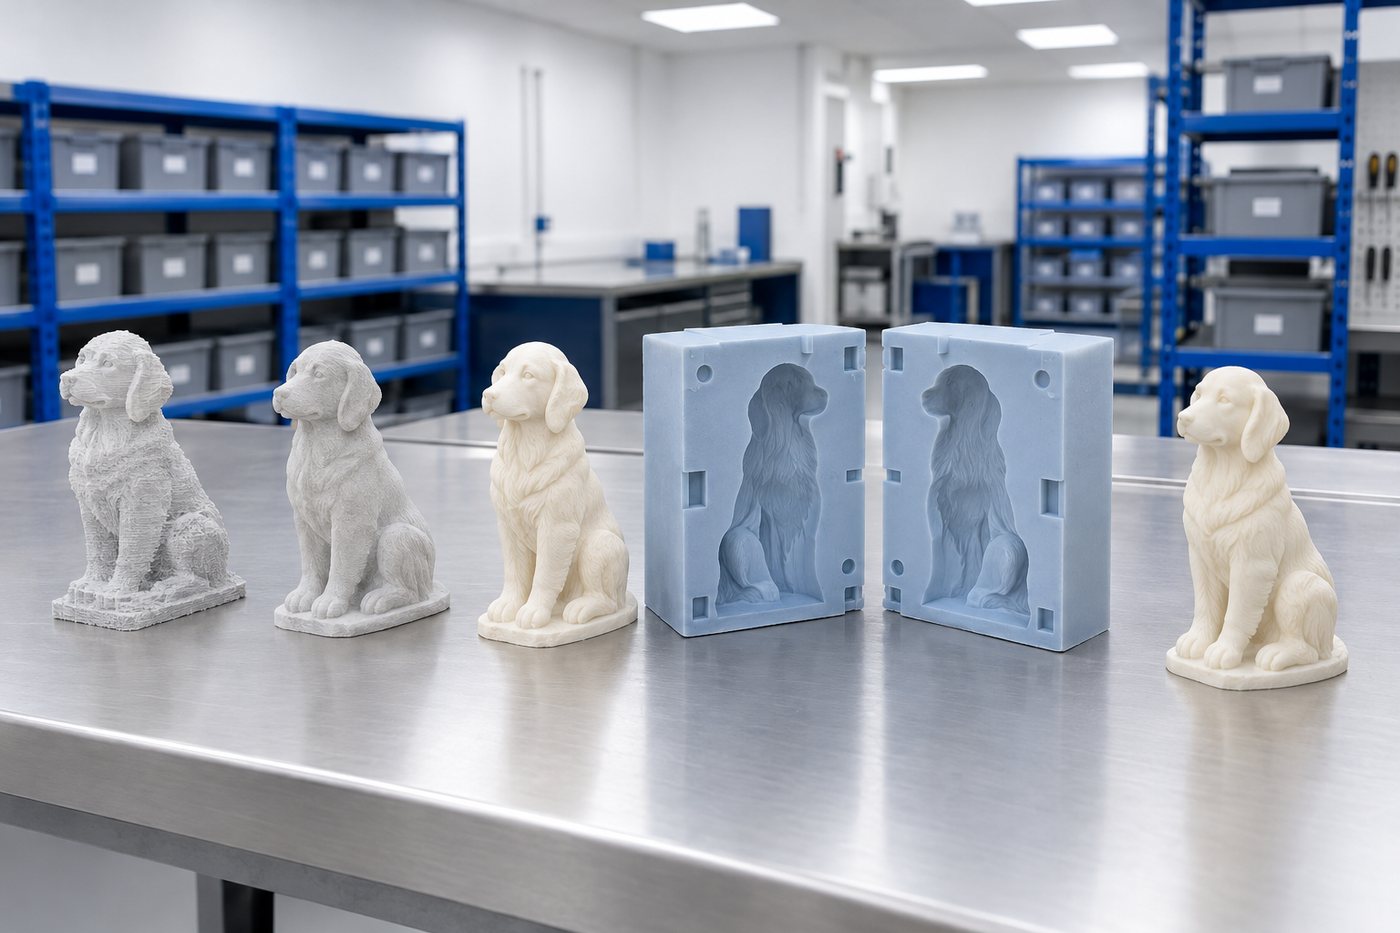
Master patterns
Mould making includes making, repairing, sealing and copying the original master that a mould is taken from. Half of mould making is deciding whether that master is fit to pour against.
Master patternsProject record · Jewellery and giftware · Cast route
A hand-modelled master arrived, and we poured against it. The mould came out of the box with a face that was still tacky the next morning: the clay had inhibited the cure. Here is how we proved the fault and saved the master.
The brief
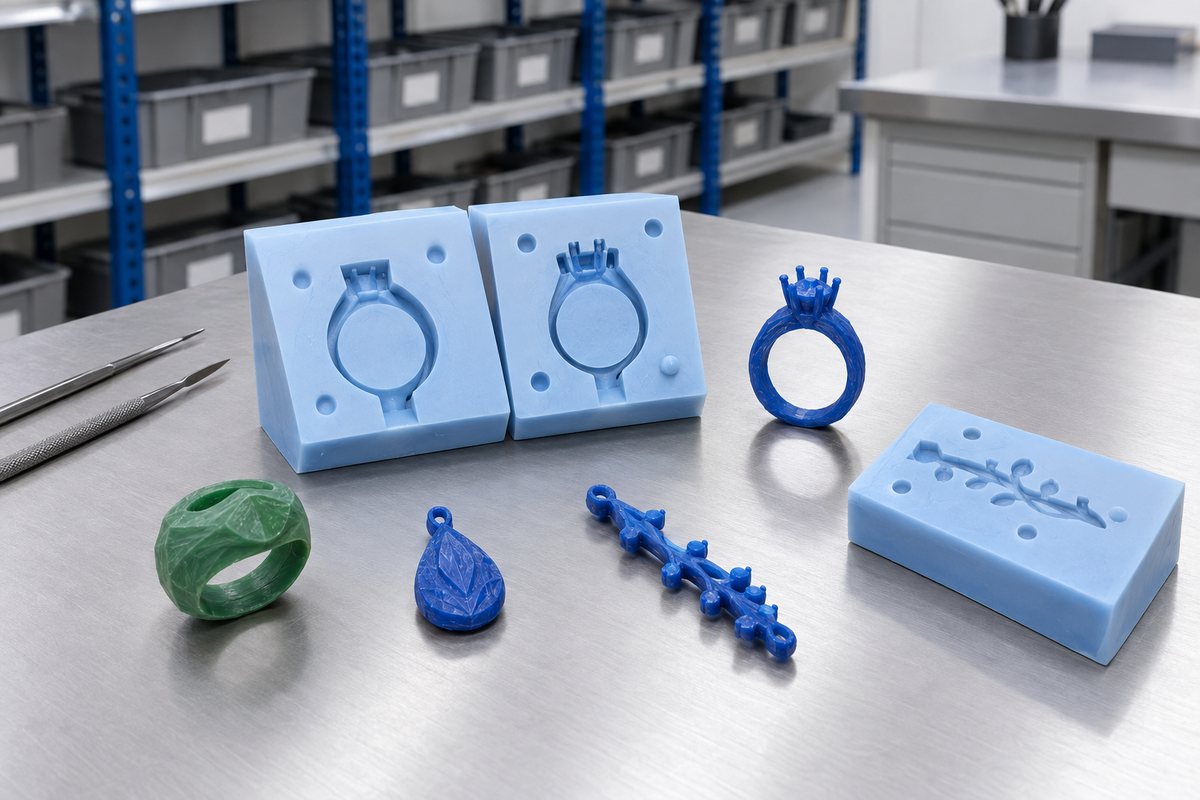
An independent jeweller had modelled a small range by hand, keeping the organic shapes and intentional tool marks that a CAD model would have flattened out of existence. She needed moulds for casting the pieces in resin and metal-filled resin, in small repeating quantities, without remodelling each one.
The masters were the only originals. There were no drawings, scans or second copies, and the modelling had taken weeks of evenings. That made the risk clear: losing a master to a bad pour would not be an inconvenience. It would mean the end of the range.
This was straightforward geometry for a cast mould: generous forms, shallow relief and one modest undercut that we were happy to flex out of. Nothing about the shape concerned us.
The problem
The first mould was boxed, poured and left to cure. When it came out, the silicone body had cured properly, but the face that had been against the master had not. It was soft, sticky and slightly glossy, and it stayed that way. Giving it more time made no difference, which is the key sign. A slow cure will eventually catch up. An inhibited cure never does.
When you work with platinum-cured silicone, the materials it touches matter. Sulphur is the classic offender, and it is found in many modelling clays. Some latex, some tin-catalysed rubbers, certain adhesives, plasticine and residue from a poorly chosen release agent will all do the same thing. The catalyst is poisoned locally, leaving you with a perfectly good mould but a ruined working surface.
The other half of the challenge was trickier than the mould itself. The tacky silicone had to come off the master without taking the tool marks with it, and a sticky, uncured face will not peel away cleanly. That is where careful handling mattered.
Nobody had done anything wrong. The jeweller had used the clay she models in, with no reason to know that it would interfere with a platinum cure. That's exactly the sort of detail we should discuss before we pour, rather than after.
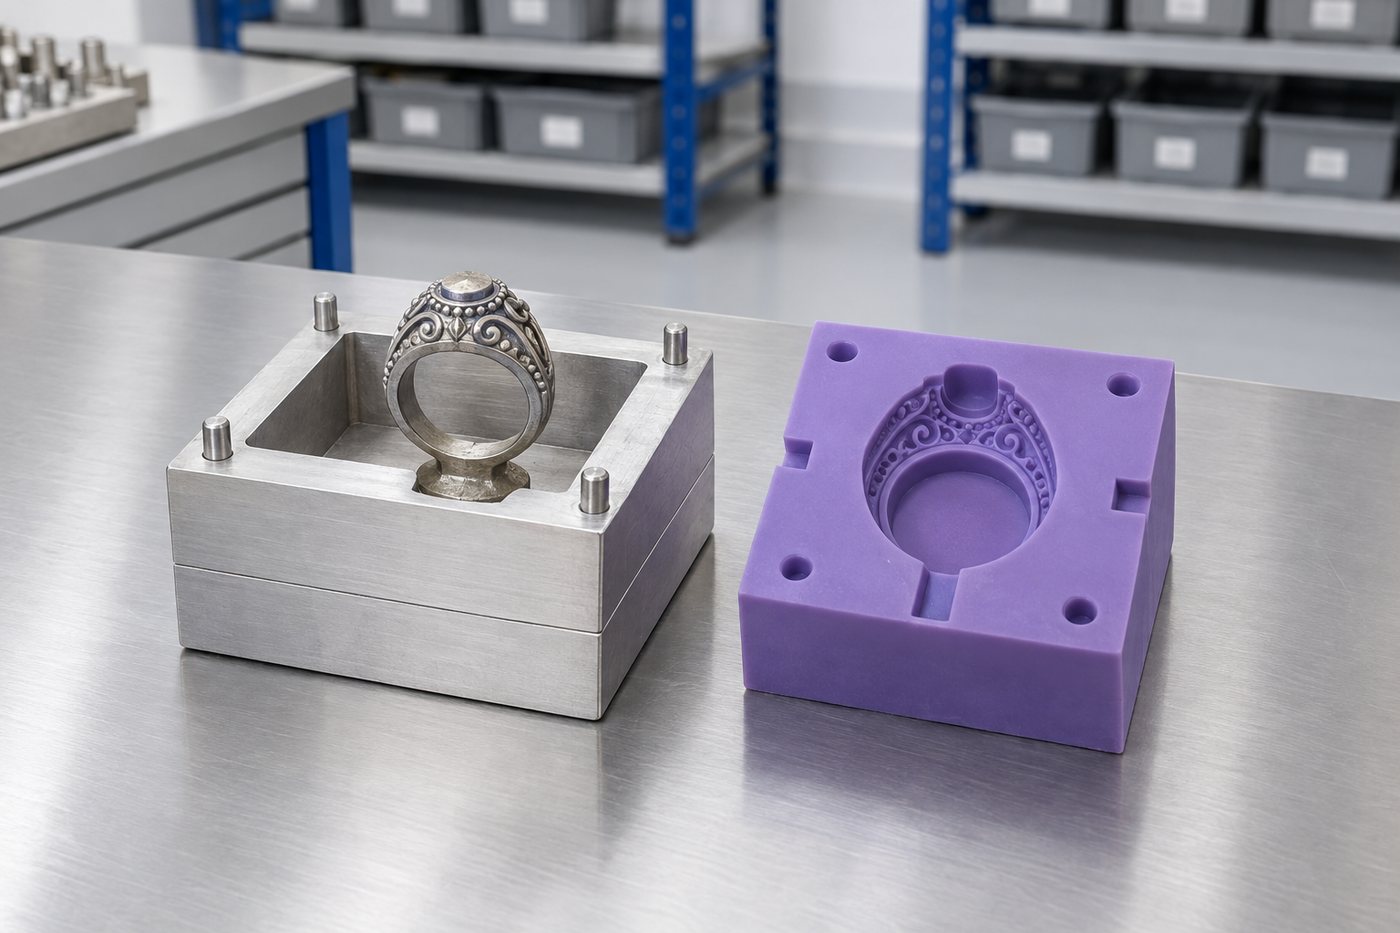
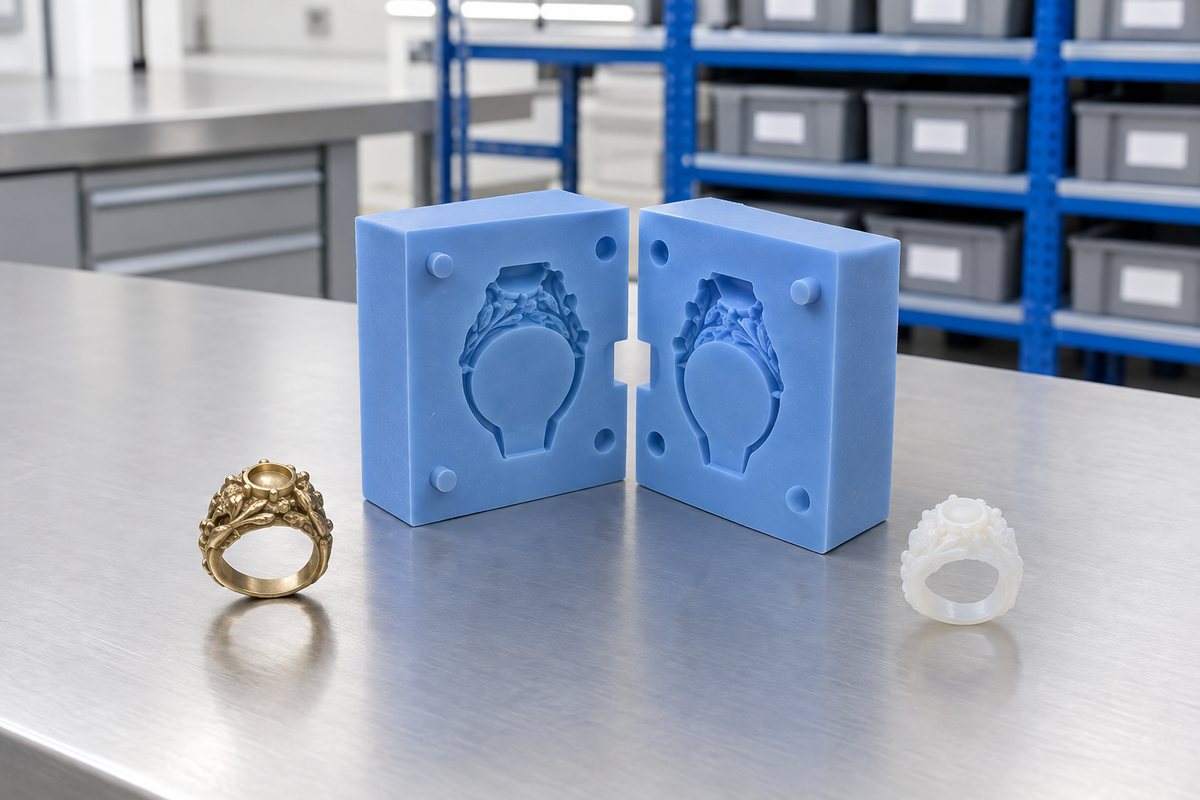
Illustrative schematic. Real tools include additional detail (runners, vents, ejector positions).
What we did
Recover the master first. Prove the diagnosis next. Only then commit to a full pour.
We removed the tacky face slowly and mechanically, using soft tools and a solvent chosen to be gentle on the clay rather than simply fast. The tool marks were valuable in the master, and they survived.
We cured a coin-sized blob of the same silicone against an offcut of the same clay. It went tacky in exactly the same way, turning an opinion into evidence. The test took ten minutes.
The clay was given a barrier coat, built up in thin passes rather than one heavy one, so the surface texture stayed readable through it. Then the patch test was repeated on the sealed surface, and this time the silicone cured hard.
The mould was cast under the same conditions as the test. A second mould was taken off the same master straight afterwards, so your range no longer depends on one original.
The clay, the sealer and the silicone grade all went on the job record. If she models the next piece in the same clay, nobody has to rediscover any of this.
The stages
Drag the timeline left and right, or use the arrow keys. Each stage explains what happens and roughly how long it takes.
Drag · tap a stage for detail
Total working time on a job of this shape: about 2 weeks (13 working days). Lead times shift with drawing changes, sign-off pace and material availability.
The numbers
Rather than quote a figure that would only be right for one job, here is a worked example, based on a realistic project of this shape. Your own quote follows the same arithmetic, with your part, your volume and your material.
An independent jeweller wanting 200 cast resin replicas of a hand-carved master.
| Barrier coat + test cure | £140 one-off |
|---|---|
| Two-part platinum silicone mould | £360 one-off |
| Tooling amortised over 200 pieces | ≈ £2.50 per piece |
| Resin cast, demould, hand-clean | ≈ £3.20 per piece |
| Landed cost per piece | ≈ £5.70 |
Assumes a 25 mm pendant in urethane resin. Master is not consumed — the mould gets 40–80 pulls before it wants replacing.
I thought I had lost the piece. Getting it back with its marks still intact mattered more than the mould itself.
Independent maker, jewellery and giftware
Behind the work
Two services carried this one, while a third offers sensible insurance if you have a single irreplaceable original.
Mould making includes making, repairing, sealing and copying the original master that a mould is taken from. Half of mould making is deciding whether that master is fit to pour against.
Master patterns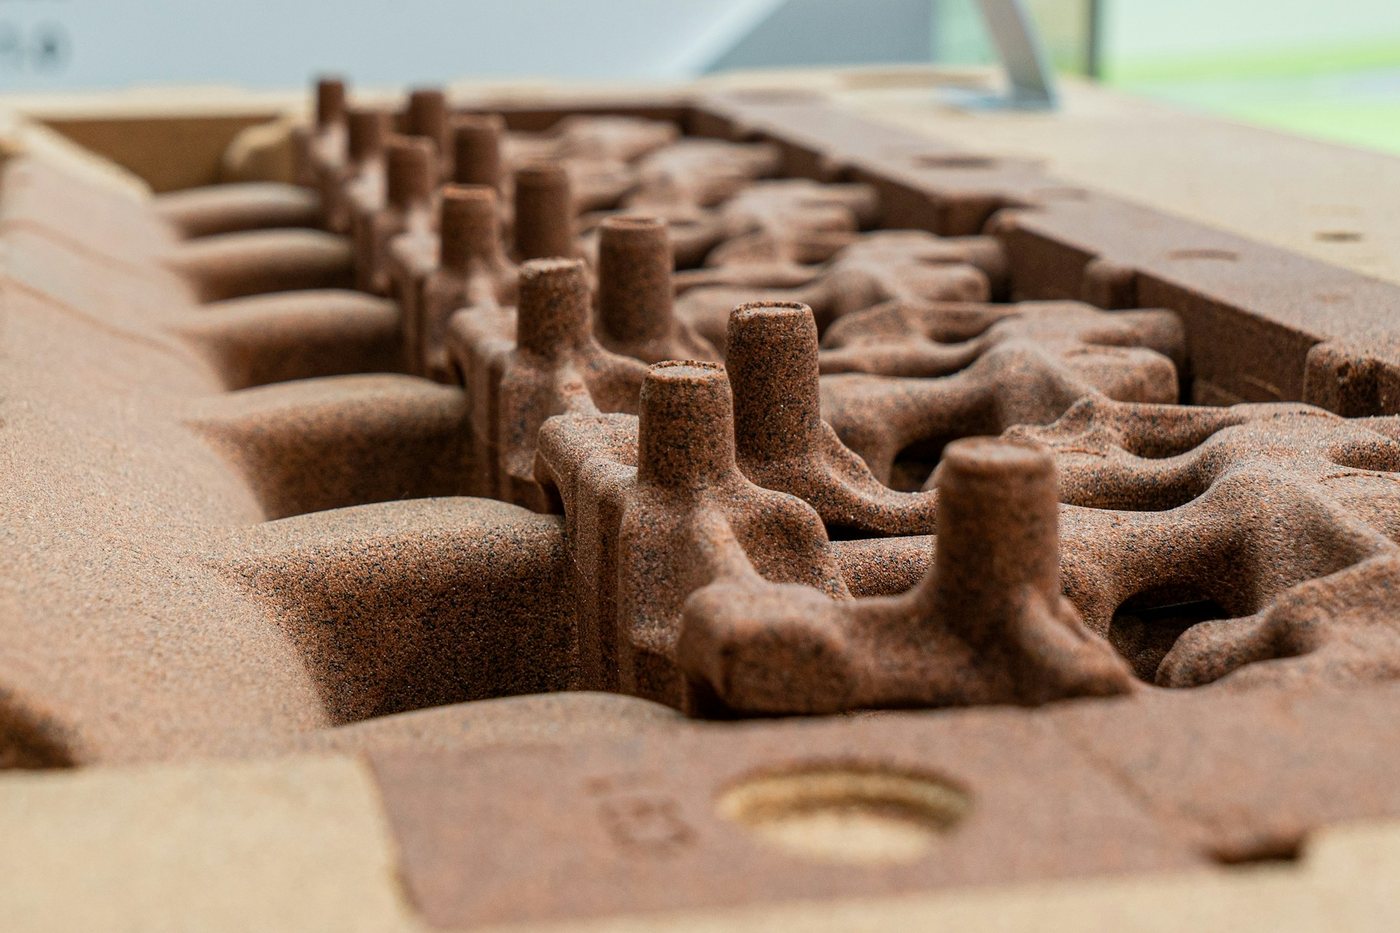
A dependable workhorse route for resin, plaster and small cast ranges, with the split line chosen around your piece.
Cast moulds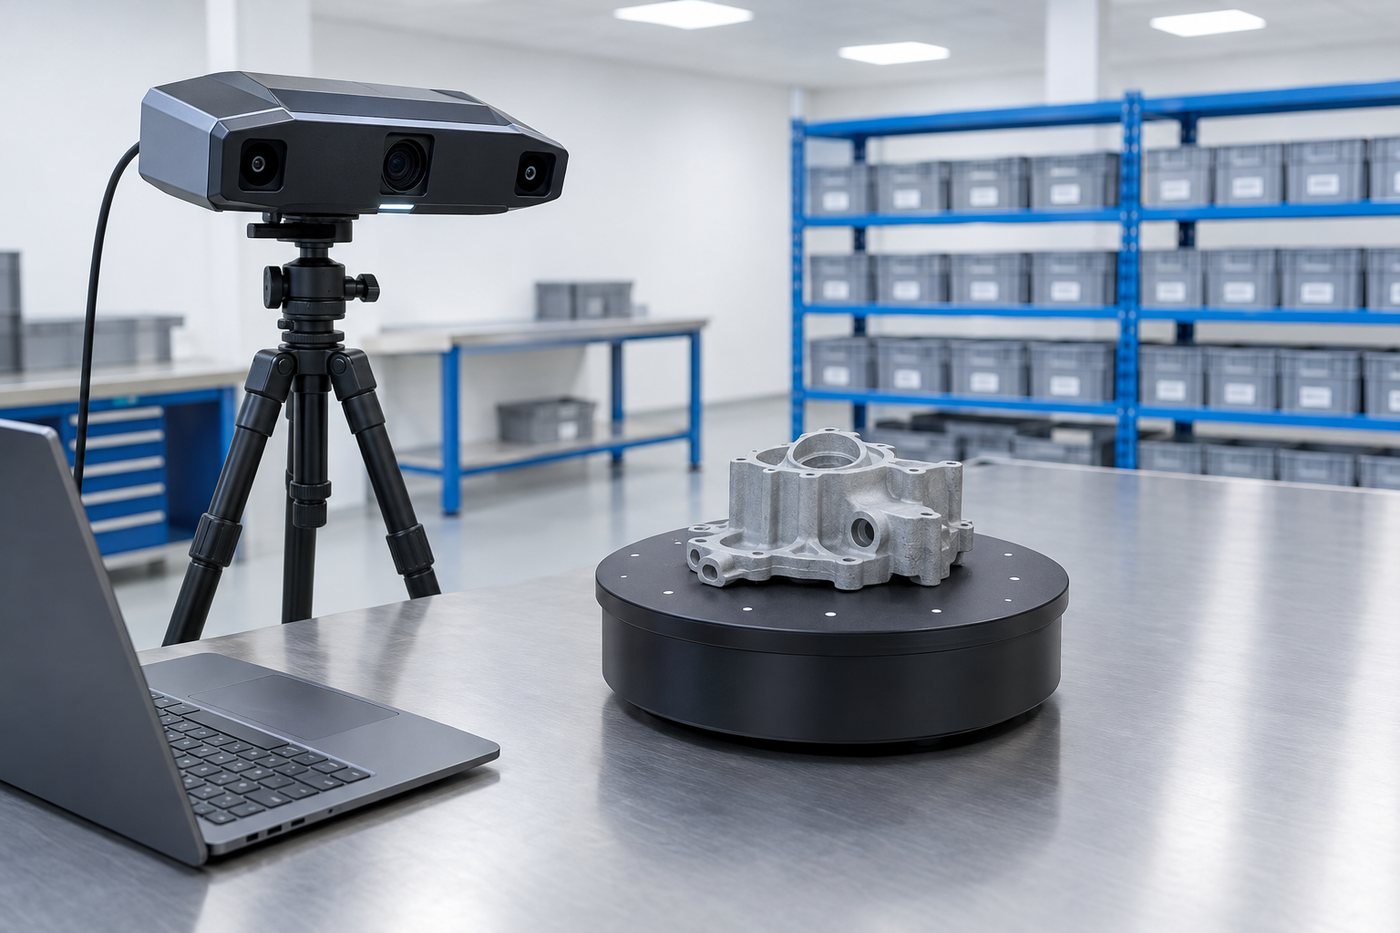
Digitising an original means it can be recreated as more than one physical object. It is worth doing before anything happens to the original, rather than afterwards.
3D scanningMore records
A natural original with no direction for a hard tool to open, alongside the glove mould that solved the challenge.
Pine cone toolingThe thin cast part curled at the corners until the mould was rebuilt on a rigid base.
Electrical patchFine detail on an aerospace part, filled repeatably only after the air has been removed.
Aerospace componentNext step
If your mould has cured hard in the body but remains soft against the master, stop pouring. This is not a mixing error, and it will not improve overnight. Something on the pattern surface is poisoning the catalyst. The solution is a barrier coat or a different silicone chemistry, not more catalyst or more time.
Tell us what the master is made of, including the brand of clay if you know it, and whether anything has been sprayed or brushed onto it. Then test on an offcut before committing to a full pour. A patch test costs almost nothing, while a ruined master costs the range.
If the original is the only one that exists, please tell us when you first get in touch. That changes how we handle it and usually means taking a copy before anything else happens.
At a glance
How a two-part mould fits together
Swipe to see the whole diagram
Ready to start?
Send us a drawing, a photograph or a sample. We'll come back to you with a mould strategy, a material recommendation and a price.
Real people, a real workshop
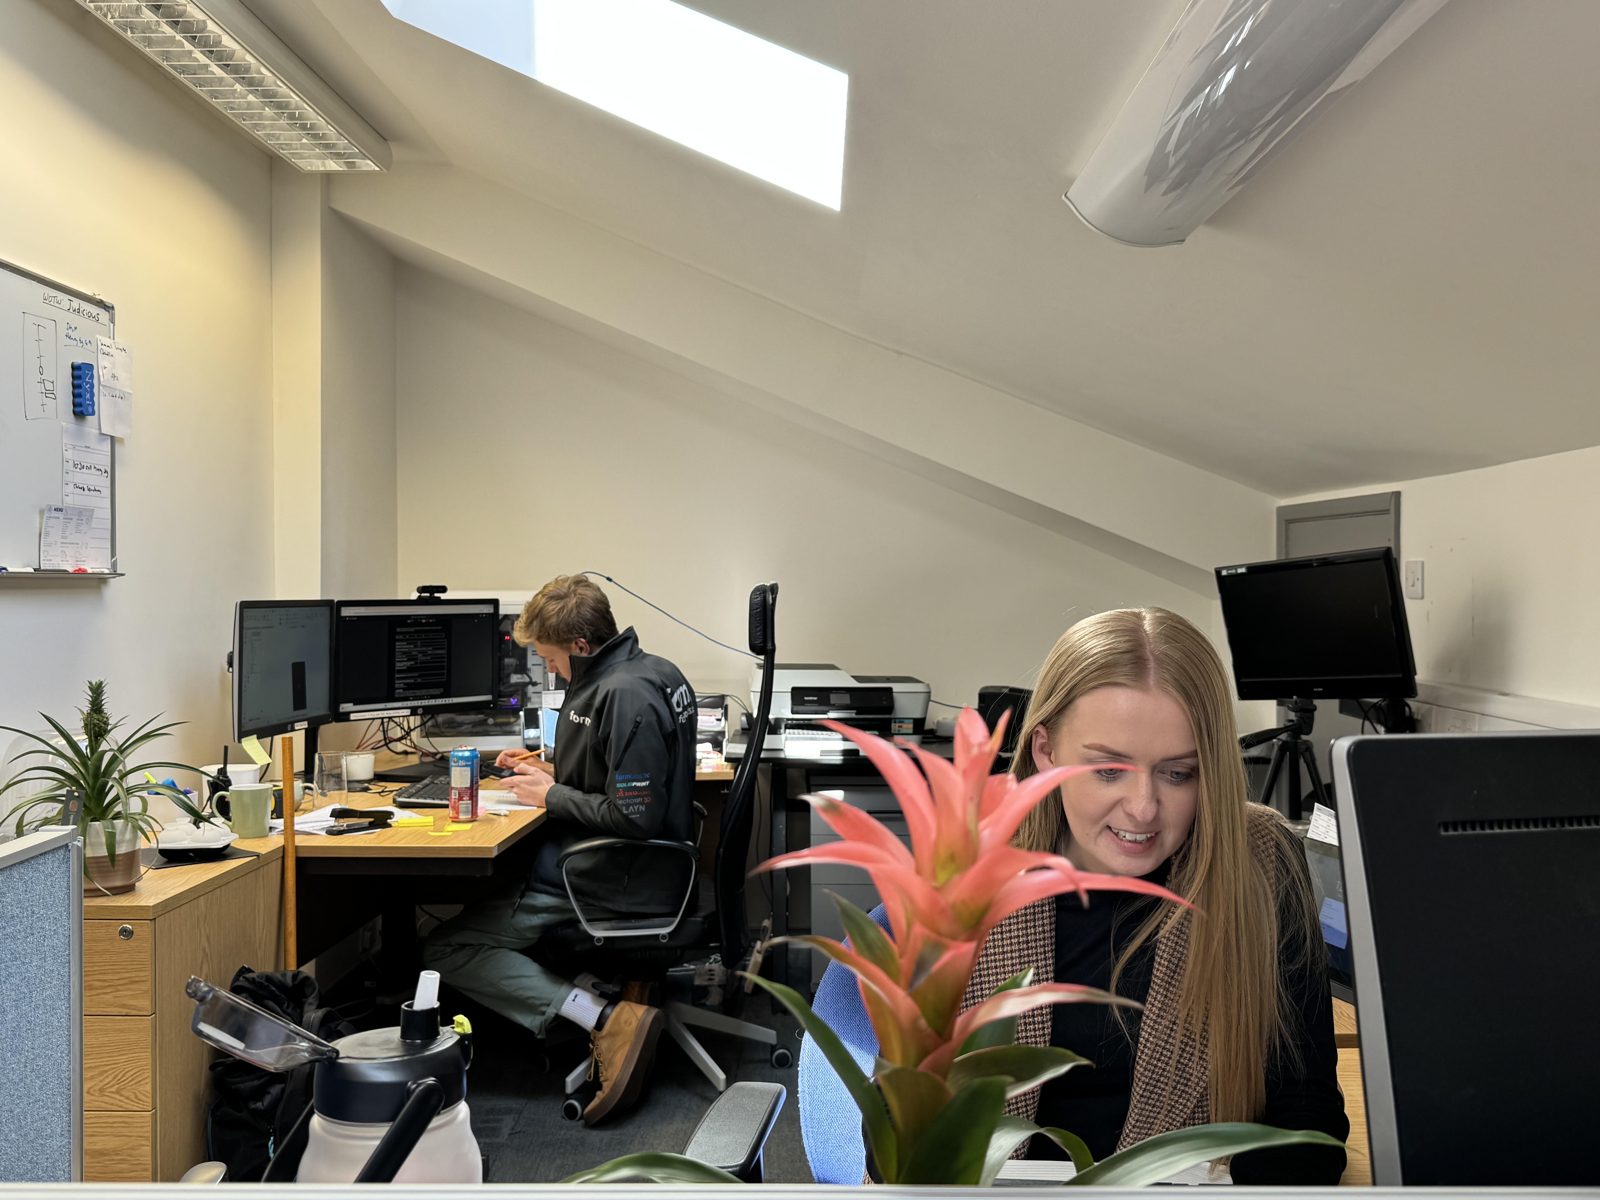
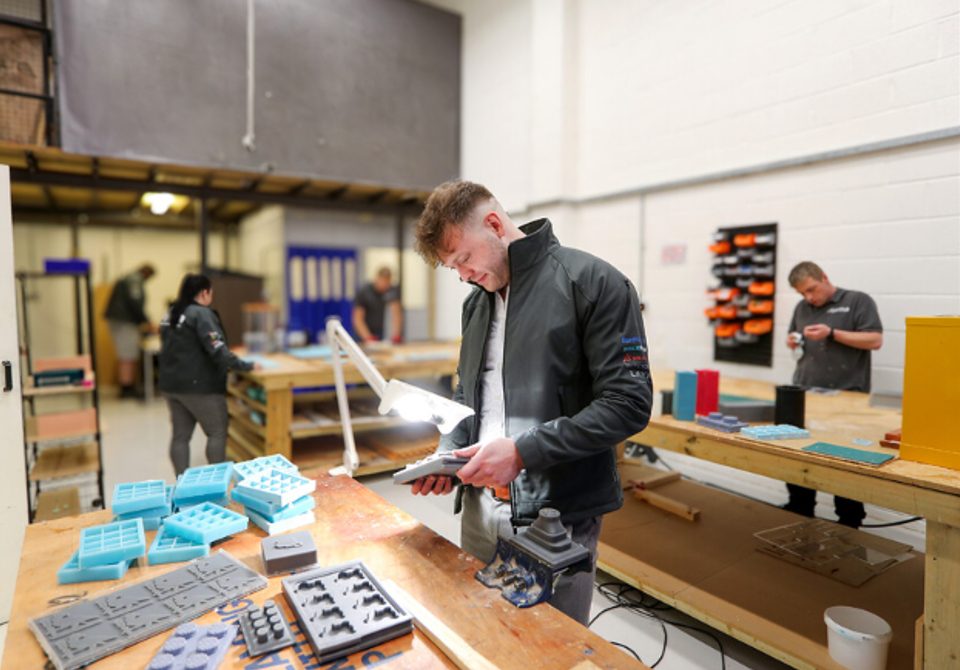
No call centre and no middlemen. When you contact TCI Mouldings, you speak to the team who design, build and check your mould.
 Thomas LaneManaging Director
 George PrestonDesign & Project Manager
 Kelly BallingerHead of Partnerships
 Jim AndertonProduction Manager
 TheodoreEmployee Welfare