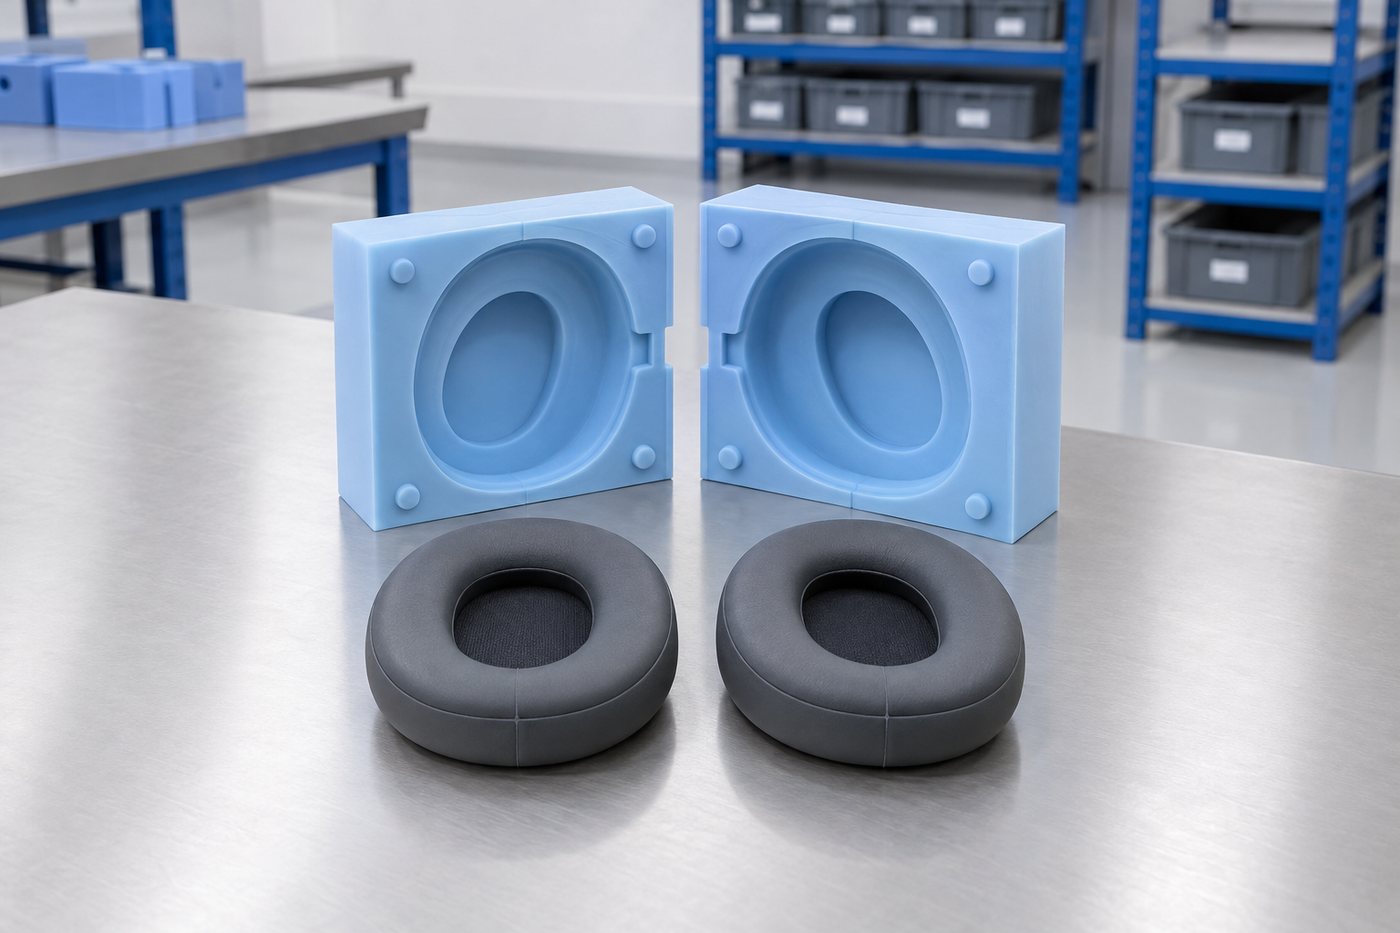
Compression moulded parts
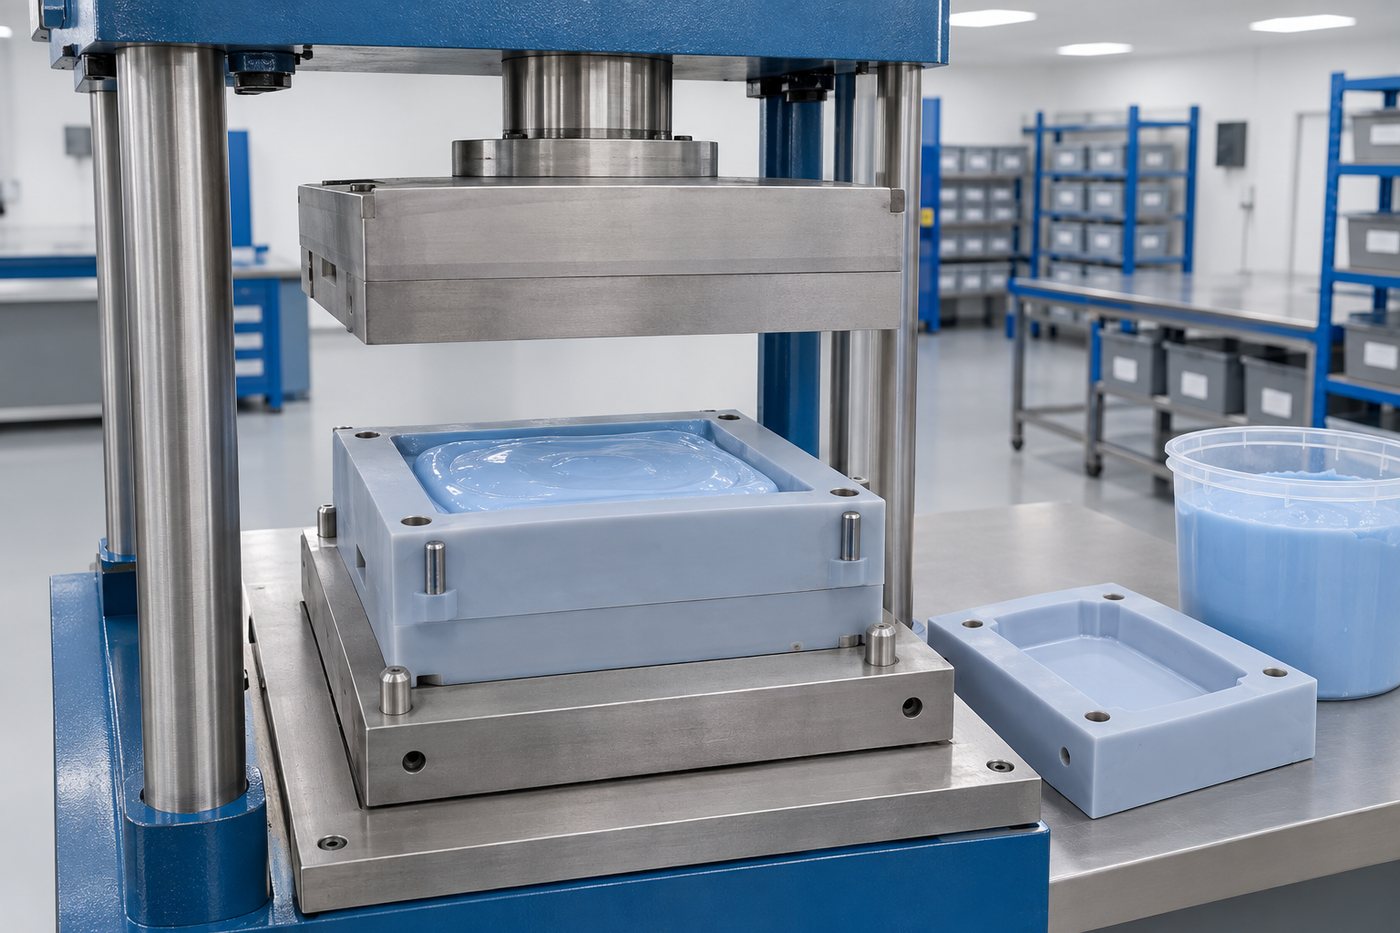
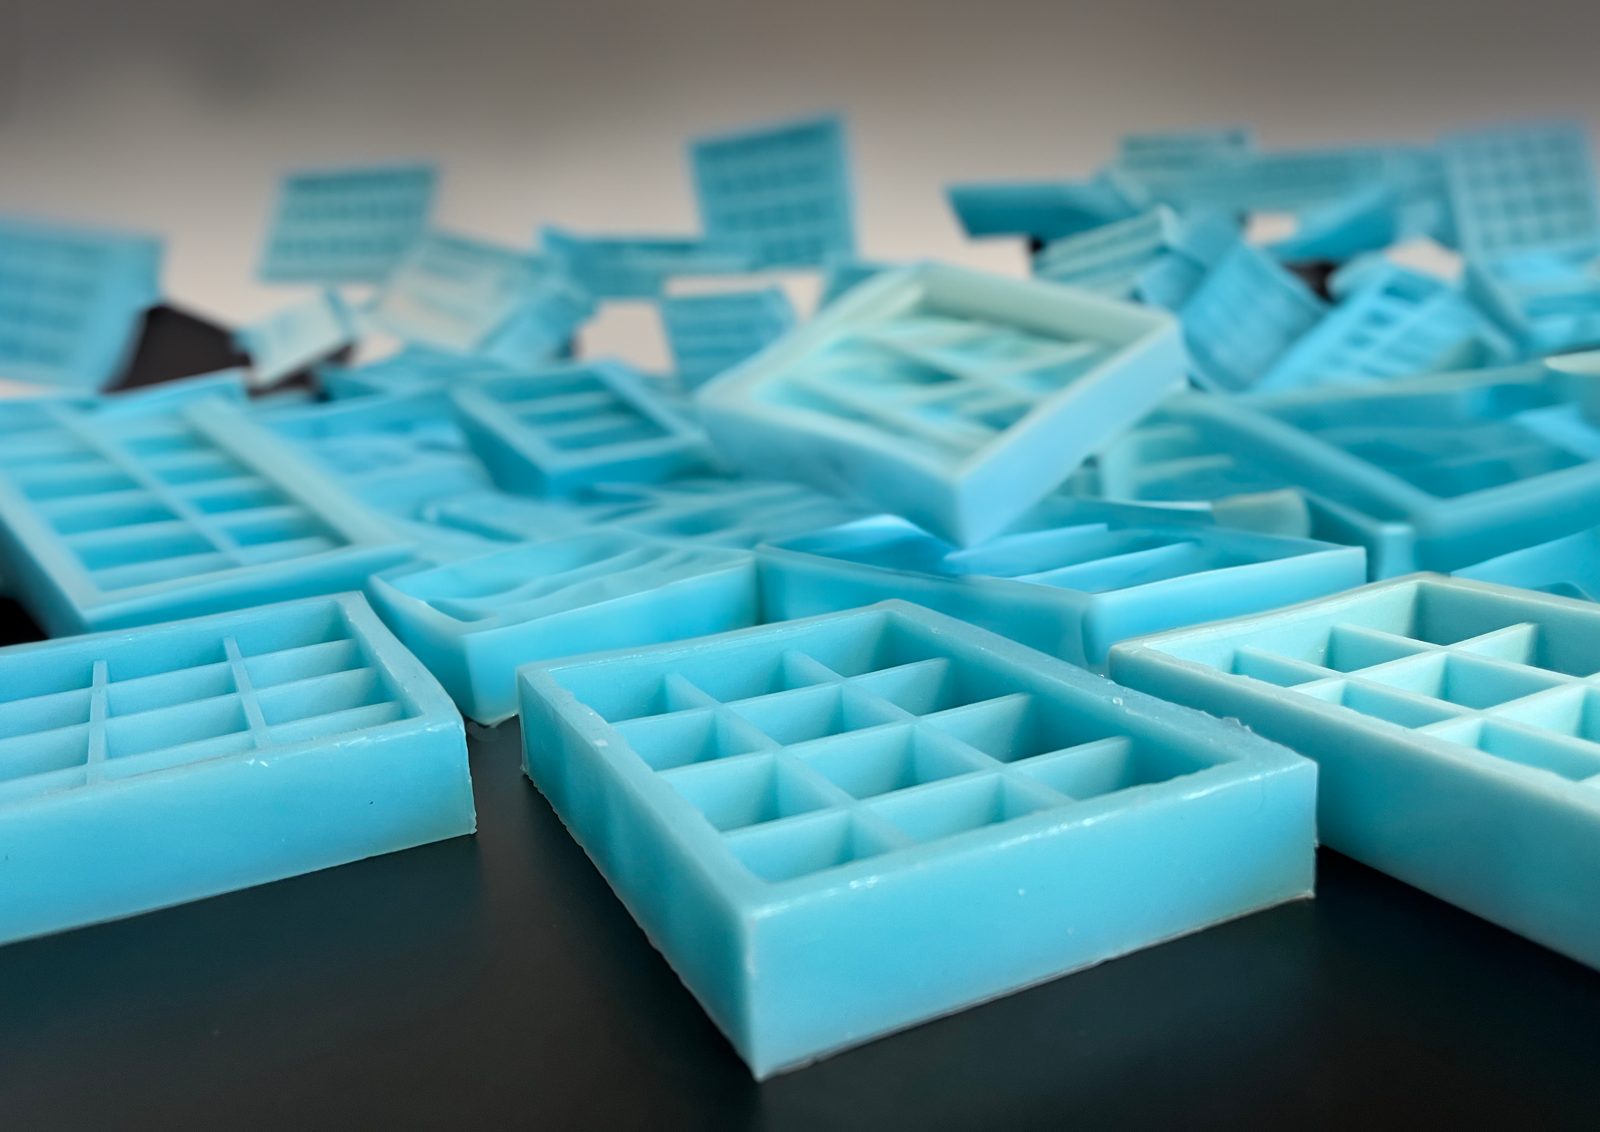
Steel tooling and a heated press produce moulded silicone components with a higher tooling cost, but a much lower cost per part and repeatability that hand casting cannot reach.
Compression mouldingProject record · Consumer audio · Compression route
Soft silicone ear pads needed to seal against the skin and then be forgotten about. The moulding worked, but the parting line was in the wrong place. For a part you wear, that is the same as the moulding not working.
The brief
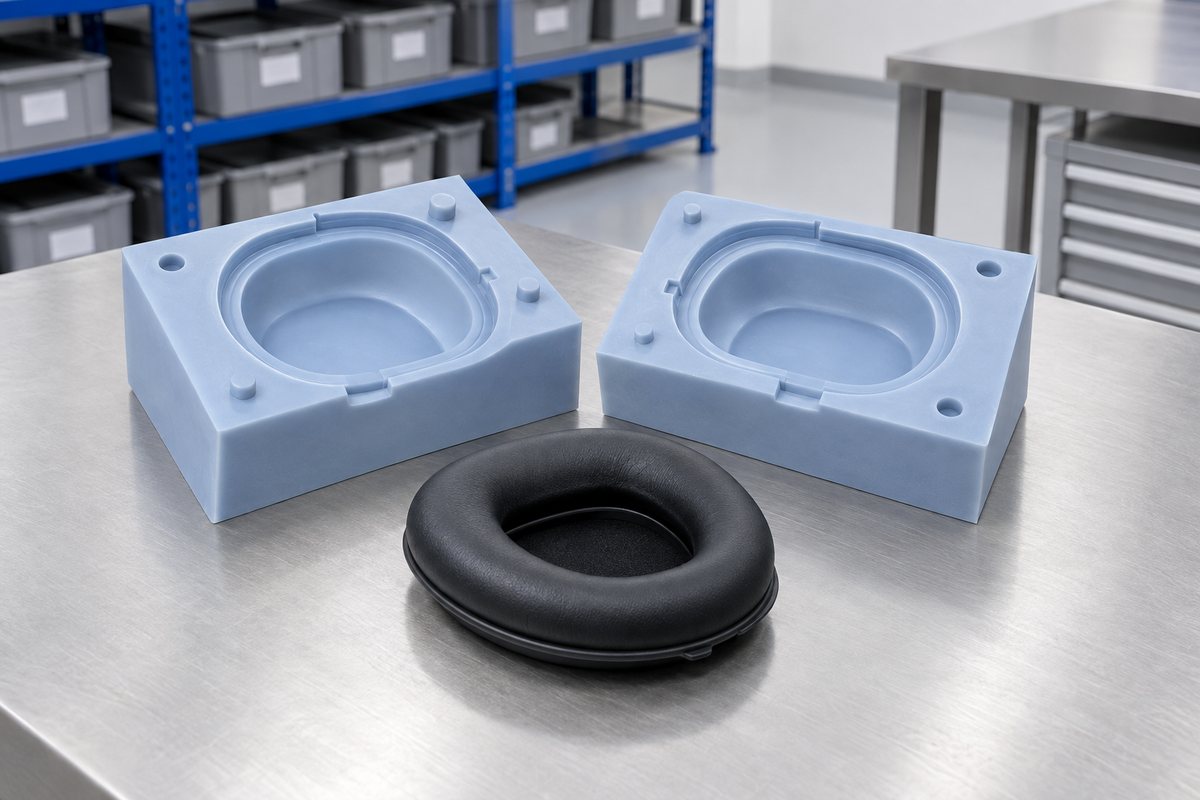
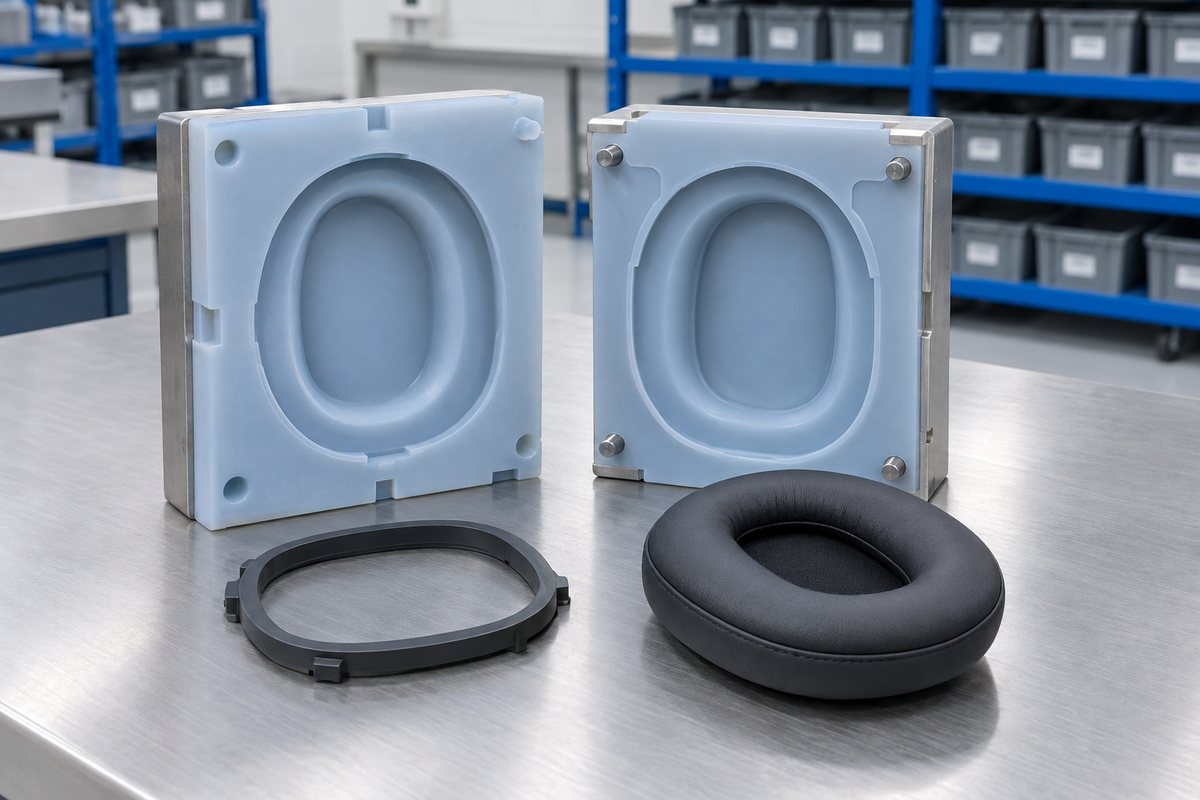
A consumer audio brand was taking a headset from a hand-finished sample run into production. Its ear pads were made from soft silicone. Each pad was a shaped ring that sealed against the side of the head, with a lip to create the seal and a bead that snapped onto the housing.
There are two requirements, and they pull against each other. The pad has to seal, so it needs a soft grade and a compliant lip. It must also feel unnoticeable throughout a long listening session, with no ridge, edge or hard spot on the surface. Users do not report a parting line. They report that the headset is uncomfortable, so they stop wearing it.
The samples had been cast and dressed by hand, one pad at a time, by someone who knew where to trim. That is a fine way to make a hundred, but it will not produce the same pad repeatedly. What kept each pad acceptable was the person's judgement, rather than the tool.
The problem
Compression moulding naturally creates flash. You load the material into the cavity, close the press, and surplus material is squeezed out at the parting line. It is a normal part of the process, so even careful moulding cannot eliminate it completely. The key decision is where to position the line.
In the first tool layout, we placed the split where it was easiest to machine, around the widest part of the ring. Unfortunately, that is exactly where the sealing lip sits. As a result, every pad came out with a fine witness line along the one surface that needed to feel completely smooth. Dressing it off by hand only brought back the problem the tool was designed to remove.
Softer material made the problem worse, not better. A soft grade flashes more readily, and that flash is harder to remove cleanly. The material moves away from the blade instead of being cut by it. We had selected the hardness for the seal, but it was working against the tool layout.
The other question still to resolve was the hardness itself. Everyone involved had an opinion, but none of those opinions was based on a moulded pad, because one did not yet exist. A hand-cast sample in a given grade does not feel the same as a pressed part in that grade.
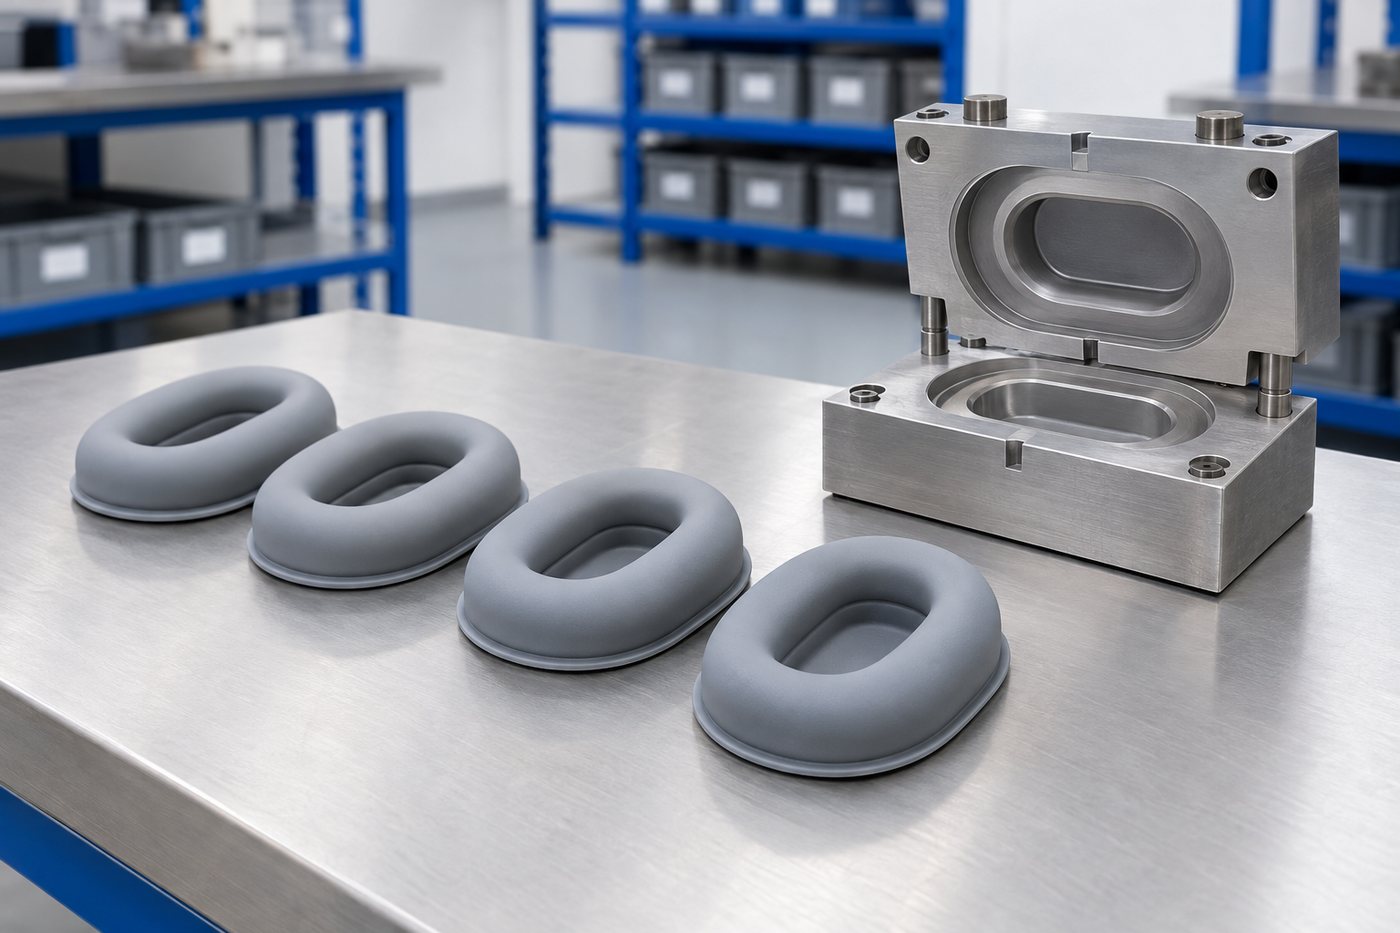
Illustrative schematic. Real tools include additional detail (runners, vents, ejector positions).
What we changed
First, we reworked the tool layout. Only then did we work out the grade using real pressed parts.
We moved the parting line onto the hidden face, where the pad seats into the housing. Any flash there is covered by the assembly and never touches skin, so the witness line is no longer a defect.
We cut a flash groove around the cavity to give excess material a defined place to collect. It then breaks away in one piece, rather than feathering out across your part.
We reshaped and repositioned the material blank so the cavity fills from the thick section outwards. Getting the charge right removes more flash than trimming afterwards, however much time you spend on it.
We made real moulded pads in three grades: soft, medium and firmer. People wore them for an afternoon, then compared them. The winner was not the grade anyone had specified on paper.
Once the pad has been chosen by feel, we record the grade and supply against the part. That way, what gets pressed next year reflects what people actually wore.
During first-off inspection, we check the sealing face and snap bead. These are the two features that decide whether a pad works.
Flash on the seating face is expected, so it is dressed as part of the process.
The stages
Drag the timeline left and right, or use the arrow keys. Each stage explains what happens and roughly how long it takes.
Drag · tap a stage for detail
Total working time on a job of this shape: about 6 weeks (40 working days). Lead times shift with drawing changes, sign-off pace and material availability.
The commercial bit
Rather than quote a figure that would only be right for one job, here is a worked example, based on a realistic project of this shape. Your quote follows the same shape, with your part, your volume and your material.
A headphones brand needing 20,000 pad sets a year, feel-critical.
| Aluminium compression tool (2 cavities) | £4,200 one-off |
|---|---|
| Tool amortised over 60,000 pairs | ≈ £0.07 per pair |
| Silicone material + compression cycle | ≈ £1.40 per pair |
| Trim, deflash, pack | ≈ £0.55 per pair |
| Landed cost per pair | ≈ £2.02 |
Assumes a 90 mm circular pad in 30 Shore A silicone. Compression suits this volume better than injection here.
The pad we shipped used a grade that nobody on the team would have chosen from a datasheet. We only got there because you pressed three and made us wear them.
Product designer, consumer electronics
Behind the work
This part was produced using two services, with a third available if volumes continue to grow.
Steel tooling and a heated press produce moulded silicone components with a higher tooling cost, but a much lower cost per part and repeatability that hand casting cannot reach.
Compression moulding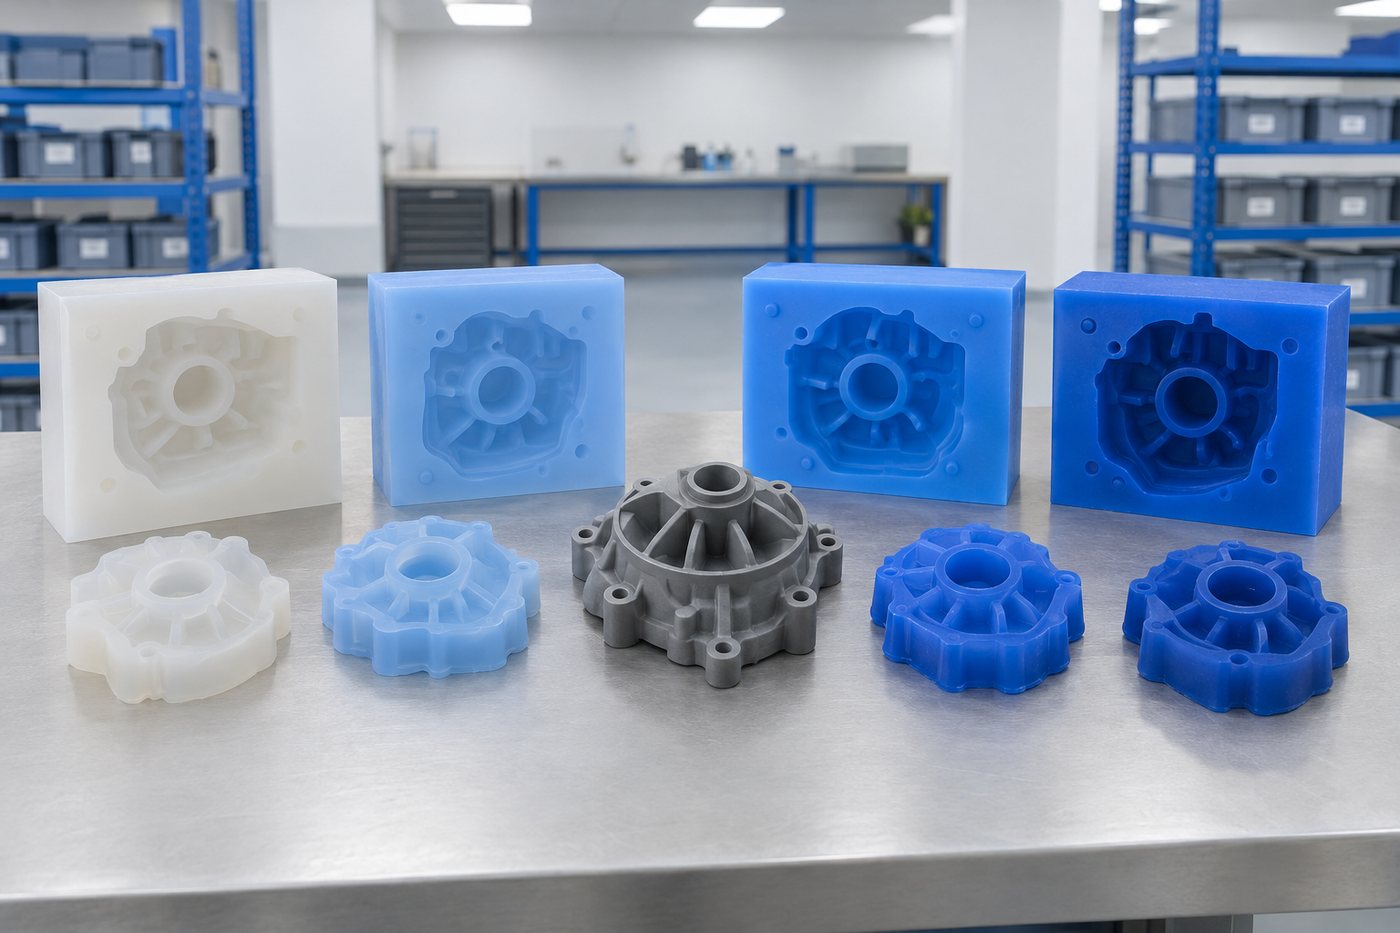
Choose the hardness around who will wear or demould the part, using real moulded samples rather than a datasheet number.
Shore hardness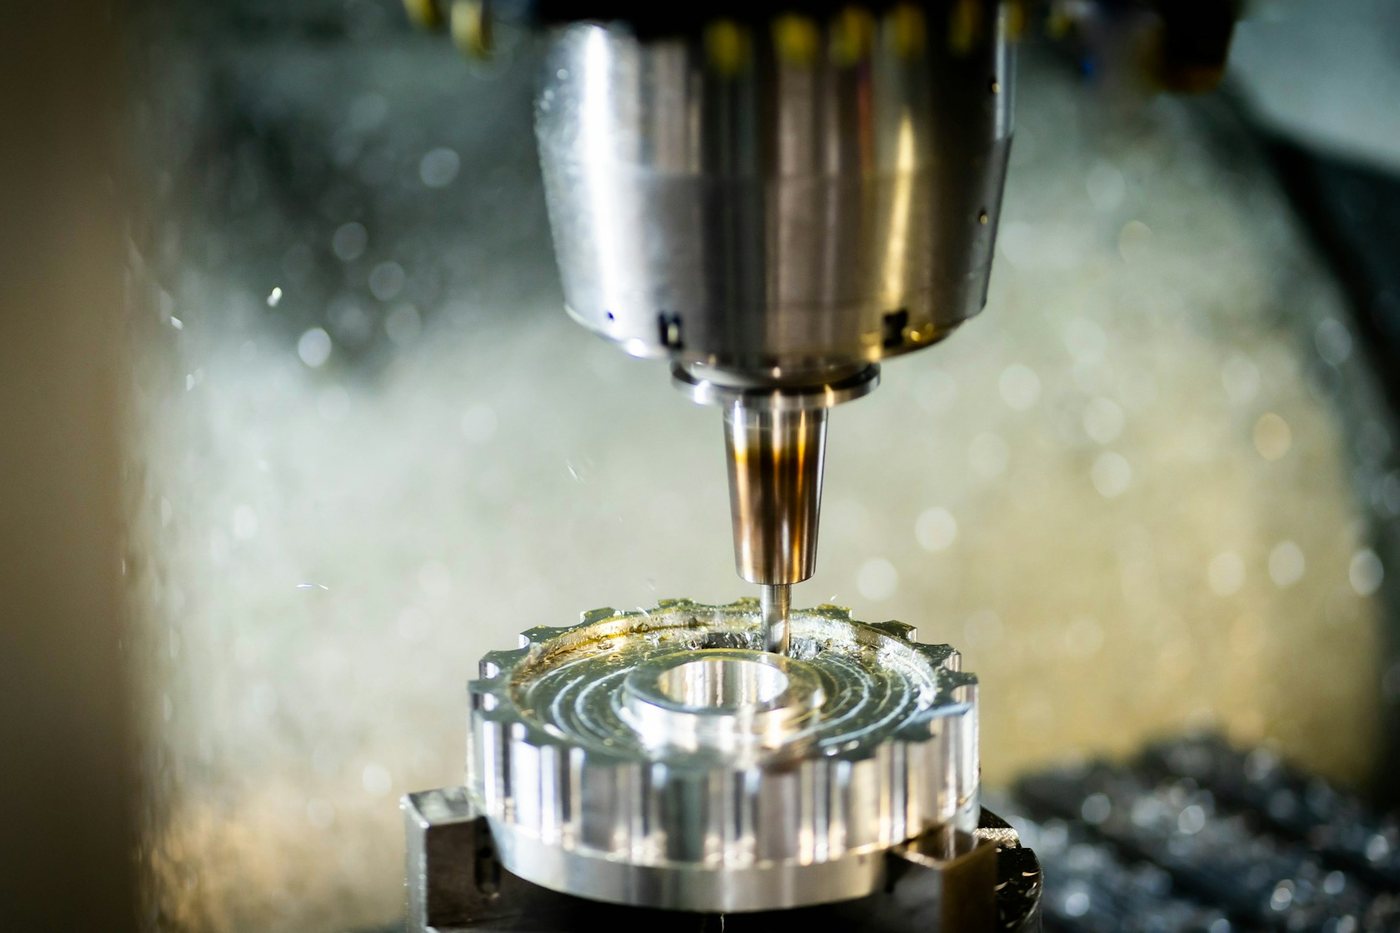
Liquid silicone injection for long-term component supply, with the highest tooling investment and the lowest cost per part.
Injection mouldingMore records
Fine moulded relief on a curved strap face, with a parting line interfering with the detail.
Watch strap logosA thin cast part kept curling at the corners until the mould was rebuilt on a rigid base.
Electrical patchFine detail on an aerospace part, filled consistently only after the air has been removed.
Aerospace componentNext step
Flash is not a fault to eliminate; it is a feature to aim. If it appears on a sealing face, skin contact face or cosmetic face, the key question is whether the parting line can be moved, rather than whether the process can be made cleaner. Nine times out of ten, it can be moved, and doing so is far cheaper before the tool is cut.
Send us the part or sample, then tell us which faces matter and why: which face seals, which face is seen, and which face is touched. That list determines the tool layout, and it's the one detail we most often need to ask for twice.
If comfort or feel is part of your specification, allow for pressing samples in more than one grade. You cannot choose the right hardness for a worn part just by reading about it, so prototype tooling is a cost-effective way to find out.
At a glance
Which route suits your quantity
Swipe to see the whole diagram
Ready to start?
Send us a drawing, photograph or sample. We'll come back with a mould strategy, material recommendation and price.
Real people, a real workshop
No call centre and no middlemen. When you contact TCI Mouldings, you speak to the team who design, build and check your mould.
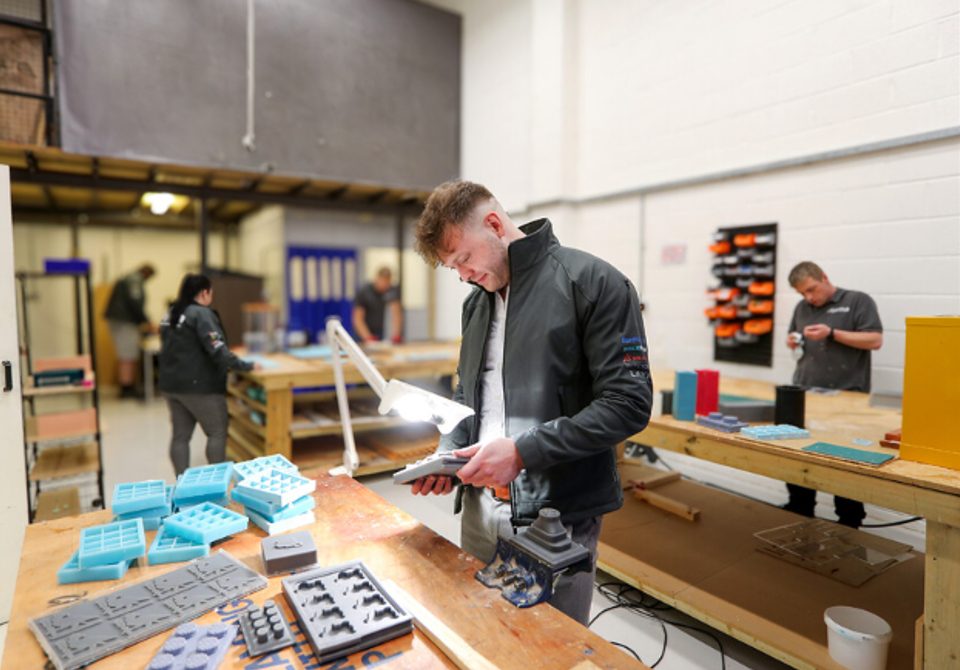

 Thomas LaneManaging Director
 George PrestonDesign & Project Manager
 Kelly BallingerHead of Partnerships
 Jim AndertonProduction Manager
 TheodoreEmployee Welfare